Ever struggled to keep your charcoals burning even and slow? Well, I feel your pain. I’ve been there too, dealing with wonky temps and wondering if I’ll ever become a true barbecue master. But don’t sweat it! The minion method is about placing lit charcoals inside or on top of an unlit charcoal pile.
I mastered the art of low and slow smoking with the minion method from cooking school and in backyard cookouts on my charcoal smokers. Now, I’m telling you all the details in this article in a step-by-step process. You’ll see how effective the minion method really is, and even some other popular variations. Oh, and we’ll geek out on the science stuff too. So get ready to level up your grilling game and achieve barbecue perfection with the minion method.

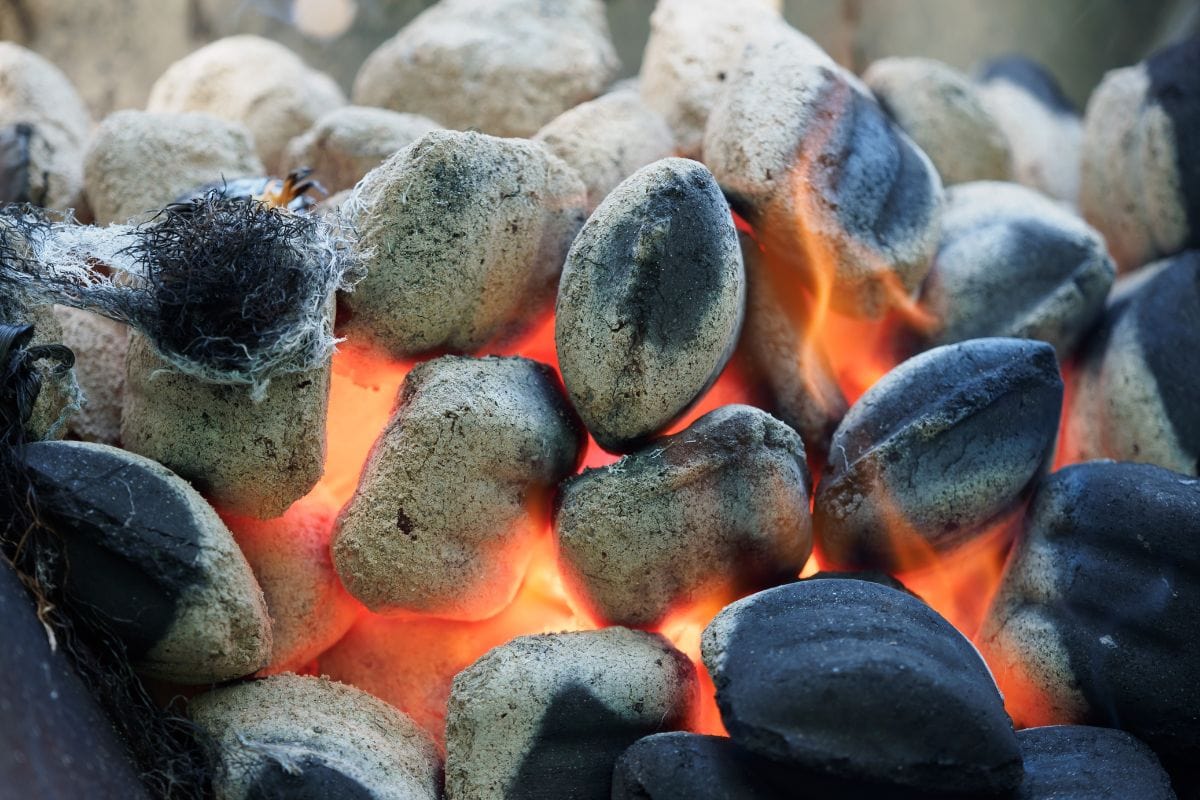
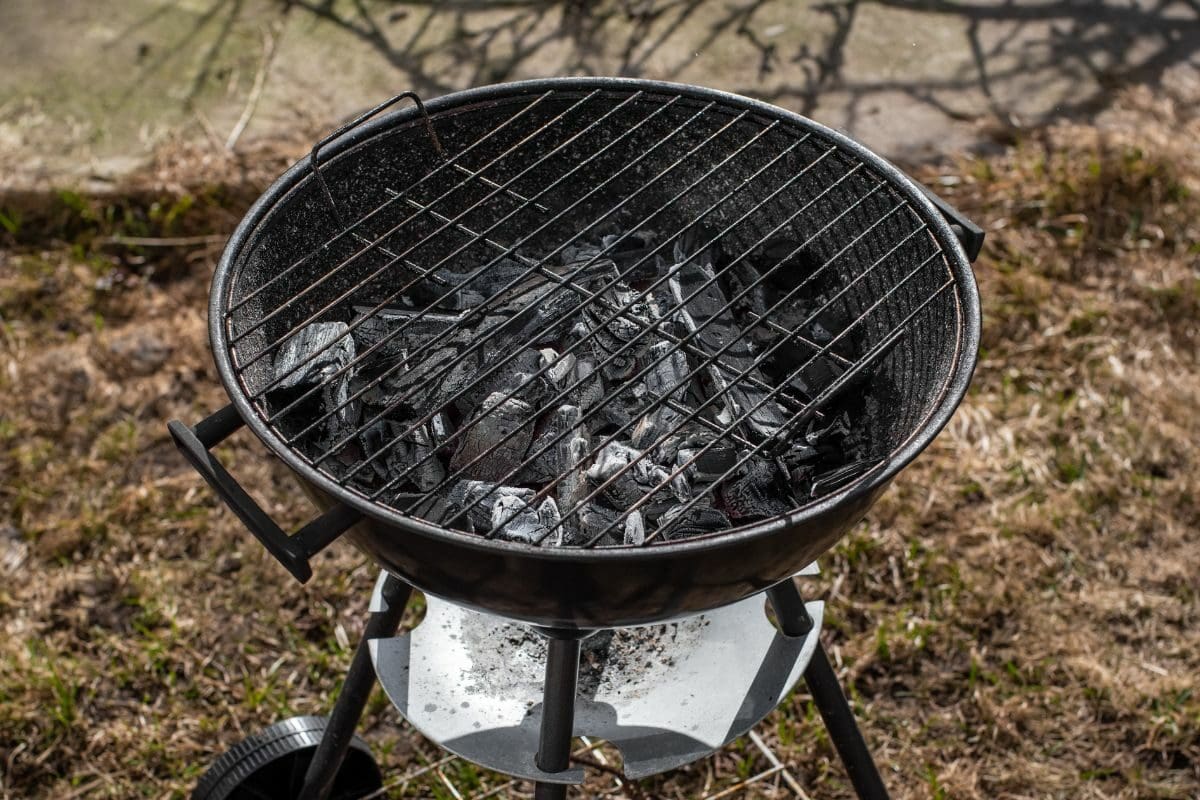
The minion method involves strategically placing a small bunch of lit charcoal briquettes or lumps on top of a bigger pile of unlit charcoal. This works, of course, only in grills or smokers that use coal as fuel.
The magic happens as those hot coals slowly ignite the unlit fuel around them. The minion method creates a long, controlled, and steady burn. This keeps your cooking temperature just right for a good amount of time.
And no, the minion method has nothing to do with those cute yellow creatures from the computer-animated comedy film. It’s actually named after Jim Minion, the grilling genius who came up with this genius technique.
Before diving into the Minion Method, make sure you have all the necessary supplies ready. Here’s a list of what I always keep around when starting my grill using this technique:
When my supplies are ready, the next step for me is to get the Weber Smokey Mountain smoker set up for the minion method. Here are the steps to follow:

With the charcoal arranged, it’s time to light them up. Follow these steps:
Now that we’ve lit up the charcoal using the Minion Method, it’s time to let those coals do their thing and ignite fully before we dive into some serious cooking. Here’s what you gotta do:
So you’ve got those coals fired up, and you’re itching to get cooking, right? Well, here’s the lowdown on how to tweak those vents like a pro and control the temperature on your grill or smoker.
First, you can swing the top vent and bottom vent wide open for maximum airflow. This lets your fire burn hot like nobody’s business.
If things start heating up a little too fast, you want to keep it low and slow, or you find yourself sweating over a blazing inferno, you can also play it cool. Partially close those vents to restrict the airflow and bring that temperature down a notch.
But keep your peepers glued to that temperature gauge to ensure it’s true to your preferred temp. Make tiny tweaks to the vents as necessary until you hit that sweet spot of cooking perfection.
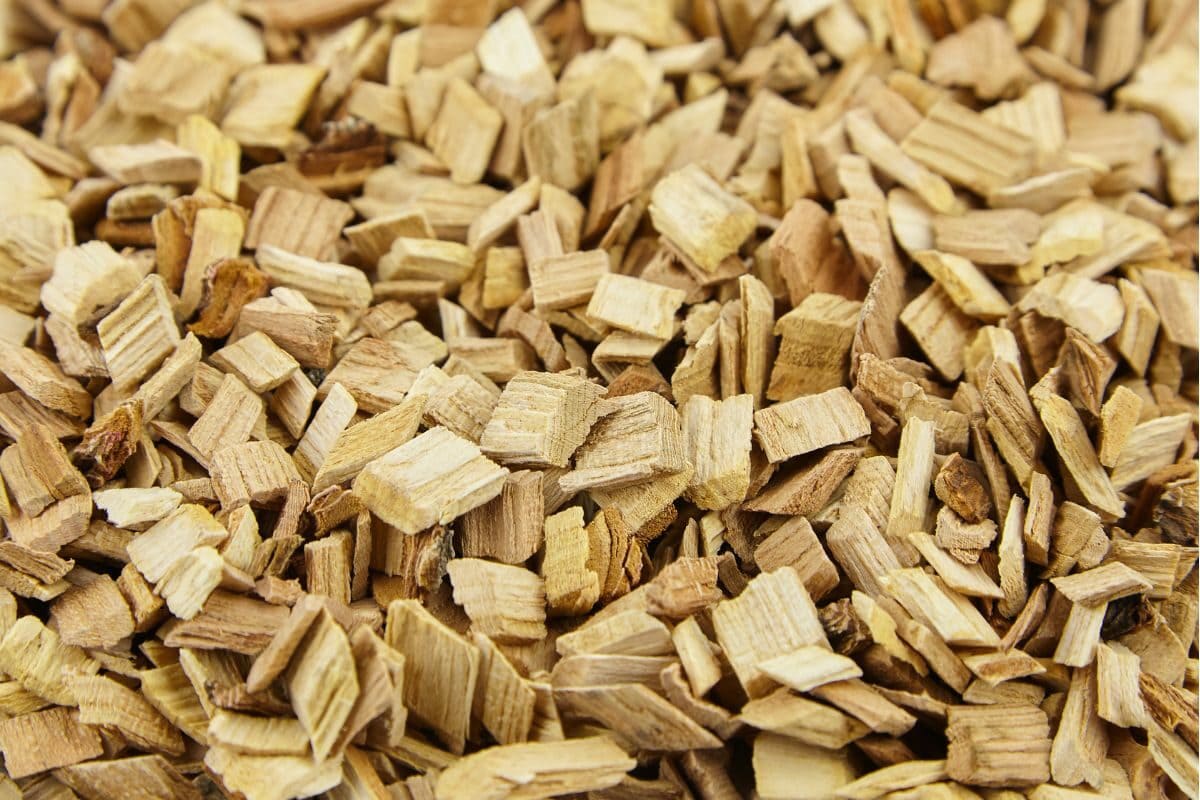
Now, if you’re looking to infuse your food with that mouthwatering smoky goodness, this is the way to do it. Here’s what you have to do:

Now, here’s the deal: the amount of wood you add determines how intense that smoky flavor will be. So, adjust it according to your personal taste. And hey, feel free to experiment with different types of wood like mesquite, hickory, or fruitwood to find your ultimate flavor combo.
But a word of caution: don’t go overboard with the smoke. You don’t want to drown out the natural flavors of your food. So, keep it balanced.
The donut minion Method is a variation of the classic minion method. I’ll say this is designed explicitly for Weber kettle grills. Here’s how the technique works:
The minion method uses the efficient design of kettle grills, where the lit coals in the center ignite the surrounding unlit briquettes or lumps. This gradually provides a consistent burn throughout the cook.
It’s a popular choice for low and slow cooking. This minion method allows you to achieve that delicious smoky flavor and tender results with your kettle grill.
Instead of a mound or ring, this method involves arranging the unlit coals in a long, snake-like shape along one side of the grill or smoker. Place the lit coals at one end of the snake, and as they burn, they ignite the adjacent charcoal, slowly working their way along the snake. This minion method alternative is particularly useful for extended low and slow cooks.
Other variations of the Minion Method may include different arrangements or modifications to suit specific grill or smoker setups and cooking preferences.
Some enthusiasts experiment with using different types of charcoal, adjusting the size of the lit coal portion, or incorporating additional layers of unlit charcoal for extended cooking durations.
It’s worth noting that while these variations provide options for customization, the underlying principle of the minion method remains the same: achieving consistent heat and extended burn times for low and slow cooking.

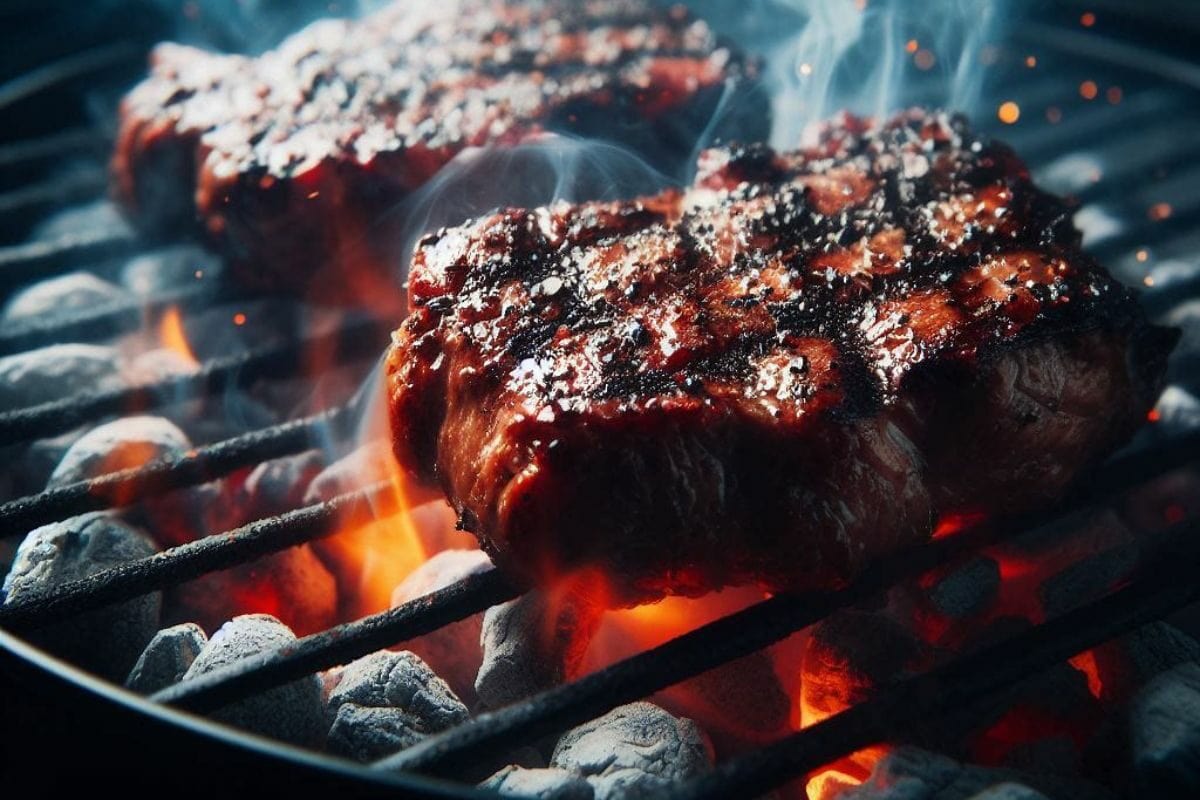
By strategically placing a small number of hot coals on top or in the middle of a larger pile of unlit coals, it creates a controlled and sustained burn that maintains a steady cooking temperature for an extended period. The minion method allows for precise temperature control. It is essential for achieving tender and juicy results when cooking tough cuts of meat like brisket, chuck, round, and shanks.
Additionally, the minion method’s long burn times eliminate the need for frequent charcoal refills. This makes it ideal for extended cooking sessions without interruption. Its reliability and ability to impart a rich smoky flavor make it a favorite among barbecue enthusiasts pursuing low and slow cooking perfection.
Lump charcoal is made from natural wood. This is my preferred choice for smoking meat because of its high heat output and minimal additives. It ignites quickly and provides an authentic smoky flavor to your food. However, it can burn faster and require more frequent replenishment during longer cooking times. But it’s an excellent choice for hot and fast grilling and not so for low and slow cooking.
Charcoal briquettes, on the other hand, are made from compressed charcoal dust. But this is mixed with a variety of additives to enhance combustion. They provide a more consistent and longer burn time, making them suitable for extended cooking sessions. However, briquettes produce more ash and can impart a slightly different flavor than lump charcoal.
The minion method for charcoal grills is the secret to taking control of your cooking and getting consistent, mouthwatering results. Just place some lit charcoal on top of a heap of unlit charcoal, and that’s it! You’ve got a controlled and long-lasting burn that keeps the temperature steady for ages. Say goodbye to guesswork and hello to perfectly tender and flavorful eats. So, whether you’re a BBQ pro or just starting, the minion method can take your grilling game to new heights.