There’s a little family story around chicken jerky that I like to tell. One summer, my cousins from down south visited us up north. We wanted to show them something different from the Texan BBQ. But they were hesitant in the first place because, according to them, nothing is as good as an ol’ fashioned Southern BBQ.
That’s when I decided to whip up a big batch of my famous chicken jerky. I sliced some chicken breasts, marinated them in my secret blend of spices, and popped them in the oven. The smell wafted through the house, and before long, my cousins were begging for a taste.
So, whenever we have a family gathering, this jerky is always on the menu. It’s become a tradition that brings us all together, no matter where we are in the country. So, grab your apron, and I’ll show you the secrets to my chicken jerky recipes.

If you want to know what makes my chicken jerky recipe so dang good, lean in close ’cause I’m about to spill the beans. These right here are the secret ingredients I use to make my jerky a lip-smackin’ success:

Let’s get started with the preparation steps for making chicken jerky!
First, we need to slice our chicken breast into thin strips. I recommend using boneless, skinless breasts for this recipe. They’re easy to work with and have a mild flavor allowing the marinade to shine. But chicken thighs are also another option if that’s what you could get your hands on.
To slice the chicken, simply use a sharp knife to cut it into strips that are about 1/4 inch thick. Try to make the strips as evenly as possible so they cook evenly.
For this recipe, I like to use a simple yet flavorful marinade made with a low sodium soy sauce, Worcestershire sauce, honey, curing salt, apple cider vinegar, chili garlic, and ginger. You can also add other spices and seasonings to customize the flavor.
To prepare the marinade, pour all the ingredients into a bowl and whisk them together well. You can use a small whisk mixer for this.
And if you like, you can choose to go for a premade marinade like the teriyaki marinade from Kikkoman. Note that if you’re going for this teriyaki marinade, you’ll need none of the marinade ingredients listed earlier.
Now it’s time to let the chicken slices marinate in the flavorful mixture. Place the sliced strips into a large bowl or a ziplock bag, and pour the marinade over them. Make sure all the chicken is coated in the marinade.
Then cover the bowl or seal the bag and then refrigerate the chicken overnight. If you can’t wait that long, two hours is enough. The longer you marinate the chicken, the more flavorful and tender it will become. But the marinating shouldn’t go beyond 24 hours. Otherwise, the acid in the marinade will tear apart the flesh until it gets unusable.
There are two main methods for cooking jerky – in the oven or a dehydrator.
If you’re using an oven, preheat it to 175-200°F. If you’re using a dehydrator, set it to 160-165°F. You can also use an air fryer if you like. Just make sure it has a dehydrate setting like the Willz 6-in-1.
You want to cook the chicken at a low temperature for several hours to dehydrate it and turn it into jerky slowly.
Now that we’ve got our chicken marinated and our cooking equipment ready, it’s time to move on to the cooking step!

If you’ve decided to use the oven method for making jerky, continue with the steps below. Otherwise, skip to the dehydrator method.
First, ensure your oven is preheated to 175-200°F. Next, make sure to line a baking pan with parchment paper. This will prevent the chicken from sticking.
Take the chicken strips out of the marinade. Place them in a single layer on the baking sheet, leaving some space between each piece. You can also pat the chicken dry with paper towels to remove excess marinade and promote even cooking.
Now it’s time to bake the chicken in the oven. Place the baking sheet in the middle of the oven and bake for 2-4 hours, depending on the desired dryness level.
You can flip the jerky halfway through the cooking time to ensure even dehydration. Keep an eye on the chicken as it cooks, and if you notice any pieces browning too quickly, move them to a cooler part of the baking sheet.
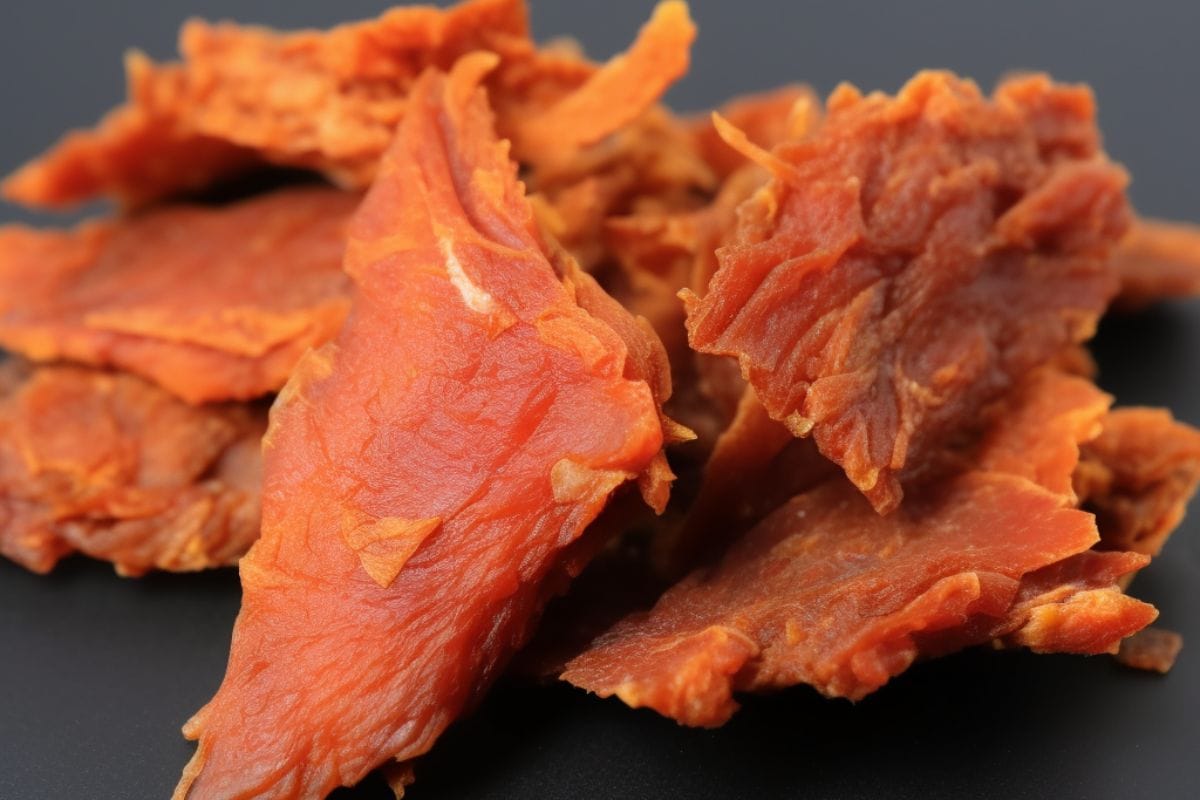
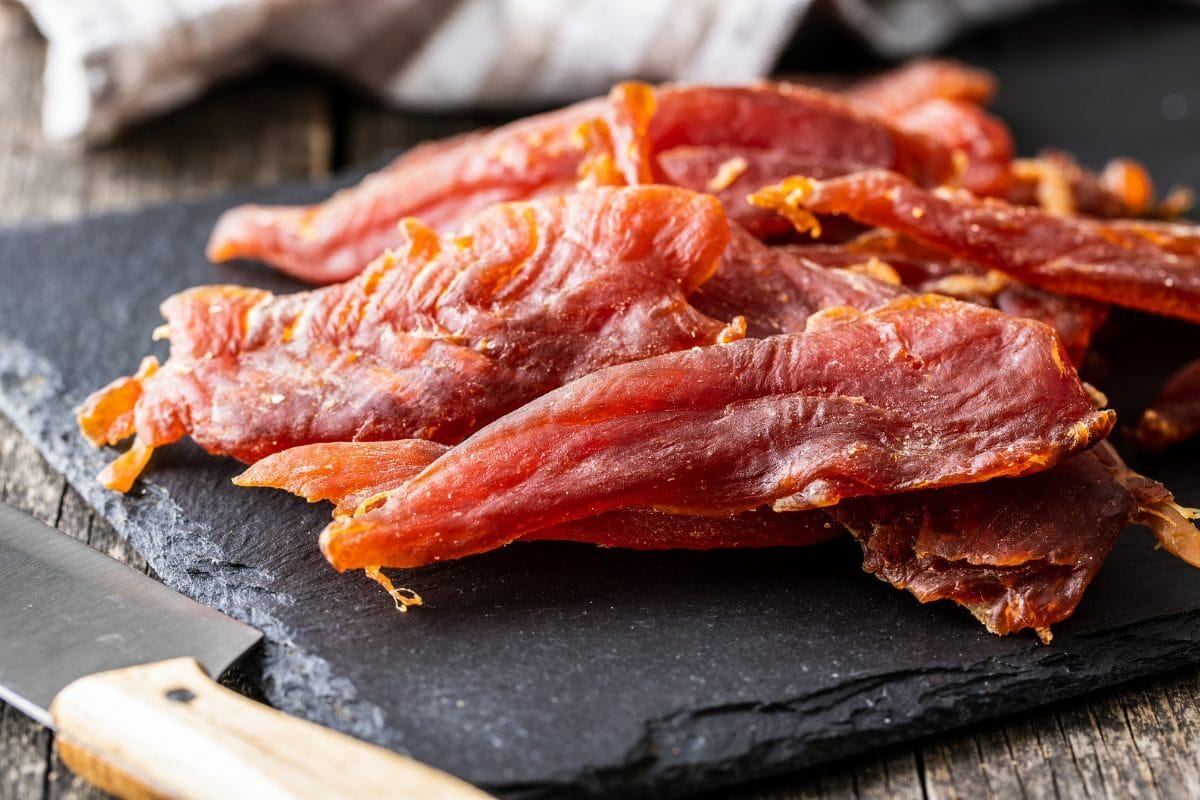
To check if the jerky is done, look for a darkened, leathery texture with no signs of moisture or pinkness.
You can also do a bend test – the chicken should bend and crack but not break apart. If the jerky is still too soft or chewy, bake it for another 30 minutes to an hour and check again. Once satisfied with the texture, remove the chicken jerky from the oven and let it cool completely before storing it in an airtight container.
That’s it – your oven-cooked chicken jerky is ready to be enjoyed!
Now let’s dive into the dehydrator method for cooking our jerky!
Once the dehydrator is preheated, spray your dehydrator tray or wire rack with a non-stick spray.
Next, remove the prepared chicken from the marinade and shake off any excess. Arrange the chicken strips in a single layer on the dehydrator tray. As usual, I like leaving space between each piece to allow air circulation. You can also blot the chicken dry with paper towels to remove any remaining marinade.
Now it’s time to dehydrate the chicken! Depending on the thickness of your chicken strips, dehydrating can take 4-8 hours. Check on the chicken periodically, flipping the strips over once or twice during the drying process. You may notice that some pieces dry out faster than others, so remove them as they finish cooking.
Check if the chicken jerky is done and ensure no signs of moisture or pinkness. Once the chicken is fully dehydrated, remove it from the dehydrator and let it cool completely.
And there you have it – perfectly dehydrated chicken jerky using a dehydrator!
Note: The dehydrator method may take longer than the oven method. But it requires less hands-on time and can yield a more consistent texture.

When storing chicken jerky, you want to keep it in an airtight container or a resealable bag. This helps prevent moisture and bacteria from getting in and spoiling the jerky. You can store the chicken jerky at room temperature or in the refrigerator, depending on your preference. If you plan on storing it for longer than a week, I recommend storing it in the fridge to keep it fresh.
The shelf life of chicken jerky varies depending on how it’s stored and the temperature of your environment. If stored at room temperature in an air-tight container, chicken jerky can last up to two weeks, according to the national center for home food preservation. If stored in the refrigerator, it can last up to a month. If you want to keep it even longer, you can freeze it for up to 6 months.
Yes, chicken is a great choice for jerky. It’s lean, high in protein, and low in fat, making it a healthy and nutritious snack. When marinated and dehydrated properly, chicken jerky can be flavorful and tender.
Chicken jerky is fully dried when it is firm and has a leathery texture. It should not be soft or chewy, as this indicates that it is not fully dehydrated. You can also use a meat thermometer to check that the internal temperature of the jerky has reached 165°F (74°C).
While chicken breast is the most commonly used cut of meat for making jerky, you can use other parts of the chicken such as thighs or drumsticks. However, these cuts may be more fatty and require longer drying times.
There you have it – a delicious chicken jerky recipe you can easily make at home! By following the simple steps provided, you can create your jerky for snacking on the go, at home, or just as a reward to your dogs. Remember to slice the chicken thinly, marinate it for at least 2 hours, and cook it at a low temperature until it’s dehydrated to perfection. And once you’ve made your jerky, be sure to store it properly to keep it fresh and safe to eat.