Some say it’s hard to smoke in an electric smoker due to the lower temperature, but I’m out to prove them wrong with some easy electric smoker recipes.
This type of smoker isn’t as versatile or powerful as your gas or pellet smoker. However, modern models such as the Char-Broil or Masterbuilt electric smokers can reach around 250 to 300 degrees Fahrenheit on a summer day. This is pretty much within what you need for smoking meat to get tender and to have juicy, pull-back ribs that easily fall off the bones.
The electric smoker recipes I’ll show you today are really a throwback to how I used to do ribs when I started smoking. So most of these recipes are how I’ve made them in the electric smoker for a long time.
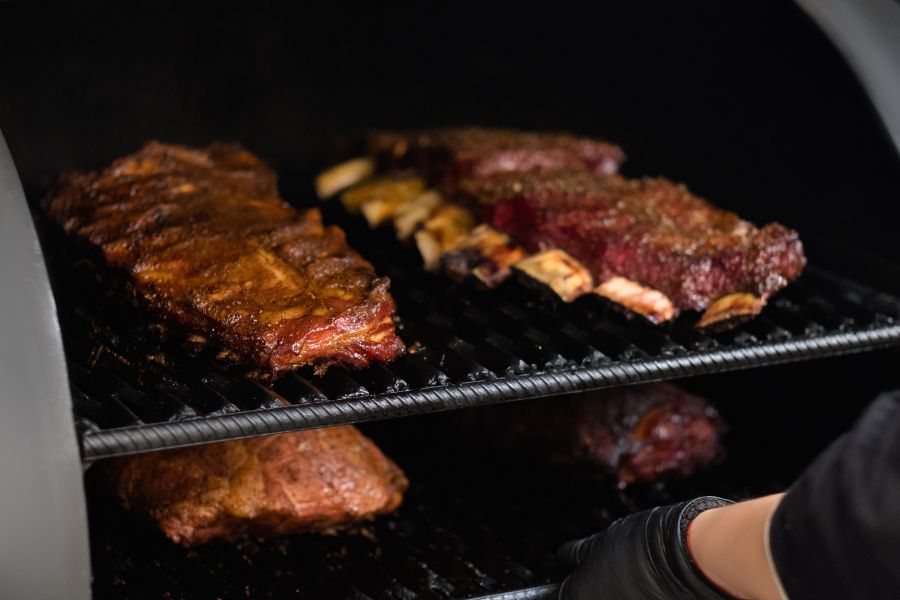
We’ll be opening the electric smoker recipes with this spare rib. It’s one of the most practiced Masterbuilt smoker recipes.
The goal, of course, is to get sweet-tasting, tender, and fall-off-the-bone ribs with good bark on.
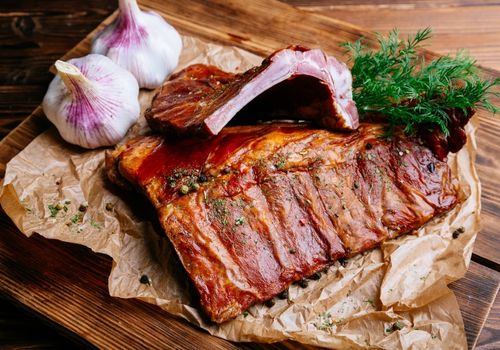
First, get your dry rub ready. We’re going to start by adding brown sugar, granulated garlic, kosher salt, ground black pepper, and paprika in a small glass bowl that has a lid.
Then take a fork and premix them, making sure that all the big clumps of brown sugar get broken up.
Put the lid on the glass bowl and shake all those ingredients.
Next up is to get your ribs out. Again, I like to use St. Louis cut. The last time I tried this, I used a small three-pound rib.
The first thing you have to do is get the membrane off the back side. Then, get under there with a knife, lift the membrane, and insert your finger underneath.
You may want to use a paper towel to get a good grip and pull it off in one motion.
Get the leftover skirt trimmed off with a pair of scissors. Cut off loose pieces, big pieces of fat, and ligaments you don’t want.
Now, check the size of your smoker whether the rib can fit in the width.
It doesn’t matter whether it’s a small or big smoker. When I do ribs in the smoker, I cut them into half axes.
So I suggest that you do the same using your scissors.
Next, get your dry rub and coat the meat generously. I love sweet rubs. You could put the dry rub in a shaker and then apply it all over the ribs until they look good.
Now put the split rack of Saint Louis ribs in a Ziploc bag in the refrigerator overnight. During this process, all the flavors will get absorbed in the meat.
Get some wood chips in the wood box for some great smoke. Apple wood is my favorite wood to use with pork ribs. With the apple juice spritz, you’ll get a nice smoky flavor.
Pecan works well, too, but I prefer apple. If not, use whatever works for you. There’s no straightjacket rule here.
You don’t have to soak the wood chips. I know some people do it. If you have to, only ensure the chips are moist and not wet.
A good rule of thumb is 600 grams every three to five hours of smoking.
Rib smoking in a smoker doesn’t need a lot of moisture or water. So having the pan filled up to a quarter is enough.
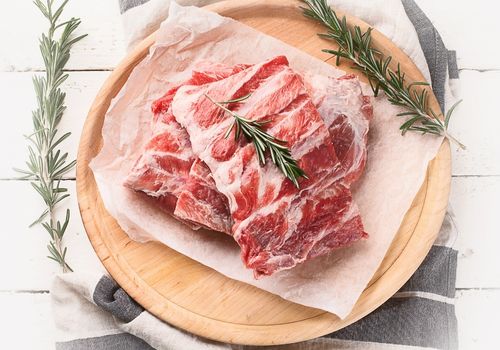
Now you’re going to preheat your electric smoker. Of course, you can try using the Char-Broil smoker, too, but I think the Masterbuilt electric smoker works for me.
Set the smoker to a temperature of around 250 degrees Fahrenheit and smoke using the 3-2-1 method.
This means we’ll normally be smoking the ribs for the first three hours. Then we’ll continue cooking for the next two hours, but the meat will be wrapped in foil.
In the last hour, we’ll cook the meat unwrapped.
Get the St. Louis cut spareribs from the refrigerator and prepare them for smoking.
Since you’ve cut the rib in two, you’ll be using two middle racks. Place the ribs bone side down. Close the smoker and get the smoker ready to work.
Your St. Louis ribs are going to take somewhere around six hours to smoke. However, we’re doing it for three hours for the first leg of smoking.
Overall, what you’re looking for is tenderness. The ribs are done when the meat can pull back from the bones.
After three hours of smoking, it’s time to check the ribs. They should be looking good with a nice color developing on them by now.
You’ll also see that the meat is starting to get some pull back on the bone but with some resistance.
The ribs will still need some time in the smoker. However, at this point, I like to wrap them. Then, take them off the smoker and put each rib in a foil pan. You may put both ribs in the pan if possible.
The moisture I like to spritz the ribs in the foil pan is a two-to-one mixture of water and apple cider vinegar. If the ribs overlap in the foil pan, lift them and get some moisture.
When that’s done, seal the foil pan up with a single layer of foil.
Then get the ribs in the pan back on the smoker. You may put it this time in your second rack from the bottom.
Then close the smoker and let it smoke for about two hours before you check again.
That first load of chips will probably last about an hour and a half to two hours as we’re dealing with plenty of smoke for these ribs. If you need to add more, do it.
After about two hours of additional smoking, it’s time to get them out of the smoker to have them sauced.
By now, you can see the meat pulling back away from the bones, which is exactly what we’re looking for.
Go ahead and sauce the ribs up before the flies get to them. I like to use a store-bought barbecue sauce. There’s nothing special about this or the procedure.
You can thin the sauce with two tablespoons of apple juice or apple cider vinegar.
Then, apply on both ribs again with your barbecue brush.
Return the ribs to the smoker, this time without the pan.
Again, using your discretion, you need the ribs to smoke for about 20 minutes to one hour.
This last smoking lap will give that glaze a little time to set in for more bark.
After that, I’m 99.99% sure your ribs are done. You can see they have a terrific pull back from the bones.
Turn off the smoker and let the ribs rest for about ten minutes, then have your first taste.
One of the most common electric smoker recipes involves taking two parts of the pig and combining them.
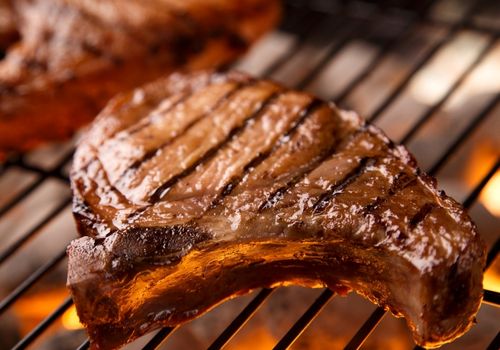
We’re using pork chops and strips of bacon and combining them into a smoked bacon-wrapped pork chop.
This is an easy recipe.
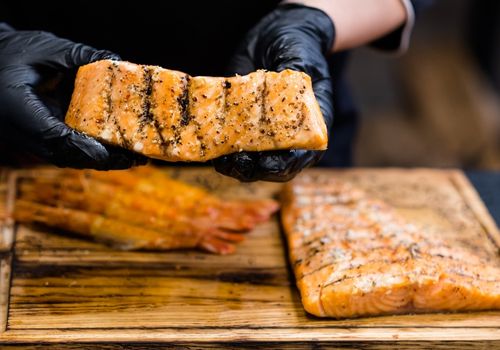
I’m trying a hot smoked salmon for the last electric smoker recipe. It’s something that I love, but it costs an arm and a leg at the fishmonger. So, why buy a smoked salmon when you can make it home?
Meat with high fat content like cross ribs, shoulder roasts, and chuck roasts are suitable for electric smoker recipes. Also, recipes that require slow cooking are ideal for electric smoker cooking.
The smoking of whole fish or fillets, beef briskets, pork, or salmon will have a unique taste and good smoky flavor when done in an electric smoker.
Some of the best electric smoker recipes to try are spare ribs, chicken wings, whole turkey or turkey breast, potatoes, or even burgers. Smoked corn is also possible in this type of smoker.
You don’t have to soak your wood chips before smoking in an electric smoker or other types like a pellet, gas, or charcoal smoker. I don’t do it. However, some grill masters like to soak wood chips when working with a traditional charcoal smoker.
Smoked ribs, bacon-wrapped pork chops, and salmon fillets are great electric smoker recipes beginners can start with. I have provided all the instructions you need to start. Suppose you’re starting out with an electric smoker like I did. In that case, you don’t need to have a lot of extra stuff for your electric smoker recipes.
When making beef, chicken wings, or turkey breast, you can use seasonings and spices in your kitchen. These can include salt, pepper, garlic powder, paprika, and some brown sugar.