Dry brining is just a way of salting and resting food. After a salt sprinkle, you pop the meat in the fridge for anywhere between 14 to 48 hours. Once it’s fully brined, take it out of the fridge and set it on a rack placed on a rimmed baking sheet. That’s a quick summary of how to dry brine.
I’ve been around brining since forever; from back when I was a knee-high participant in the Thanksgiving turkey ritual. But things kicked up a notch after hitting culinary school and donning the chef’s hat.
Trust me, once you give this a shot, you’ll never go brineless again. Curious about the how-to? Well, this guide spills all the salty secrets you need to nail that brined meat.
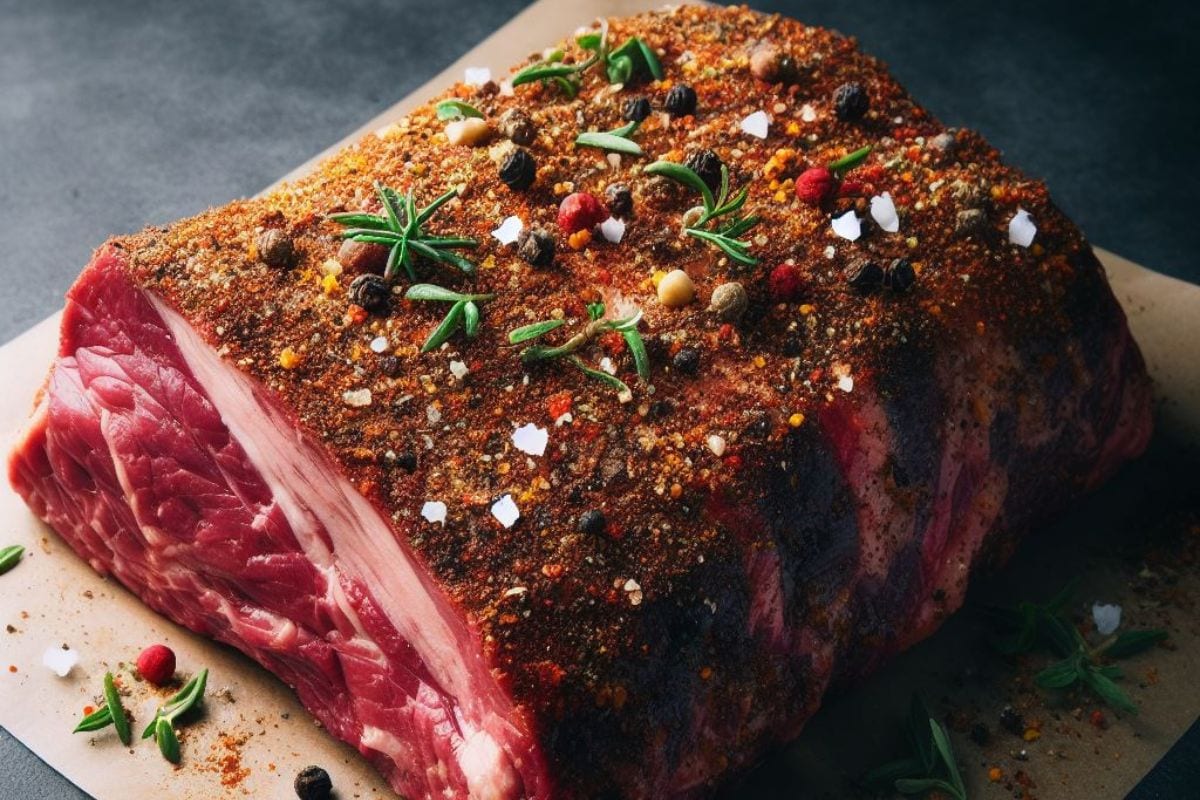
Dry brining involves two fundamental principles – osmosis and dispersion.
You see when you season the meat with salt, it doesn’t just stick to the surface. The salt actually draws out the juices from the meat through a process we call osmosis. Picture this: the salt sort of sneaks into the meat through its semi-permeable fibers, beginning a flavor revolution from the inside out!
Now, onto the grand dispersion party! Inside the meat, the salt starts mingling and dancing with the natural juices, creating a flavor fiesta that permeates every fiber of the meat. As time goes by, this salty, juicy combo breaks down the meat fibers, ensuring each bite you take is a burst of savory delight.
And the cherry on top? This method helps retain the meat’s natural moisture, guaranteeing a dish that’s not just flavorful, but also perfectly succulent and drool-worthy. So next time you’re prepping for a feast, remember, a little dry brining goes a long way in ensuring a mouthwatering meal!
Dry brining poultry meat is a breeze! Here’s the lowdown on how to dry brine a bird and give it a flavor-packed sensation:
The process for dry-brining chicken or turkey is different from meat products like hams, beef steaks or pork butts. The brine time is longer for example and you don’t just put it in the fridge naked. Here’s what the entire process is like:
First things first, grab your piece of meat and give it a good once-over. Get rid of any fibers, sinews, or silver skins. Make sure it’s clean, smooth, and nick-free.
Now, let’s get that meat on the scale and figure out how much salt and spices it needs.
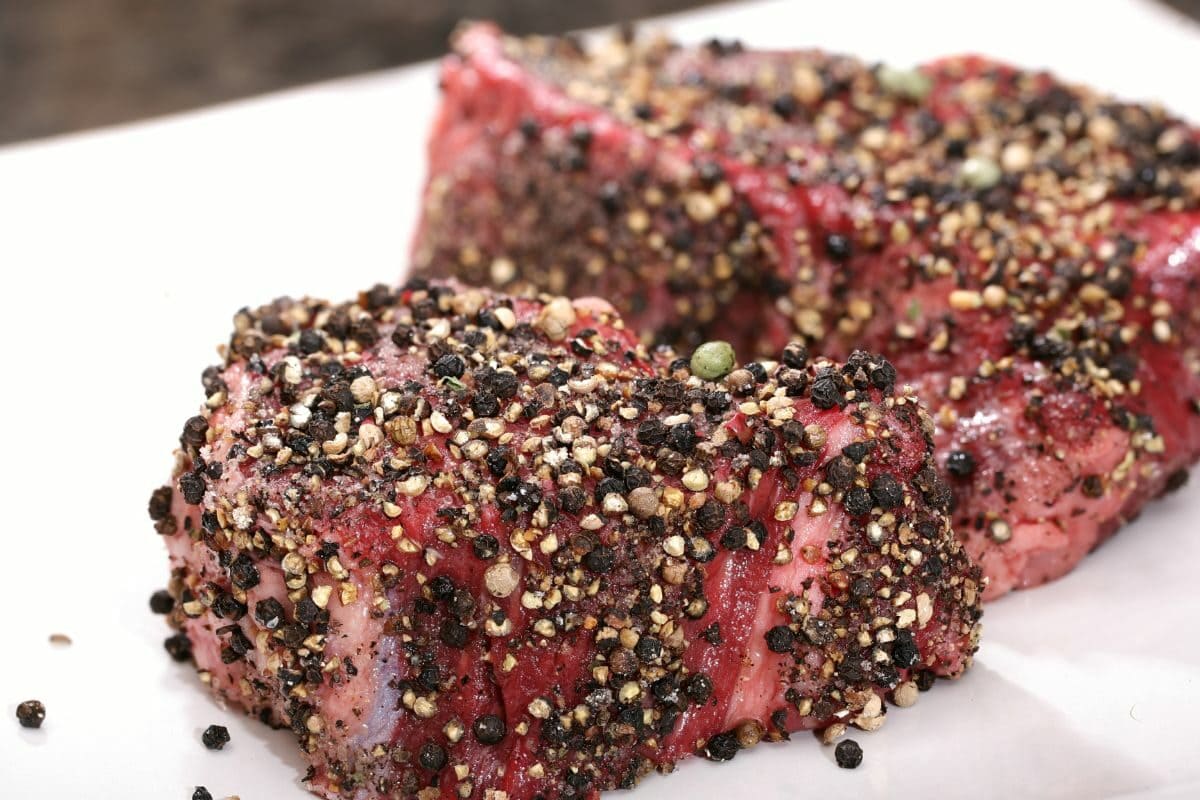
Time to give your meat a spa day! But remember, no liquids. This is not a wet brine. Massage it lovingly with the spice mixture until every nook and cranny is covered. No favoritism here; all sides should be equally pampered.
Next up, grab a vacuum bag like the Potane Sealer Bag. But wait, don’t forget to scoop up any spice mix leftovers – every bit counts. Dump it all in the bag with the meat. We’re not leaving any flavor behind!
Vacuum-seal the meat using the Ziploc or a vacuum sealer. Suck out the air and seal the deal.
Now, the waiting game begins. Pop your ham into the fridge for seven days for ham (that’s about one day for each pound of ham). Three to five days is enough for beef. Don’t forget to give it a spin once a day.
When the wait is over, it’s time for a cold shower. Rinse that meat under water to wash off the excess spices.
Grab a kitchen towel and pat that meat dry. Now, give it a little makeover – insert a hook or tie it up with kitchen twine and let it hang to dry.
Leave the meat in a cool cellar or fridge grid for about three days to let things even out.
You can now hang the meat in a smoker and smoke it. Technically, your ham’s good to go now. Some people like to park that ham or smoked beef in a cool cellar for a few weeks, and let it mature. The longer it sits, the firmer it gets – your choice!
When it comes to meat brining, the golden rule is simple – size matters. The bigger the bird or meat, the more time it needs to soak in that flavor bath.
For smaller cuts like one to two pound meat, turkey breasts, and thighs, an overnight brining is enough. Yep, just let them snuggle up with the salt brine.
Now, for the big players – for hefty Gould turkeys that could feed a village (just joking). Plan for a solid 48 hours of brine time. This ensures that every inch of that meat gets its flavor makeover, giving you the ultimate taste explosion.
But hey, here’s the thing – the USDA advises against leaving any turkey hanging around in the brine for more than 48 hours. We’re all about the flavor, not the sogginess!
However, pork meats take longer. For example, hams can be dry brined for up to 18 days. Beef needs between one to five days.
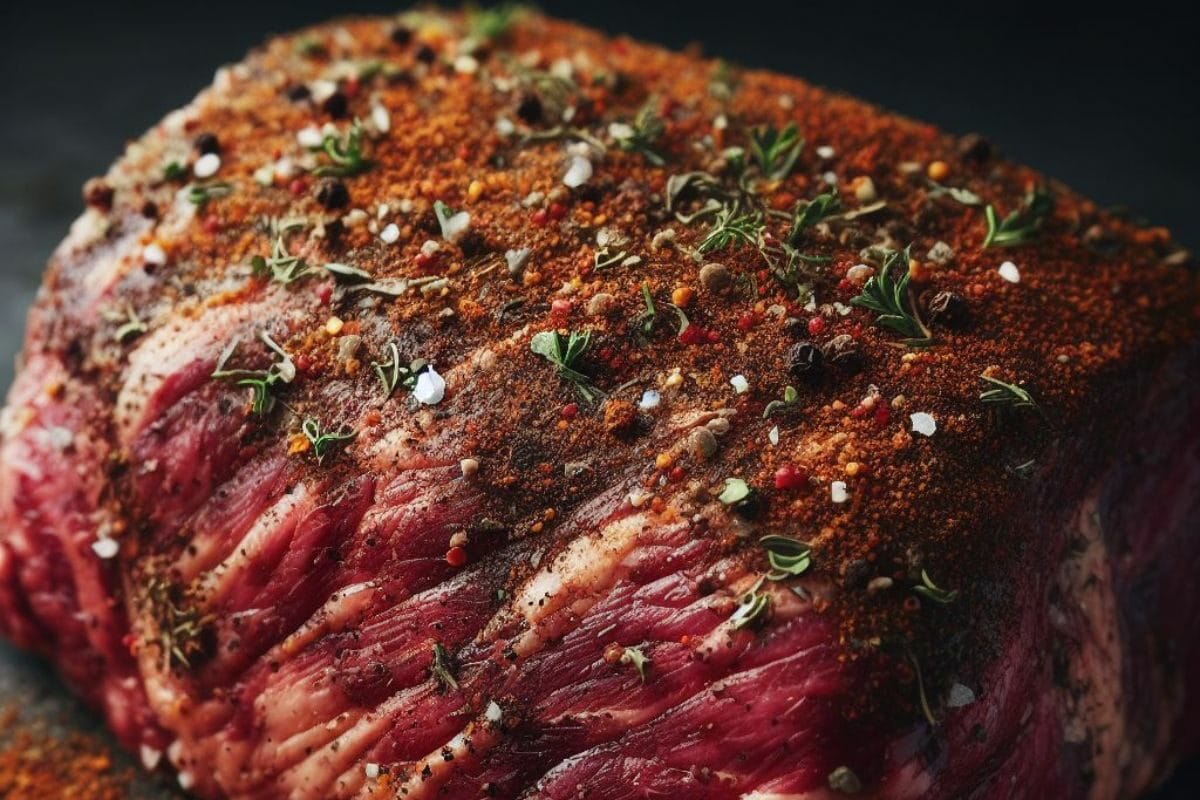
Kosher salt is often the go-to choice for dry curing (and cooking in general) due to its unique qualities. What’s unique with this type of salt is it’s got these big, quirky flakes that stay on the meat’s surface a bit longer than table salts. When you’re dry brining, these flakes stick around, making sure every nook and cranny gets the salt treatment.
But it’s not what you think. Kosher salt isn’t like a salt bomb detonating in your mouth. Nope, it’s got a mellower taste compared to table salt’s in-your-face saltiness. This means you can sprinkle with confidence, controlling the salt level as you like.
So, remember this golden rule: when you’re dry brining, go for the kosher salt. It’s the secret to a turkey that’s got that mouthwatering, just-right flavor
How much salt you need depends on the size of the meat. You’re going to need about 1 teaspoon of Kosher salt per four pounds of meat. So if your meat is strutting its stuff at, say, 12 pounds, you’ll need about 3 teaspoons of Kosher salt.
And if you’re going all out with a hefty 20-pounder, grab that salt shaker and sprinkle about 5 teaspoons of Kosher salt. So, there you have it. Salt by the pound, flavor by the bite.
Dry brining is a flavor-boosting pre-cooking technique among food enthusiasts, and here’s why:
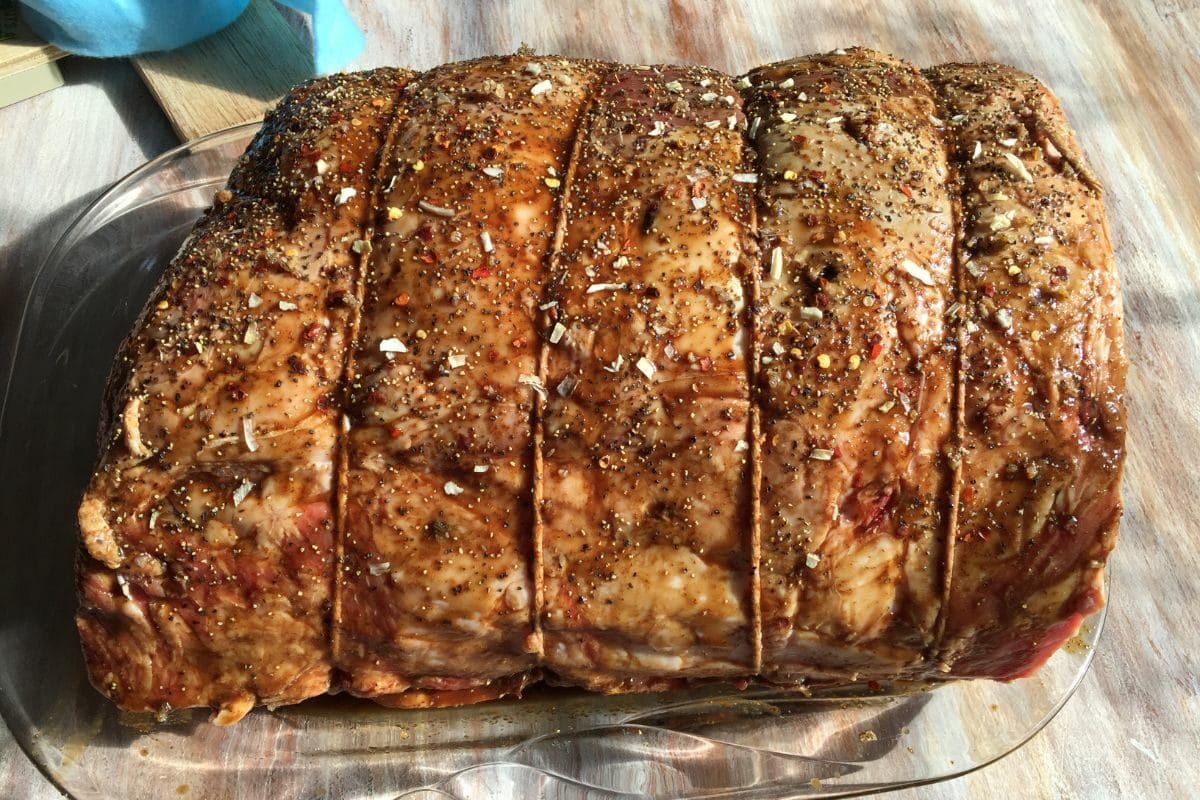
Dry brining doesn’t have to result in an overly salty beef, pork, or poultry if you go with the right amount of salt. When done right, dry brining strikes a balance between enhancing the flavor and maintaining a pleasant saltiness.
The Kosher salt initially draws out moisture, and then it’s reabsorbed into the meat along with the flavors, contributing to well-seasoned and juicy meat. So, while the meat does absorb salt during the dry brining process, it shouldn’t turn out overwhelmingly salty if you follow the recommended guidelines.
Rinsing off the dry brine from the meat isn’t necessary. After the brining has worked its wonders, you’ll find that most of the brine has been soaked up by the meat.
So, feel free to skip the rinsing step and go ahead with cooking your flavor-packed meat.
If you’re running short on time and brining feels like a distant dream, don’t worry. There’s a buffet of ways to still make that protein a star on your plate.
You can apply some flavor-packed rubs or marinate the meat in a two to eight-hour process. You may even give it a liquid injection with all the right spices.
And guess what? Cooking techniques like roasting, grilling, or going the smoky route can all deliver meat that’s juicy and delicious without the brining hustle.
Note however that these methods won’t make your meat as tasty or juicy as the one you brine.
Stuffing a brined bird can be a bit of a debate at the Thanksgiving table. While technically you can do it, I advise against it. And you know what? I’ve got a pretty solid reason behind this.
For starters, when you dry brine a whole bird, the salt draws out some moisture initially. If you stuff the bird, that moisture can be absorbed by the stuffing, potentially making it a bit too soggy or salty.
Here’s the scoop: Cooking times for a stuffed poultry are longer. And that can sometimes mean your chicken or turkey might be a bit overcooked to ensure the stuffing’s safe temperature. And nobody likes dry meat, right?
So, many folks opt for cooking the stuffing separately. This way, they can keep it moist and flavorful without worrying about the stuffing stealing its thunder. Plus, it gives them total control over the bird’s cooking time, resulting in a juicy, succulent masterpiece.
As I said earlier, it is possible to have your brines wet or dry. Next, I’ll explain why they are different from one another.
Topic | Wet Brine | Dry Brine |
What is It? | Immersing the meat in a liquid mixture of water, salt, sugar, and often spices. | Rubbing the meat with salt (and optional herbs/spices) and letting it rest uncovered in the fridge. |
How Does It Work? | Osmosis draws water into the meat, adding moisture and flavor. The salt helps break down muscle fibers for tenderness. | Osmosis draws out moisture initially, then the dissolved salt is reabsorbed, seasoning the meat and breaking down muscle fibers. |
Prep Time | Shorter - usually 12 to 24 hours, sometimes more. | A bit longer – usually one to two days. |
Flavor Penetration | Deeper into the meat due to the extended soaking time. | Less deep compared to wet brining, but still significant. |
Space Needed | Requires a large container to hold the brine and the meat. | No large container needed; minimal space for uncovered meat. |
Crispy Skin | Can make the skin a bit less crispy due to the added moisture. | Promotes crispy skin due to the initial moisture removal. |
Rinsing | Typically requires rinsing off excess salt before cooking. | Generally doesn't require rinsing, as less salt is used. |
Pros | Deep flavor infusion, tenderness, consistent results. | Crispy skin, less time and space needed, customizable saltiness. |
Cons | Requires more space, and can sometimes lead to overly salty meat. | Slightly less intense flavor infusion compared to wet brining. |
Both methods have their perks. The choice depends on your time, space, and flavor preferences!
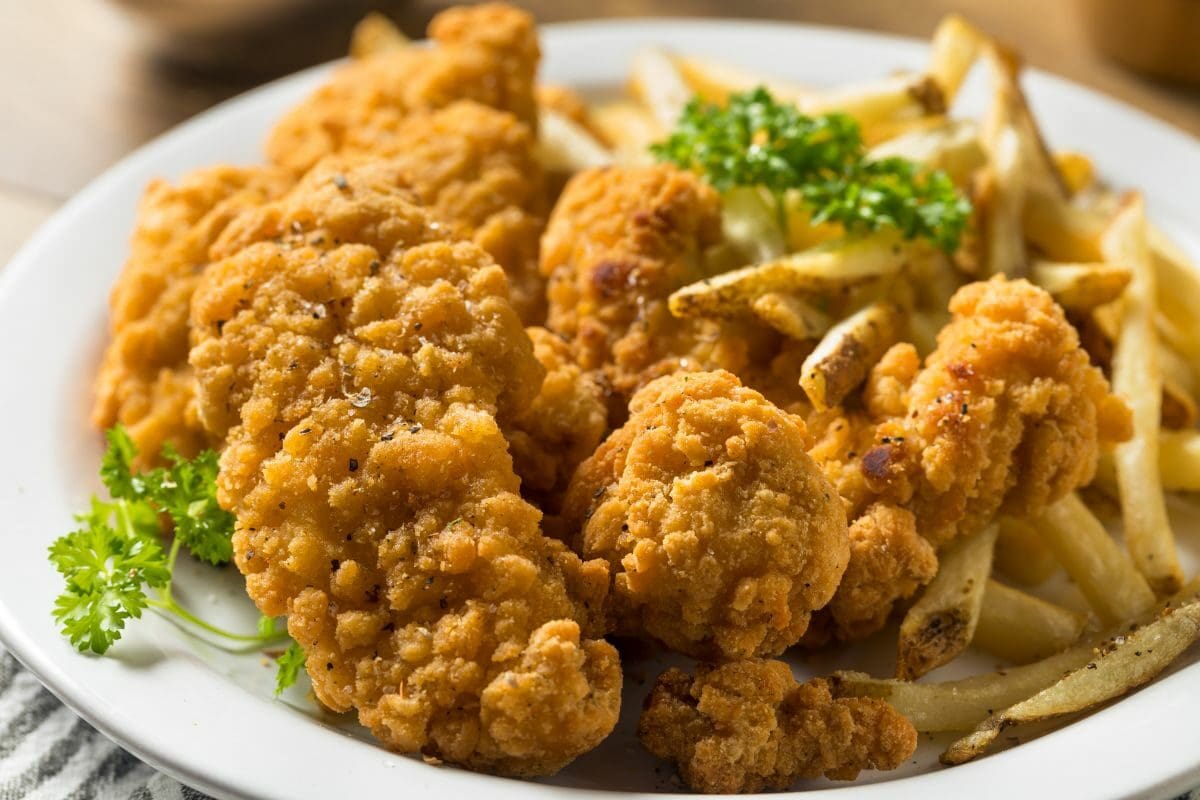
So, you’ve got a beautifully-brined meat ready to take center stage on your table. In this short guide, I’ll walk you through two ways to cook your brined meat: frying and smoking. The best part is the bird or meat is already prepped and brined. So let’s dive right in.
Start by placing your brined whole turkey, chicken or meat on a wire rack over a rimmed baking sheet. This step is crucial to allow the natural moisture on the meat’s surface to dry, setting the stage for that crispy skin or bark we all crave.
Let the meat sit at room temperature on the wire rack for about 45 minutes. This helps the meat’s surface come to a temperature that promotes even cooking.
Take a pot and heat the oil to around 350°F (175°C). The oil should be deep enough to submerge the meat.
Gently lower your brined meat into the hot oil, ensuring safety!
Fry for about 3 to 4 minutes per pound. That means if you’ve got a 20-pound meat, you need at least an hour of deep frying. A dry-brined meat cooks faster than a wet-brined one, so keep an eye on it.
Once the thickest part of the meat reaches the right internal temp, then it’s good to go.
The minimum safe temp is 165 degrees for poultry, 145 degrees for meats like beef, pork, lamb and veal, and 160 degrees for ground meat.
Use a meat thermometer to be absolutely sure.
Carefully remove the meat from the oil and let it rest for about 20-30 minutes. This resting period allows the juices to redistribute within the meat, ensuring a moist and delicious experience.
Start by placing your dry-brined turkey, chicken, or meat on a wire rack over a rimmed baking sheet for 45 minutes once again. This step lets the meat sit at room temperature. Even cooking? Check.
Continue by firing up your grill. A charcoal grill with an indirect heat zone like the Cuisinart Charcoal Grill works. Aim for a temperature around 225°F (107°C). Your choice of wood chips will bring that delicious smokiness to the recipe.
Toss those wood chips onto the smoker’s hot coals, and let that aromatic smoke engulf your food.
Carefully position your brined bird or meat in the smoker. The low and slow method is your best bet here. Follow the internal temperature guidelines as provided in the previous recipe.
You need some patience. Smoking is all about the slow and steady. Your reward is an undiluted flavor explosion.
Once that meat thermometer confirms the internal temperature, take it out of the smoker and let it rest for about 20-30 minutes.
Hmm, I hate to be the bearer of bad news, but dry brining a frozen turkey isn’t really the way to go. Why, you ask? Well, a frozen turkey is like a block of ice armor, and that’s not gonna let the brine work properly. You want that brine to mingle with the meat, right? So, thaw your turkey first, then let the dry brine begin.
While dry brining involves salting, it’s not just a one-trick pony. Yes, you sprinkle salt on your meat, but there’s a whole process happening behind the scenes – the diffusion and dispersion process I mentioned earlier. Also, dry brining involves refrigeration. So this is not just a salting trick. It’s flavor engineering.
And that’s it! You just learned how to dry brine meat. Dry brining turns a simple piece of beef, pork, or poultry into a tasty, juicy, and tender sensation with a crispier bark, chicken, or turkey skin. You can opt for the sizzle of frying for that extra crispness or the smoky embrace of a grill and wood chips. It’ll have your guests smirking lips and singing your praises. So go ahead, give it a shot, and enjoy the flavorful results!