If you’re a BBQ purist, you might swear by the natural flavors that charcoal or pellet smokers bring to your pork ribs. But there’s something darn convenient about smoking pork ribs on a gas grill. Just hook up a propane tank, add soaked wood chips, prepare and season the ribs, fire up the smoker, and you’re on your way to rib perfection!
I’ve spent time at cooking school and behind the grill, perfecting the art of mouthwatering, fall-off-the-bone ribs on all grill types. In this guide, I will share my proven method for making delicious pork ribs on a gas grill. Stick with me, and you’ll become a skilled pitmaster in no time.
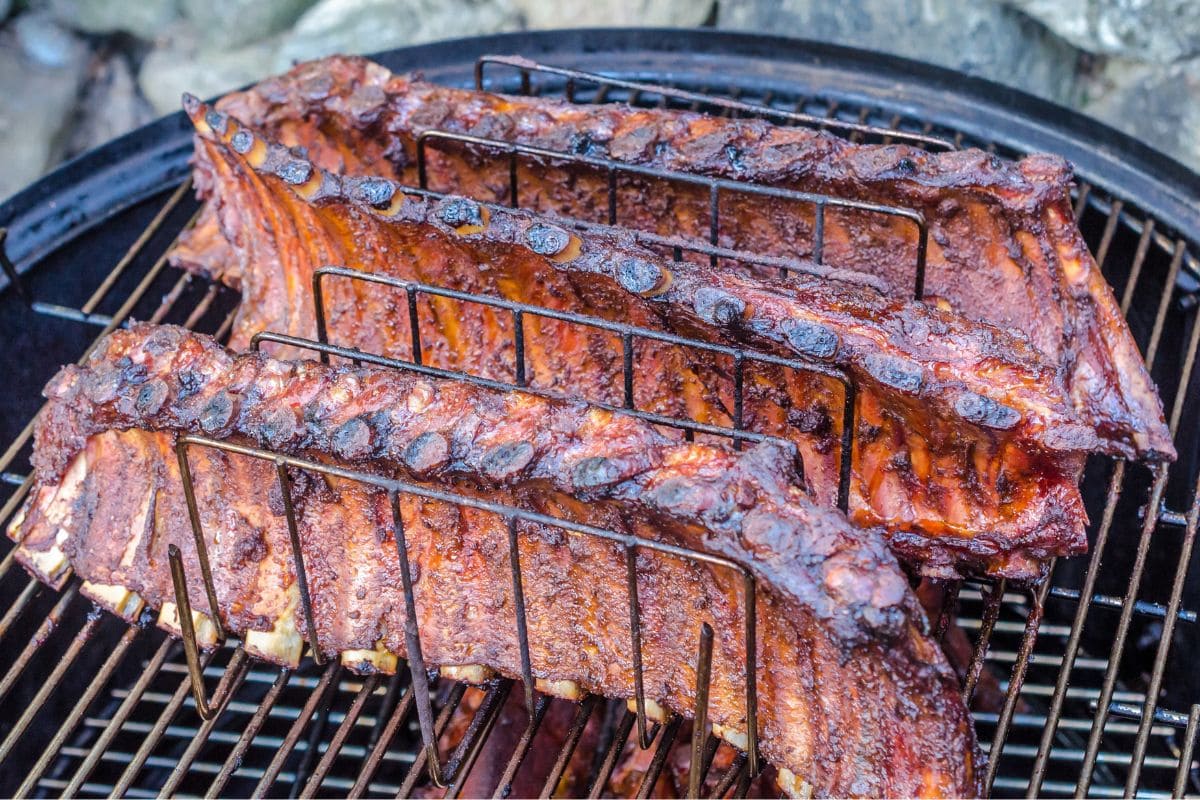
Before we jump into details, we need to make sure we’ve got all the gear and ingredients required to turn those ribs into flavor bombs on the gas grill. Here is a list of items I usually start with.
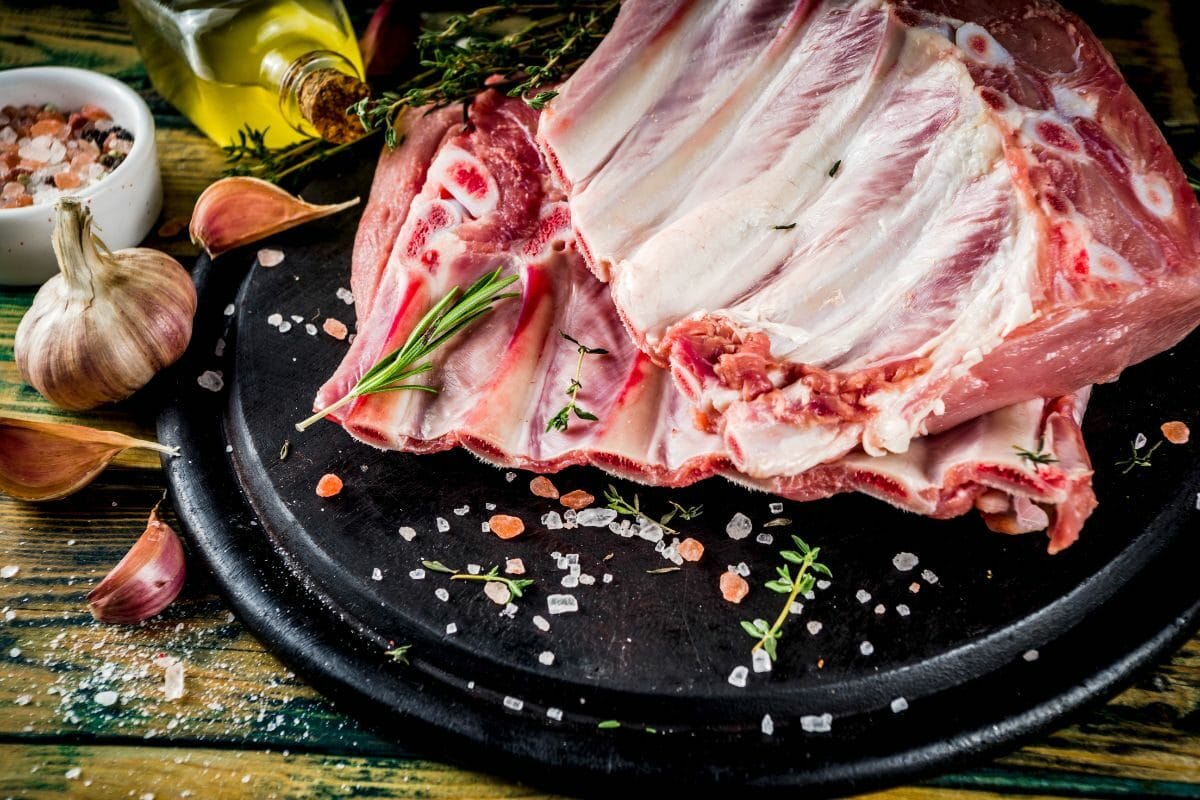
We’ll kick off by selecting the absolute best ribs. Regarding ribs for a smoking recipe, pork ribs are my go-to cuts. They have the right combination of meat and succulent tenderness. Pork ribs have just the right amount of fat marbling to keep the meat moist and juicy throughout the smoking process.
And when it comes to pork ribs, you have a couple of options. But these two are always top of my list:
Now, here’s the secret to getting the best pork ribs: opt for high-quality cuts with generous marbling. Look for beef or pork ribs that are well-trimmed, with a good balance of meat and fat. Whether you’re going for baby back ribs or spare ribs, the ribs should be firm and moist, and the bones should be intact and not broken.
Head to your trusted butcher or local grocery store and ask for your favorite ribs. Take your time to inspect the racks and choose beautifully marbled ones.
Grab a bag of wood chips (hickory, apple, mesquite – take your pick) and give them a good soak in water for at least 30 minutes. Dry chips will burn off fast and intensify the heat in the smoker.
We want those chips to release that sweet, smoky flavor slowly when they hit the grill. Soaking in water or flavored liquid like wine, beer, or fruit juice also helps generate more smoke.
Time to heat things up! Make sure your propane tank is filled and hooked up to the grill. To connect the propane tank with your grill, first, ensure the grill’s gas valve is closed. Then, connect the regulator hose to the tank’s valve and hand-tighten it. Check for leaks by applying soapy water to the connections. Open the tank’s valve slowly, and you’re good to go!
Fire up your gas grill and let it preheat with the lid closed to a temperature of around 225-250°F. This low cooking environment is what we need to work that magic on your ribs.
The preheating time is typically around 10 to 15 minutes. You’ll be taking that time to prepare your ribs for smoking.
Now, if your grill has a smoker box, fill it up with those soaked wood chips and place it directly on the heat source.
I know not all gas grills come with smoker boxes. But you’ve got options. You could get the Char-Broil smoker box and add your wood in there.
Don’t worry if you don’t have one – just grab some aluminum foil, make a packet with some holes poked in it, and use it to hold the chips. Trust me, the smoke will find its way!
Related Reading
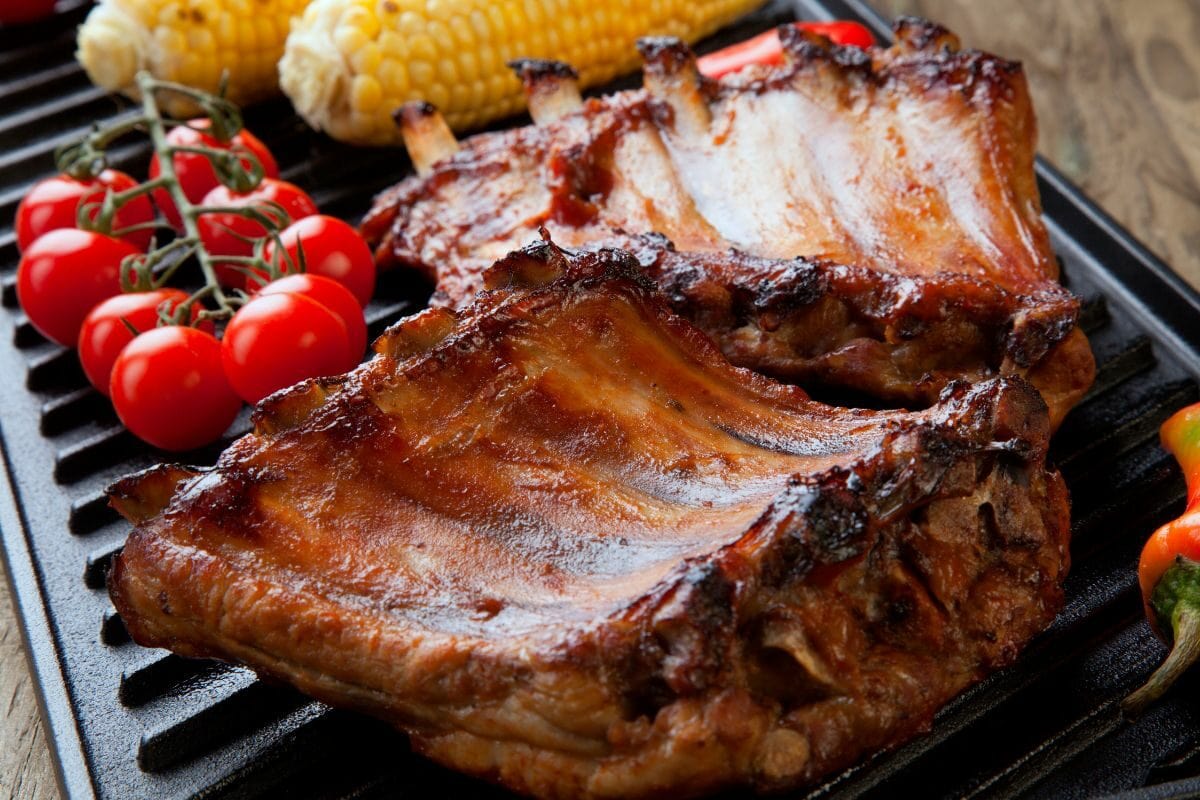
No time to waste! The grill is warming up, and those ribs are calling your name. Grab a knife or a dry paper towel for grip, and let’s tackle that pesky silver skin on the back of the ribs. It’s a thin, tough membrane that can prevent flavors from fully penetrating the meat.
To remove it, start by sliding your knife under the silver skin at one end of the ribs. Lift it gently to loosen it, then grab it with the paper towel for a better grip. Now, with a firm grip, slowly pull the membrane away from the ribs. It may take some effort but don’t worry. You’ve got this. Once the silver skin is removed, it’s time to add flavor.
Next, grab your favorite dry rub or seasoning blend and apply it to those ribs. Get generous with it! Don’t have BBQ rub in your pantry? Then you may want to grab the Cattlemen's Cowboy Rub. I like to use and recommend this because it gives off that old classic BBQ taste.
Whether you want a classic barbecue taste or you’re in the mood for a spicy adventure, coat both sides of the ribs, pressing the seasoning into the meat with some love.
If you’re feeling patient, you can let those seasoned ribs hang out in the fridge for a few hours or even overnight. It’ll give those flavors time to mingle and intensify. But hey, if you’re raring to go, no judgment here – we can dive right into the next step.
Alright, it’s showtime! Carefully place your seasoned ribs on the grill grates, bone-side down. The indirect heat zone, away from direct heat, is where you want to smoke on a gas grill because things are not as hot here.
The indirect heat zone cooking and the position of the meat help protect the meat from direct heat and allow that flavored smoke to work its magic on the ribs. Close the lid and let the smoking begin!
I know how powerful the gas grill can be regarding heat. But we don’t need the heat. Make sure to keep things nice and low. Thankfully, gas grills have great heat control features, many of which can go as low as 225 degrees.
So, adjust the grill settings to maintain a steady temperature of around 225-250°F. This low and slow method will give your ribs that tender, fall-off-the-bone effect. Remember, patience is vital in the art of smoking.
As the smoke starts to dwindle, it’s time to give it a little boost. Add more soaked wood chips to the smoker box or foil packet. This will keep the flavorful smoke flowing and infuse your ribs with that irresistible smokiness. Don’t be shy with those chips – the more, the merrier!
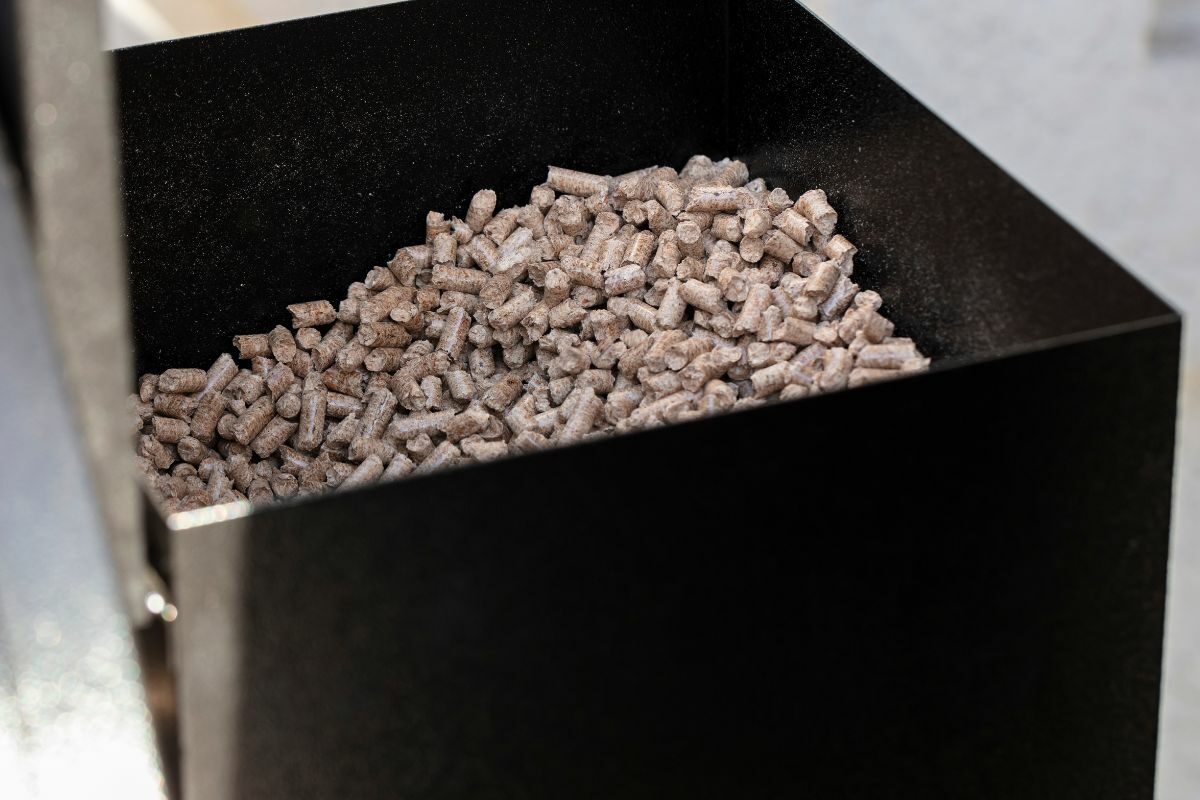
Keep an eye on that temperature gauge. It’s essential to maintain consistent heat throughout the smoking process. If the temperature starts to drop, increase the heat slightly. On the other hand, if it gets too hot, reduce the heat or open the lid slightly to let some heat escape. Remember, we aim for that sweet spot of 225-250°F (107-121°C) for perfect results.
Now that your ribs are gently smoking away on the grill, it’s time to kick back, relax, and let the flavors work their way. In the following steps, I’ll share some optional techniques, like basting the ribs with a BBQ sauce or wrapping them up for extra tenderness.
If you want to add an extra layer of flavor and moisture to your ribs, basting is the way to go. Grab your favorite BBQ sauce and a trusty basting brush. I like the Traeger 'Que You may choose that, too, if you want a classic barbeque sauce.
Every hour or so, open the grill and brush a generous amount of BBQ sauce onto the ribs. Be careful not to disrupt the smoking process too much. This optional step will enhance the taste and create a delicious rib glaze.
For those who crave slide-off-the-bone tenderness, wrapping the ribs is what you must do. Grab some aluminum foil and create a tight seal around the ribs.
Before wrapping, you can add some BBQ sauce for added sweetness. Something like apple juice, apple cider vinegar, or brown sugar will also do. Place the wrapped ribs back on the grill and continue smoking. The foil will create a steamy environment, helping to tenderize the meat and lock in flavors.
As the ribs continue to smoke, you’ll notice the meat starting to pull away from the bones, and the aroma will be tantalizing. Now it’s time to gauge the doneness.
Grab a meat thermometer (I recommend an instant-read digital thermometer like the Alpha Grillers thermometer. Then insert it into the thickest part of the BBQ ribs, avoiding the bone. The meat is safe for consumption once it reaches 145 degrees, as the USDA recommends. But the ideal internal temperature should reach around 190-200°F. Once you hit that sweet spot, it’s time to move on to the final step.
Resting is crucial for the juices to redistribute and the flavors to settle. Carefully remove the ribs from the grill and let them rest, covered with foil, for 10-15 minutes. This resting period allows the meat to become even more tender and juicy. When the time is up, grab a sharp knife, slice those BBQ ribs into your preferred portions, and serve them on a platter or plate.
As a general guideline, you can expect to smoke ribs for approximately 2 to 3 hours on a propane grill. However, the cooking time for smoking ribs on a gas grill can vary depending on factors such as the thickness of the ribs, desired tenderness, and the temperature you’re cooking at.
Also, I suggest you don’t cook with your timer. I cook ribs based on what the internal temperature is reading. So, once again, it’s essential to use a meat thermometer to ensure the BBQ ribs reach an internal temperature of around 190-200 degrees Fahrenheit for tender, fall-off-the-bone results.
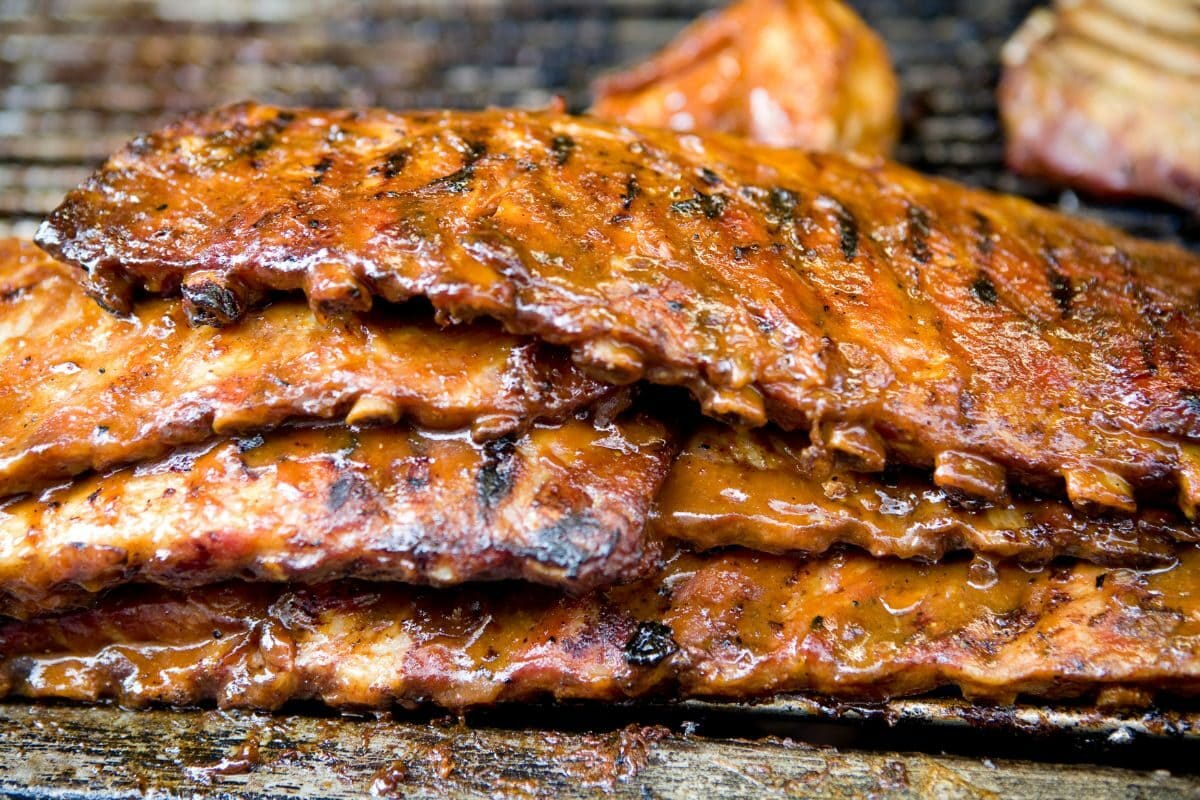
When it comes to smoking meats, there are a few grill options you could consider: pellet, charcoal, and gas grills. Let me break down the differences between them:
Well, there you have it, folks! If what you have is a gas grill, or you’re looking to get a gas grill but will be doing a lot of recipes that require grilling, no worries! Making BBQ ribs on a gas grill is all about unlocking those amazing flavors and creating a barbecue masterpiece right in your backyard. I hope this guide has given you the confidence and know-how to embark on this delicious adventure.
Don’t be afraid to put your spin on things. Experiment with different wood chip varieties to add your signature touch. Get creative with your dry rubs and seasonings to match your taste preferences. And hey, if you feel like basting or wrapping that rib rack for extra tenderness, go for it! Cheers to incredible ribs and unforgettable moments.