Using an offset smoker ain’t no rocket science. First, load the firebox and a chimney starter with your choice of charcoal and wood chips/chunks. Fire up the chimney starter and pour the burning embers in the smoke box where you have the rest of the coals. Then adjust the temp by playing with the air intake vent. Finally, cook your meats low and slow until they’re fall-off-the-bone delicious.
How do I know all these, you ask? Well, I’ve been wielding offset and charcoal smokers for years for various mouthwatering BBQs. I’ve tried my wits on the Dyna Glo Vertical Offset Smoker while at cooking school and the Royal Gourmets on several cookouts.
So, in this article, I’ll cover the essentials of using an offset smoker like a seasoned pitmaster; from preparing the smoker and taming the fire to smoking your meats to juicy perfection.
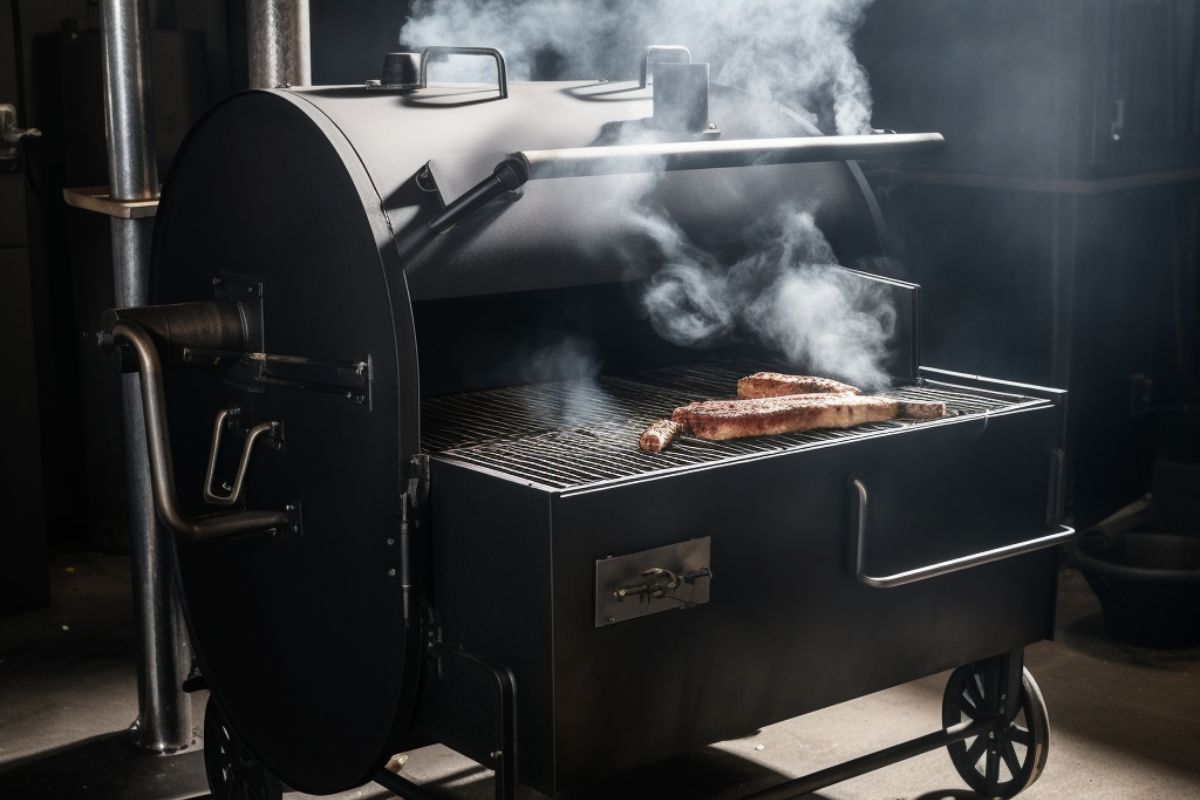
Start by scouting out the ideal location for your offset smoker. I always want to ensure I cook barbecue in a safe and secure environment.
Look for an open outdoor area, away from flammable objects like overhangs or furniture. We don’t want any unexpected fire-starters, do we? Safety always comes first in the world of smoking.
Now, let’s get down to business and assemble your smoker.
Grab the manufacturer’s instructions and follow them to a T. Trust me, you don’t want any surprises down the road. Take your time and make sure everything fits snugly.
Check for any wobbly parts and tighten them up because stability is vital when it comes to smoking. Once you’re done, give it a good once-over to ensure it’s sturdy and level. Ain’t nothing worse than a wobbly smoker ruining your barbecue game.
It’s time to choose the fuel that’ll cook your BBQs. Charcoal briquettes ain’t my style, as they can give off strange flavors. Opt for high-quality hardwood charcoal or lump charcoal. They burn hotter and cleaner than charcoal briquettes, giving you that authentic smoky taste.
Now, here’s the secret ingredient that gives your barbecue that mouthwatering flavor: wood chunks or chips. Get your favorite wood chips or wood chunks, whether that is apple, hickory, mesquite, cherry, or what have you. Remember, wood chips or chunks. Not wood pellets! Remember, this is not a pellet smoker.
I’ll be honest, this is where the real work is. Offset smokers are not like pellet smokers where you can just fill in wood pellets, start the grill with a knob, set, and forget it.
To get that fire going in the firebox of your offset smoker, start by filling the smoker box with charcoal. So, grab yourself a chimney starter. If you don’t have one, you need one for your smoker, and I recommend the Weber Rapidfire Chimney Starter. Once you have it, fill that with charcoal too.
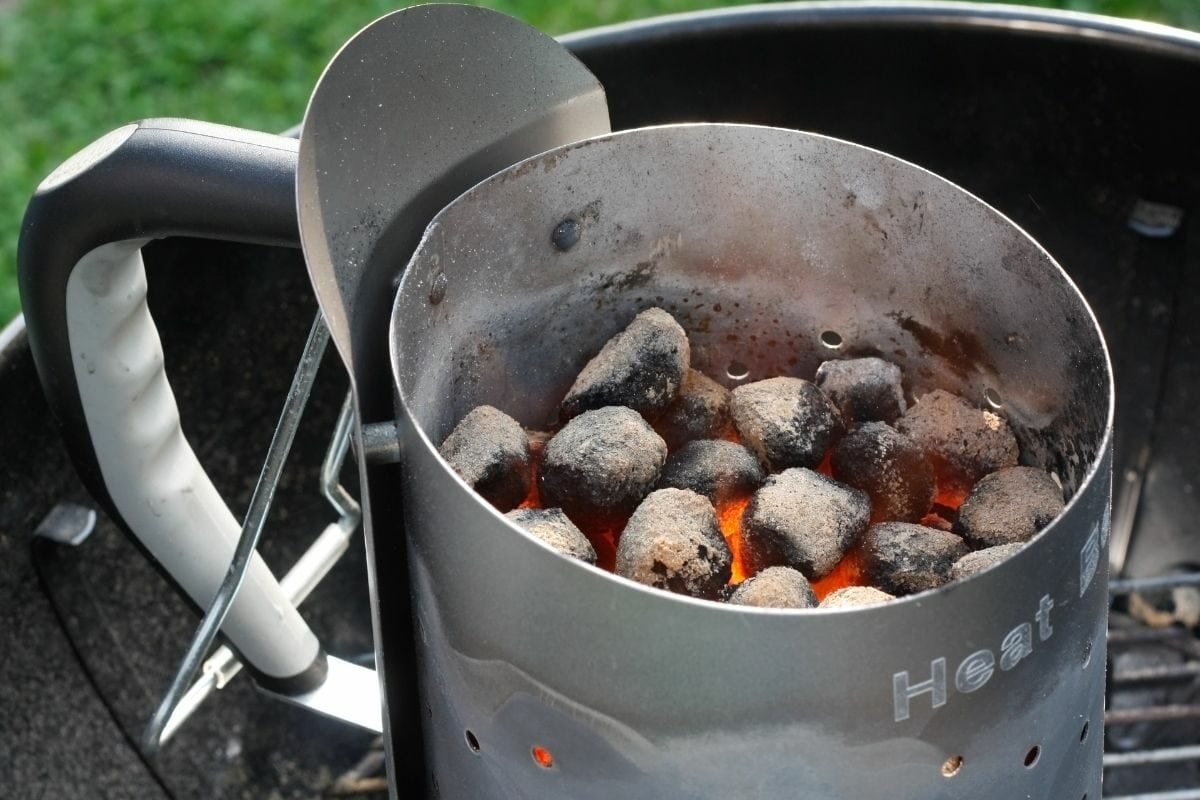
Now, it’s time to light them up and let the flames dance. There are several pre-made and available-at-home combustibles you may use to light the charcoal. You can use lighter cubes like the Weber Lighter Cubes or a wad of newspapers. Just stick whatever you’ve chosen at the bottom of the chimney starter and light it up.
Once they’re all fired up and glowing, carefully transfer the fully-lit coals to the firebox. Pile them up nicely and neatly, creating a bed of hot coals. Fire management is key here. The coals and chips don’t need to catch fire. Be cautious when moving those hot charcoal. You may want to wear some BBQ gloves to handle the hot chimney starter.
Tips and Warnings
Grab some BBQ grill oil and coat the insides of the smoker including the grates. This little step helps prevent rust and adds a lot of flavor to your meats.
Once you’ve spread that oil all around, it’s time to heat things up. Set the temperature to about 250°F (120°C) and let the smoker work its magic for about two hours.
This will ensure that it’s seasoned to perfection and ready to infuse your meats with that irresistible smoky goodness.
Now, let’s talk about airflow. It’s the secret to keeping that smoker at the perfect temperature.
Open the dampers on the firebox and start adjusting them to control the airflow. Remember, more air means more heat and less air means less heat. Find that sweet spot where you want your cooking temperature to be.
We’re talking about a range of around 225°F to 275°F (107°C to 135°C) for that cooking perfection. Keep an eye on the dampers and make those little tweaks to maintain that steady temperature throughout your smoking journey.
Now it’s time to get down to the meaty business. Choose your meat of choice – ribs, brisket, pork butt, or your favorite BBQ food – and get ready to work. Before we proceed, trim off any excess fat to ensure we’re left with the juiciest and most flavorful cuts.
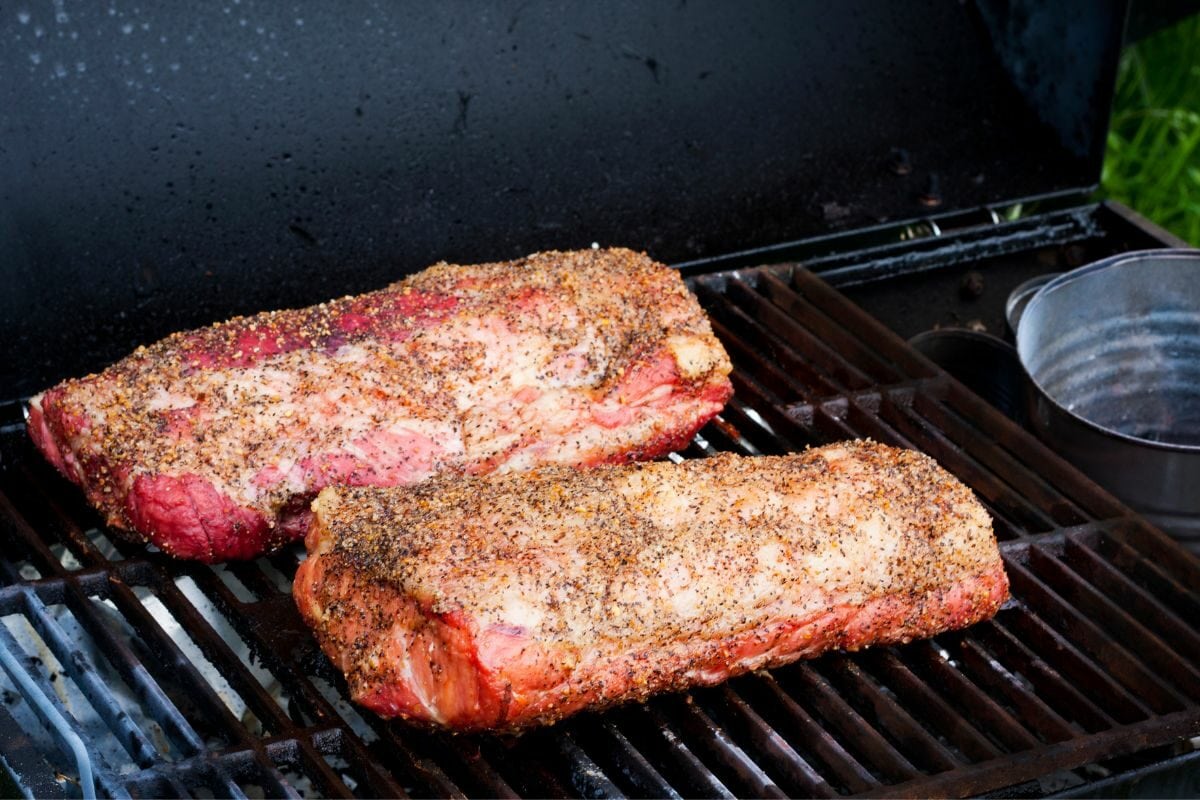
Once that’s done, it’s all about the flavor game. Give your meat a good marinade, or rub it with your favorite seasoning rub. Let it soak up all that flavor and then make it come to room temperature. If you don’t know what seasonings to use, get the Traeger Rub if you’re making pork or poultry. For beef barbecues, then you have to try the Jack Daniels seasoning rub.
To add moisture and help regulate the temperature, place a water pan inside the smoke chamber of your offset smoker.
Fill it with water, fruit juice, or a flavorful liquid. The water pan will create a moist environment, keeping your meat juicy and preventing it from drying out during the smoking process.
Now it’s time to create some wood smoke flavor. Grab those wood chunks or chips again. Make sure you soak them in water for at least 30 minutes. This helps generate white smoke that last longer.
Once they’ve had their soak, toss them right onto those hot coals in the firebox. The sizzle and the smoke will fill the air, filling your meat with flavor. Meanwhile, be careful with how much wood you’re using so you don’t end up with creosote-covered food.
It’s time to put that beautifully prepped piece of meat on the stage. Lay it gently on the grill grate of the cooking chamber on the opposite side of the firebox. Close that lid and let the smoking begin.
Make sure to keep that temperature steady. We want to maintain the perfect cooking environment for our meat masterpiece. Resist the temptation to peek too often into the main cooking chamber, except when you want to check the internal temperature, spritz or add more fuel. Let the heat and the smoke work their way on the meat. Trust the process, close the cooking chamber lid and let the smoker do its job.
To enhance the flavor and moisture of your meat, spritz it with a flavorful liquid throughout the cooking process. Create a spritzing mixture by combining water, apple cider vinegar, fruit juice, or marinade in a spray bottle.
Open the smoker, spritz the meat with the mixture, and quickly close the cooking chamber lid to retain the heat and smoke.
This process starts after an hour of cooking. Then you do it after every 30 minutes of cooking.
We’re in the home stretch now. It’s time to tend to that fire and keep the smoker going strong.
Keep a watchful eye on that firebox. And if you notice the temperature dropping, it’s time to add more charcoal.
Grab the charcoal and wood bags and gently add some more wood and coals to the fire. Keep that firebox happy and fueled up, and your smoker will continue to work its magic.
Now it’s time to play the temperature game. Grab yourself a meat thermometer because we want that meat cooked to perfection. Don’t have one? I recommend a digital instant-read meat thermometer like the ThermoPro thermometer.
Each type of meat has its sweet spot. So consult a cooking temperature chart to get the precise temperature guidelines for your cooks.
Stick that thermometer into the thickest part of the food and wait for the magic number to appear. This little tool will be your best friend, ensuring your meat is cooked right, tender, and juicy.
Once you’re done with your cooking session, it’s essential to extinguish the fire properly.
Close all the vents including the air intake vent on your offset smoker to cut off the oxygen supply. This will gradually reduce the fire and help it die down.
Make sure to dispose of any remaining hot coals or ash safely, away from flammable materials.
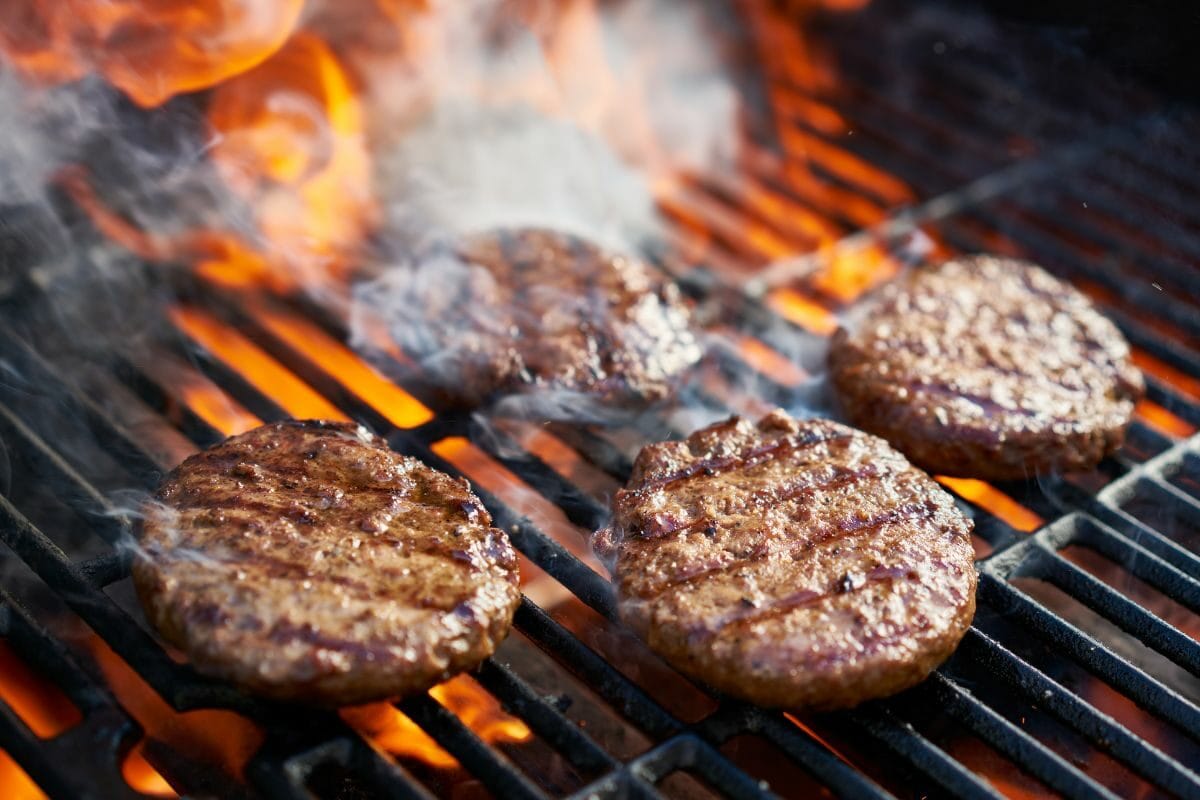
After each use, it’s essential to clean your offset smoker to ensure its longevity. Remove any leftover ashes and debris from the firebox and cooking chamber.
Wipe down the grates and surfaces with a grill brush or a damp cloth. Regularly check for any signs of rust and apply a high-temperature paint or coating if necessary.
When you’re not using your smoker, it’s essential to store it correctly. Keep it in a dry and protected area to prevent rust or damage.
Consider using a smoker cover specifically designed for your smoker to shield it from the elements. Proper storage will help extend the lifespan of your offset smoker.
I know what you’re thinking…
Offset smokers may seem a bit daunting at first, looking at how they’re designed and what you need to do to get the fire going. But once you get the hang of it, they ain’t too difficult to use. It’s all about understanding the fundamentals and finding your rhythm. Here’s the scoop:
Sure, there might be a bit of a learning curve, but don’t let that intimidate you. With practice, attention to detail, and a passion for barbecue, you’ll soon become a master of the smoker.
Maintaining the smoker temperature and heat distribution is often a problem in offset smokers for some users. But don’t sweat it. To maintain a steady temperature of 225°F (107°C) on your offset smoker, ensure the following:
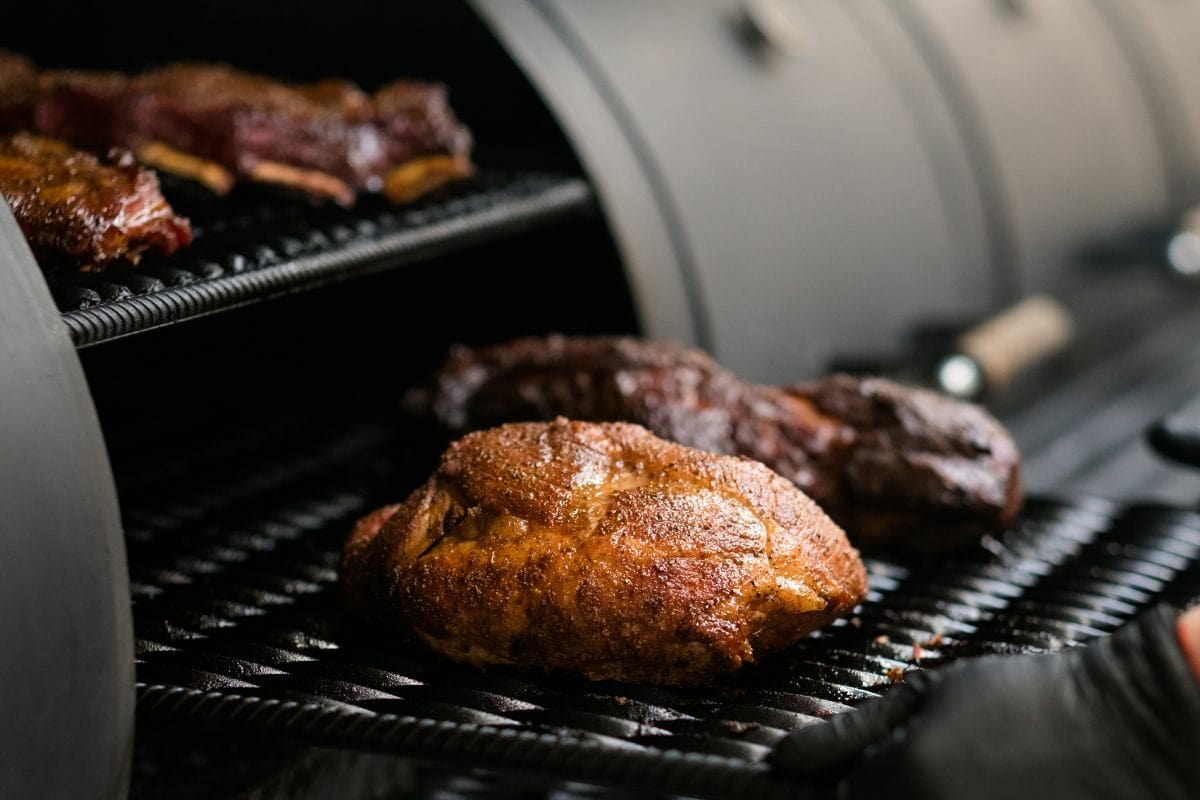
When it comes to smoking meats, two popular options often come to mind: the reverse flow smoker and the offset smoker. While both produce delicious barbecue, they differ in their design and cooking techniques.
The offset smoker, including the classic offset barrel smoker, has a horizontal cooking chamber. The heat and smoke make their grand entrance into the cooking chamber from one side. But here’s the thing – it can lead to some hotspots and uneven temperatures. Those ribs on the left of the horizontal smoker might be getting all the love, while the ones on the right feel a little neglected.
As for the reverse flow smoker, you have a reverse flow technology that works with a clever baffle system. This guides the heat and smoke flow beneath a steel plate before sending it back across the cooking chamber. The reverse flow technology ensures a more even distribution of heat. No more favoritism!
So, which one should you choose? Well, it depends on the experience you’re after. Reverse-flow smokers provide that consistent cooking environment, while offset smokers give you that traditional smoky flavor. The decision is in your hands.
Now you know the ins and outs of using an offset smoker like a true pitmaster. With a bit of patience, practice, and some passion for barbecue, you’ll be smoking some mouthwatering’ meats that’ll make you the envy of your neighborhood.
Keep in mind how to start the charcoal, keep that fire burning and the wood smoking, and maintain a steady temperature in the cooking chamber so the flavors of the wood or charcoal work their magic. So gather your friends, fire up the smoker, and enjoy the rewards of your smoking skills.