My smoked chicken recipe often starts by cranking up the pellet grill to a low cooking temp of around 225. While you’re waiting for it to warm up, grab your favorite rub and generously coat the whole chicken inside and out. Then, slap that bird onto the grill, breast side up! Let it smoke away to a toasty 165 degrees F internal temperature.
As a grill fanatic, I got all the tricks up my sleeve at cooking school and perfected my BBQ smoking skills by the pit. So trust me when I say, I’ve got the inside scoop on how to create a smoked chicken masterpiece on a pellet grill.
And today, I’m super stoked to share my tried-and-true technique with all of you. Without further ado, let’s dive deep into the steps you need to achieve that poultry BBQ perfection.
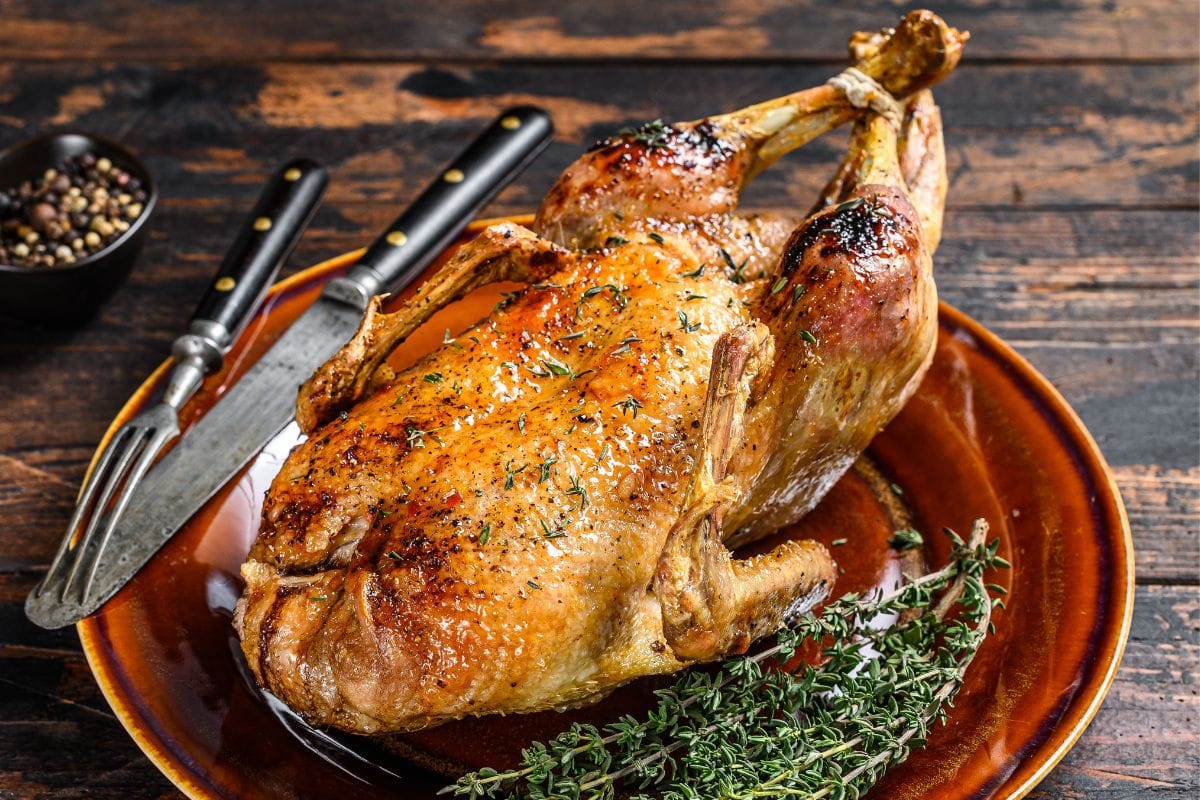
It’s time to roll up your sleeves and get this smoking show on the road! This step-by-step guide will walk you through the process of preparing and smoking the bird from start to finish.
First, let’s talk about the essential tools and ingredients you’ll need to smoke chicken on a pellet grill:
Here’s the hero of our cooks! Make sure you’ve got a reliable grill that can keep the heat steady.
Don’t have one yet? Well, I highly recommend you snag up the Z Grills Pellet Grill. I’ve tried it out myself and it never disappoints.
Want something a bit scaled-down in the price? Then the Char-Broil Offset Smoker is just for you. That’s if you wouldn’t mind its small size.
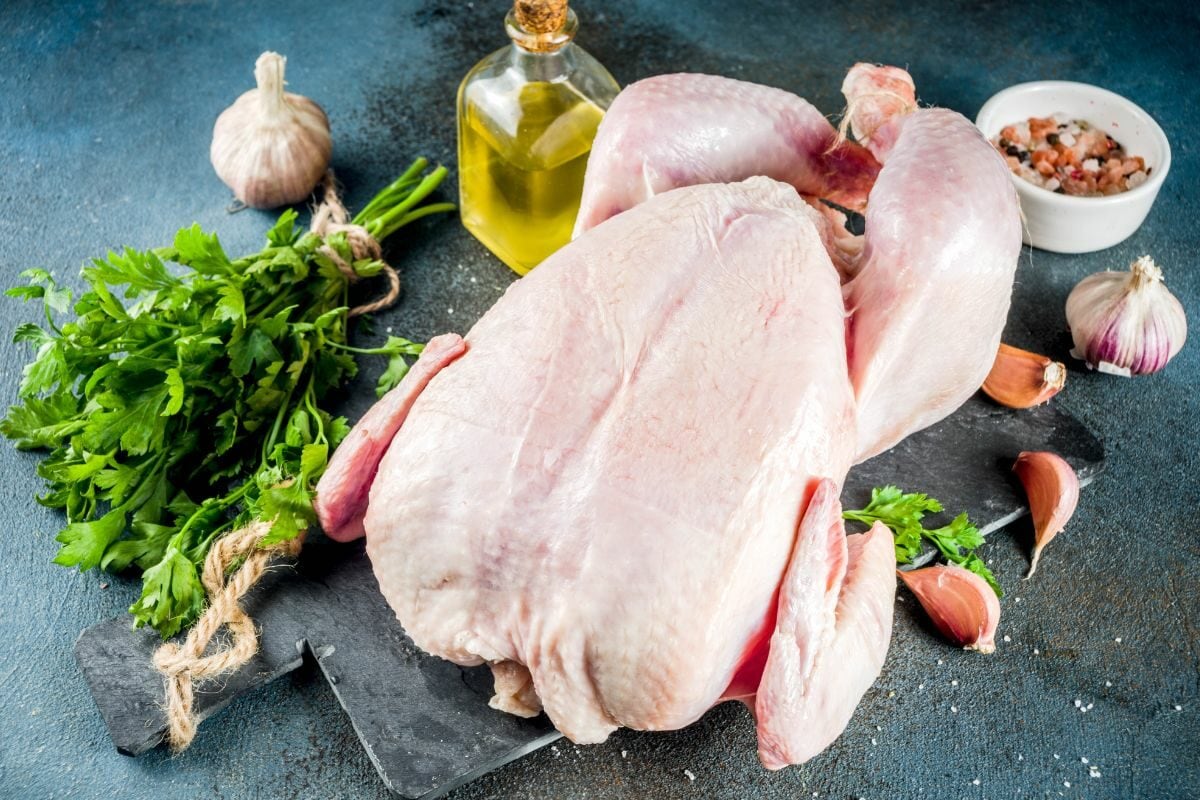
Make sure you have a fresh, plump, and if possible, organic whole chicken to get the best taste and nutrients.
Head over to your local grocery store, meat shop, or farmer’s market. These spots usually have good selections of high-quality, locally sourced poultry.
And don’t be shy. Ask them questions about where the chicken came from and how it was raised.
Once your whole chicken is ready, give it a good rinse under cold water. Get rid of any giblets or other funky stuff that might be chilling inside the cavity.
Once you’re done, pat dry with some paper towels to get rid of any excess moisture.
Excess fat can be a buzzkill for the flavors and smoke to do their thing properly. Grab a sharp knife and carefully trim off any visible fatty patches. Pay extra attention to areas like the neck, tail, and cavity.
Remember, having the right knives can make your whole chicken prep a breeze. Make sure you have a sharp chef's knife for general cutting and trimming.
As for me, I like to remove the neck and excess chicken skin. It’s totally up to you, though, because keeping that skin on can add some extra flavor and moisture beneath. You may also leave it if you like chicken meat with crispy skin.
If you want to get rid of the neck, just slice it off close to the body. And if you like it skin-free, pull the skin away from the chicken and give it a trim with your knife.
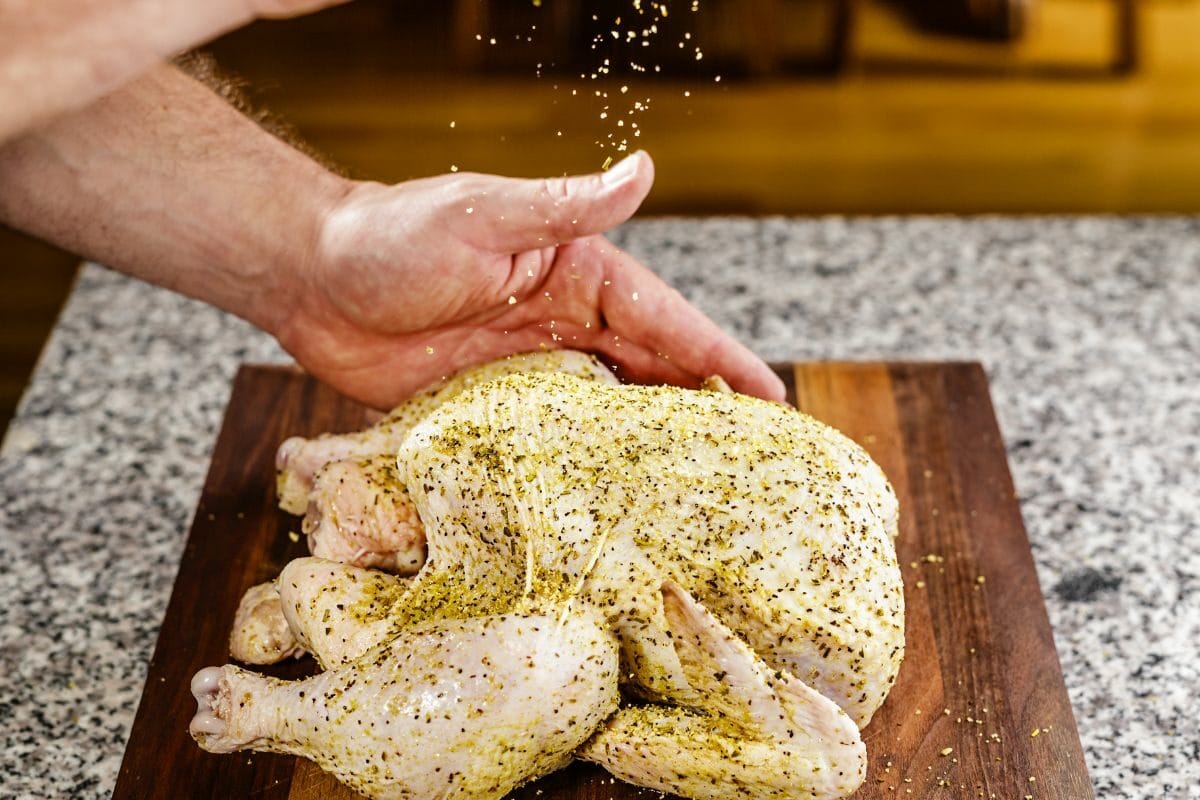
Now is the time to get saucy! Grab your favorite rub or marinade. Whether it’s a lip-smacking BBQ blend or a zesty herb-infused concoction, the choice is yours!
If you don’t have a rub or marinade at home, don’t worry, you can still create a delicious flavor profile for your chicken.
For a quick and easy homemade rub, raid your spice cabinet. Then mix some pantry staples like salt, black pepper, garlic powder, smoked paprika, onion powder, and a pinch of cayenne if you like it spicy.
If you’re more into marinades, take a walk down to your fridge and pantry for ingredients like soy sauce, lemon juice, Worcestershire sauce, brown sugar, olive oil, minced garlic, honey, or even your favorite bottled dressings. Mix them up, taste as you go, and find that perfect balance of sweet, tangy, and savory.
Don’t be afraid to experiment and get creative with your flavors. That’s the beauty of cooking!
And hey, if you’re not in the mood for making your own, you can always find a wide variety of pre-made rubs and marinades at your local grocery store or online.
Want a marinade pre-made for chicken? I like Lawry's brown sugar chicken marinade!
And if you are a team dry rub and want something made ready for chicken, then try out Lawry's Perfect Blend.
If you’re seasoning before smoking, pick your favorite seasoning or rub, and lather that meat with the chicken seasoning. And don’t forget to get into every nook and cranny, including the cavity.
If you’ve chosen to marinade the chicken, grab a big reusable plastic bag or a covered container. Place the chicken in, add your marinade mix, and seal or cover it up. Let that chicken marinate in the fridge for at least 2 hours. If you can swing it, go for an overnight stay. This allows the flavor to work its way in and give your chicken a seriously tasty punch.
Pro Tips: You’ll have to season the marinated chicken before smoking. But don’t overdo it because of the chicken seasoning in the marinade. And don’t season before marinating. The marinade will wash it away and you’ll need to redo it.
Before we get that chicken smoking, we need to bring it to room temperature. Take it out of the fridge and let it hang out at room temp for about 30 minutes to an hour. This helps with even cooking and keeps that juicy goodness locked in.
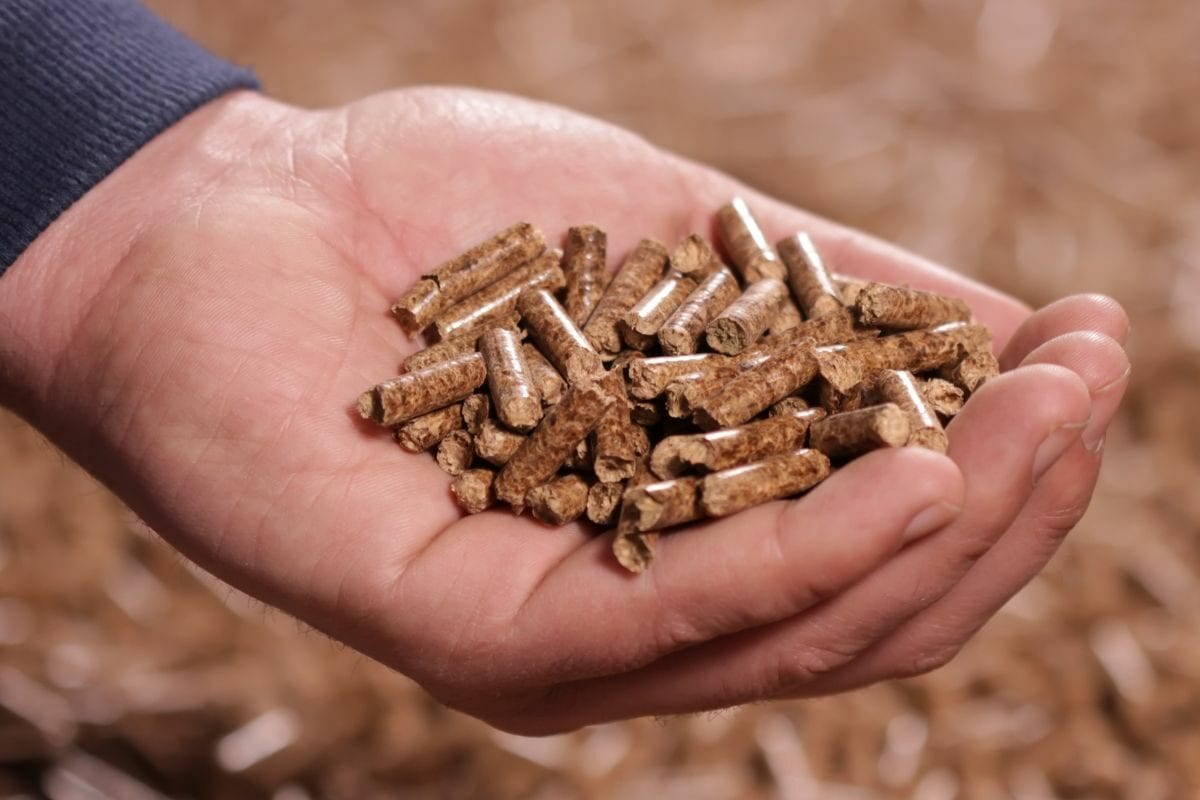
Remember? Wood pellets are the name of the game! And to get that irresistible smoky BBQ taste and have long-lasting fuel, you’ve got to go for hardwood pellets.
One brand that never fails to impress is Traeger. Their wood pellet product has a whole range of flavors to take your chicken game up a notch. Hickory, apple, and mesquite are some of my personal favorites of the lineup for cooking chicken. But it depends on the taste you’re aiming for.
Hickory adds a robust and classic BBQ smokiness. Apple gives you that slightly sweet and fruity touch, and mesquite brings that bold and intense flavor. They’ve got a signature blend too just in case you’re still undecided.
Whichever brand or flavor you’ve got, grab your wood pellets bag and load them up in the grill’s pellet hopper.
First, make sure your grill is clean. Also, no sticking is allowed here! So make sure you oil the grates with olive oil using a spray bottle.
If you don’t have a fancy food-grade spray bottle at home, no worries! Get yourself an oil sprayer bottle and fill it up with some olive oil. That way, you can easily coat the grill grates and keep everything smooth and slick.
Just remember, if you’re improvising with a spray bottle in the house, make sure it’s food-grade. We don’t want any accidental insecticide seasoning on our chicken!
While your chicken is getting cozy and your grates are oiled up, it’s time to fire up that grill. Preheat it to the temp you’re shooting for — I always recommend 225 degrees F. It takes some 10 to 15 minutes for the grill to come up to the set temp. So, give it time.
Now, it’s showtime! Place the bird on the grill, breast side up. Then make sure there’s enough space around it for the smoke to do its thang.
Close the lid of the grill and let the whole chicken smoke away. Maintain a steady temperature of around 225°F throughout the smoking process.
In the last few minutes of smoking, brush the whole smoked chicken with the BBQ sauce to add some glaze and taste.
So, make sure you get a BBQ sauce beforehand and apply it on the chicken during the final stages. And for that southern, classic BBQ taste, Cattlemen's Kansas City BBQ Sauce is one of my favorite BBQ sauce products.
Don’t play the guessing game with your smoked whole chicken. When the cooking is two hours away, use a digital meat thermometer to monitor the internal temperature every now and then.
Grab a decent thermometer to ensure it’s cooked to perfection, juicy, and safe to devour.
You know the game if you’ve got one at home. If not, go get an instant-read thermometer, something like the Alpha Grillers Cooking Thermometer.
The thickest part of the chicken is where you want to do this temperature check. Talking about the thickest part, this can be part of the breast or thigh meat. Wherever you may be poking your thermometer in, ensure you avoid contact with bones. The chicken is ready when it reaches an internal temperature of at least 165°F, as the USDA recommends for poultry.
But how long will the chicken take to get to this internal temp? Usually, you’re looking at a smoking time of about 2.5 to 3 hours at a temperature of 225°F. But hey, these are just ballpark figures, alright? Cooking times can also vary slightly from one chicken or recipe to the other.
Once the chicken has reached the desired internal temperature, remove it from the grill. Safety first here, folks! Make sure you use a pair of tongs or some heat-resistant grill gloves.
Now let the chicken rest for about 10 minutes. This allows the juices to redistribute, resulting in moist and tender meat. Carve the chicken, and serve it up with additional BBQ sauce and your favorite sides. Then watch everyone’s faces light up with delight.
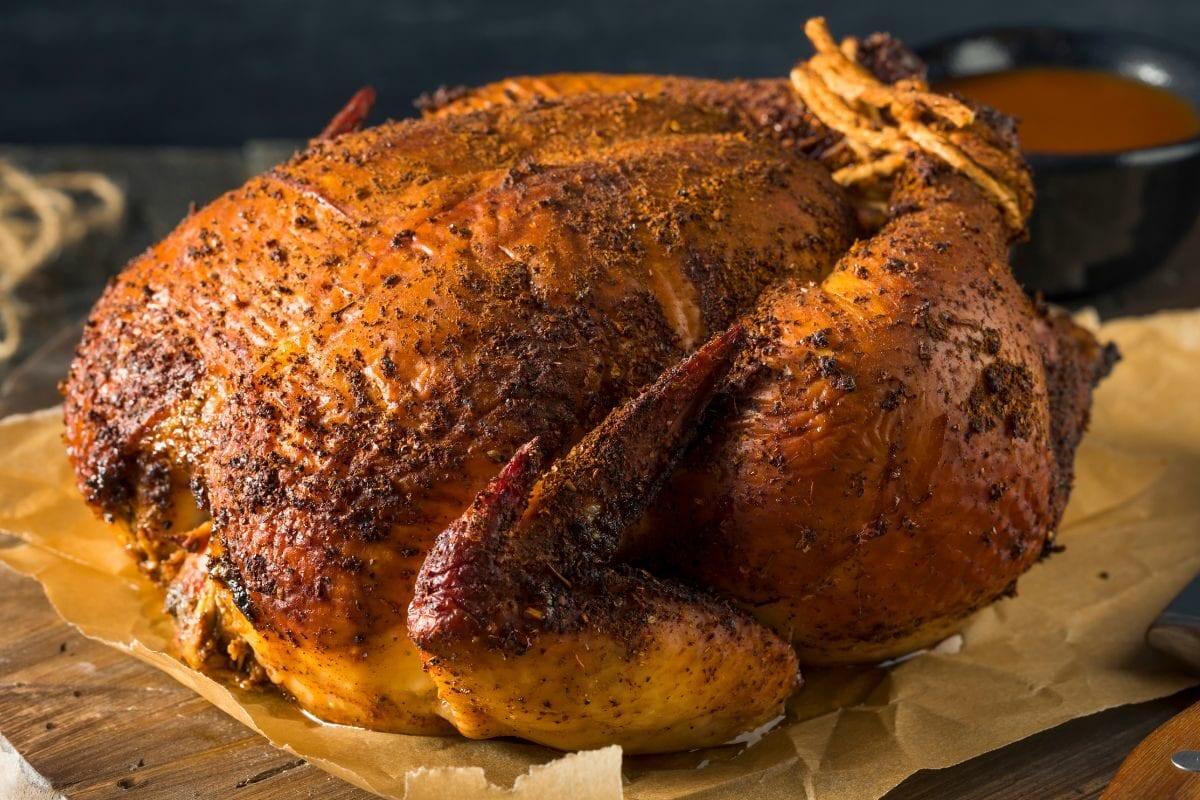
I’ve got a couple of tricks up my sleeve to get that bird ready for some serious smoking. We already covered the classic whole chicken method which I feel is the most common style. But now I’ll show you some other techniques that never fail me:
When it comes to butterflying, we’re talking about giving your chicken a flattened shape, with each side spreading out to look like a butterfly. The beauty of butterflying is that it promotes even cooking and speeds up the process.
You’ll need a sturdy pair of kitchen shears for tasks like butterflying or spatchcocking the whole chicken.
For me, the best shears made for poultry are the iBayam Kitchen Shears. It works really well on chicken skin and it makes your spatchcocking tasks a breeze. A boning knife like Dalstrong's can also come in handy for removing bones if needed.
Now, to butterfly your chicken, place the chicken breast side down on your cutting board, grab the kitchen shears or a sharp knife, and cut along both sides of the backbone. Remove the backbone, flip the chicken over, and press it down firmly to flatten it out. Now, it’s time to season it up and get it on the grill.
The YouTube video below shows you just how it’s done:
If you’re into smaller portions or want to cook different parts of the chicken to different levels of doneness, quartering is the way to go.
Start by cutting through the breastbone to separate the chicken into two halves. Then, cut through the joint where the thigh meets the drumstick to separate each leg quarter. Season each piece with your favorite rub or marinade, and let the smoking fun begin. Quartering gives you more options and lets the smoke found its way into the meat for more deliciousness!
First of all, you get to be the boss of the temperature. You can control the heat with the dial or a touch of a few buttons. With a pellet grill, you can keep things steady and cook your chicken evenly. And here’s the best part – those wood pellets bring that smoky flavor to the party and make your smoked chicken taste heavenly. You can choose from a bunch of different pellet flavors to add your own special touch.
But wait, there’s more! Pellet grills are super user-friendly. They come with cool features like digital controls and automatic pellet feeding. So even if you’re a newbie, you’ll be grilling like a seasoned pro in a jiffy.
The sweet spot is around 225°F, as I recommended in the recipe. That low and slow cooking style is where the magic happens. It gives your chicken plenty of time to become tender while remaining juicy, and soaking up all that incredible smoky flavor.
For me, 225 is the best temperature for smoking chicken because the slower your chicken is cooked, the better. At 225°F, you’ll get super tender and juicy meat. But 250 isn’t too hot if you ask me. It helps you shave off a bit of time and get crispy skin. It’s all about personal preference, so choose what floats your taste buds’ boat!
Smoking chicken on a pellet grill is like taking your taste buds on a flavor adventure. The pellet grill keeps things steady and consistent, giving you perfectly cooked and tender smoked chicken every time. And let’s not forget about the wood pellet flavors that add that extra smoky kick to your bird.
Whether you go with a whole chicken, butterfly, or spatchcock, or get creative with different cuts, the pellet grill is your trusty machine for convenient and downright delicious cooking. Don’t forget to use a meat thermometer to make sure your smoked chicken reaches 165°F for safety reasons. So get that pellet grill fired up, let those wood pellets work their magic, and get ready for a smoked chicken feast.