As a culinary adventurer fresh out of cooking school, my mission was clear: to experiment and create recipes you’ll find nowhere else. So, I have been working on creating the ultimate bacon alternative – beef bacon!
With beef belly or brisket as my canvas, it often goes like this: I generously season the meat with a blend of spices and curing ingredients. After a long curing process, the meat undergoes a transformation, revealing depths of flavor and complexity. Then off it goes in the oven or smoker.
Now, I’m excited to unveil the top three recipes born from my beef bacon exploration. Join me to uncover the secrets behind these mouthwatering creations, and discover the endless possibilities that beef bacon brings to the table. You’ll also be learning a lot of nuances that make your recipes tickle your taste buds.
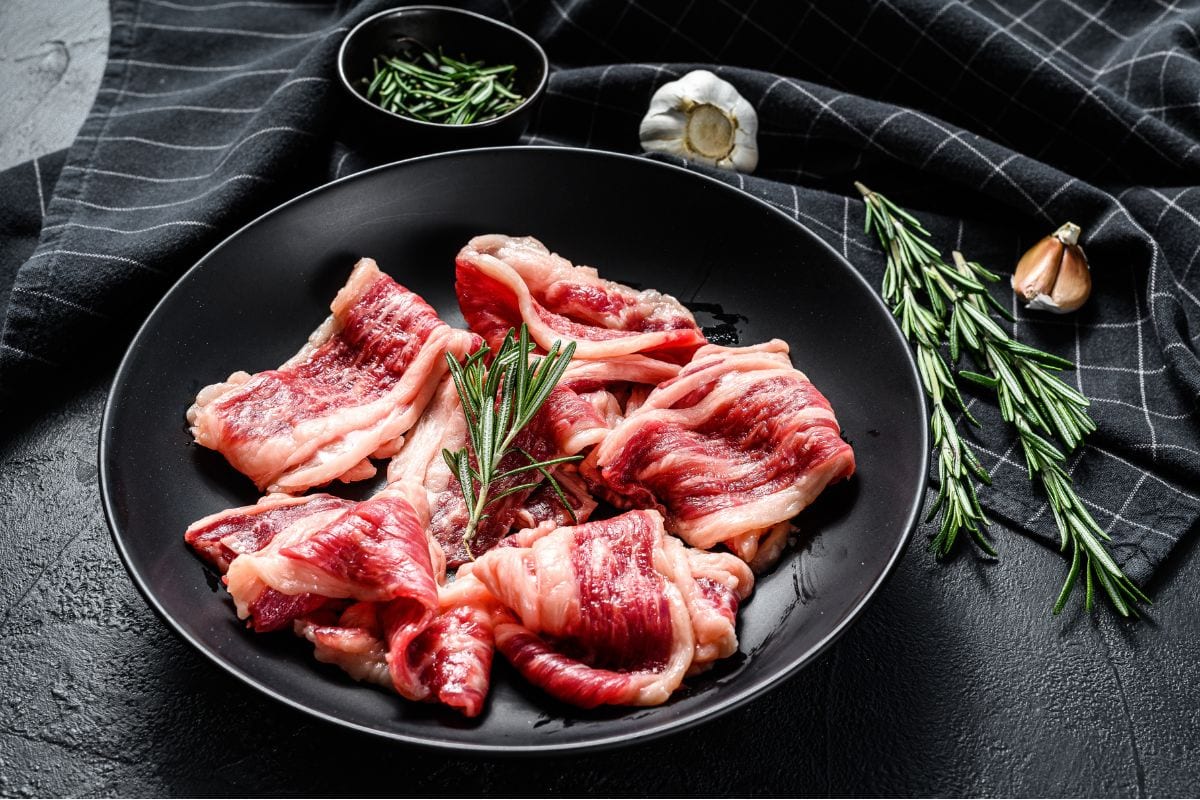
Here are some of the best ways to make beef bacon using beef belly, beef brisket or by combining ground pork and beef.
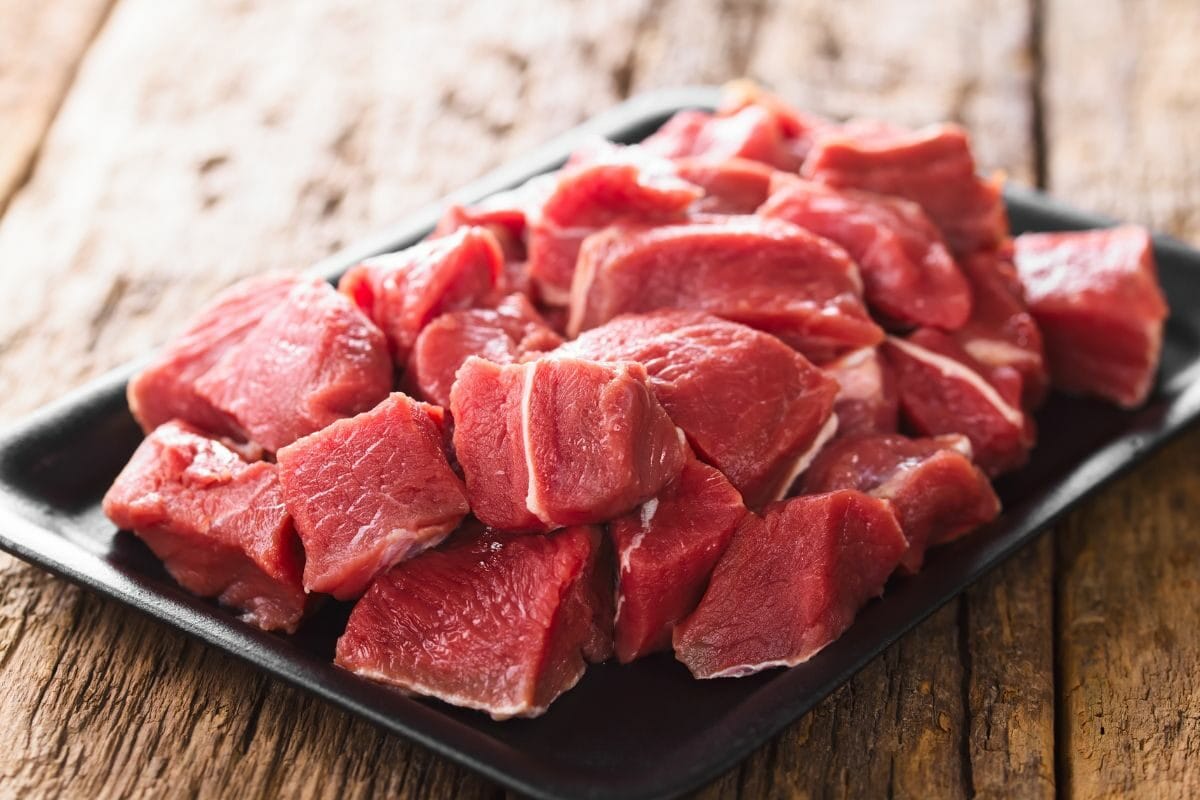
Begin by trimming any excess fat or skin from the beef belly. We like to call this beef navel too. So take note.
And again, you want to have a relatively lean piece of meat for beef bacon.
In a small bowl, combine the salt, brown sugar, onion powder, paprika, black pepper, and garlic powder. Mix well to create the dry rub.
Coat the dry rub mixture all over the beef navel, making sure to apply it evenly on all sides.
Place the seasoned meat in a resealable plastic bag or airtight container.
If you’re using curing salt, sprinkle it over the meat and rub it in. Curing salt helps preserve the meat and gives it a reddish color. However, it’s optional and can be omitted if you prefer.
Seal the bag or container and place it in the refrigerator. Let the meat cure for 5-7 days, flipping it over once a day to ensure even distribution of the flavors.
After the curing period, remove the beef belly from the bag or container. Rinse it under cold water to remove any excess salt and pat it dry with paper towels.
Preheat your oven to 200°F (95°C). Place the cured beef bacon on a wire rack set on top of a baking sheet to catch any drippings.
Bake the bacon in the preheated oven for about 2-3 hours, or until it reaches an internal temperature of 150°F (65°C).
Cooking times may vary, so use a meat thermometer to ensure it’s cooked to your desired doneness.
Remove the cooked beef bacon from the oven and let it cool for a few minutes. It will firm up further as it cools.
Slice the cooked beef bacon thinly, similar to regular bacon, and cook it in a skillet over medium heat until crispy. You can also store the sliced beef bacon in an airtight container in the refrigerator for later use.
Enjoy your homemade beef bacon recipe! It can be used in sandwiches, salads, or any recipe calling for the classic bacon.
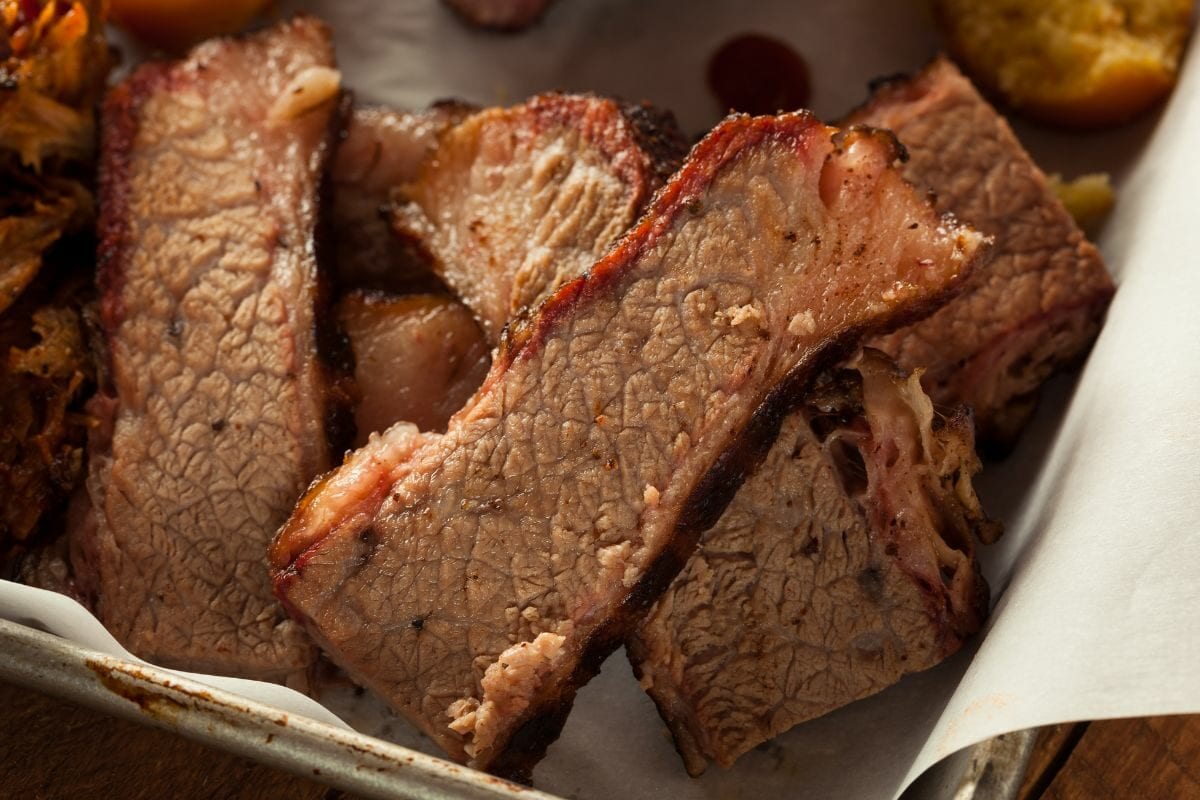
Combine the brown sugar, pink curing salt (preferably instacure no#1), kosher salt, cloves, nutmeg, allspice, and black pepper in a bowl. Mix well.
Place the uncooked beef brisket in a big container. Wear gloves and mix the meat in the cure for 5 minutes, ensuring it coats every nook and cranny.
Transfer the beef brisket and remaining cure into a big vacuum bag. Vacuum seal the bag and refrigerate it up to 10 days, occasionally rubbing the meat to distribute the brine.
Remove the beef from the vacuum bag. Now soak it in some warm water for about 5 minutes. Rub with your hands so the sugar and salt are removed.
Pat the beef bacon dry and refrigerate it overnight to allow the flavors to develop.
Preheat your smoker to 225°F (107°C).
Smoke the bacon for approximately three hours or whenever it reads 150 degrees when you insert a thermometer.
Remove the smoked beef bacon from the grates and let it cool. Chill before slicing.
For convenient storage, cut thick half-inch beef bacon slices and place them on parchment paper.
Vacuum-seal the slices and freeze them for later use.
Enjoy the incredible flavor of your beef bacon recipe in sandwiches, salads, pizzas, or any dish calling for a smoky bacon twist.
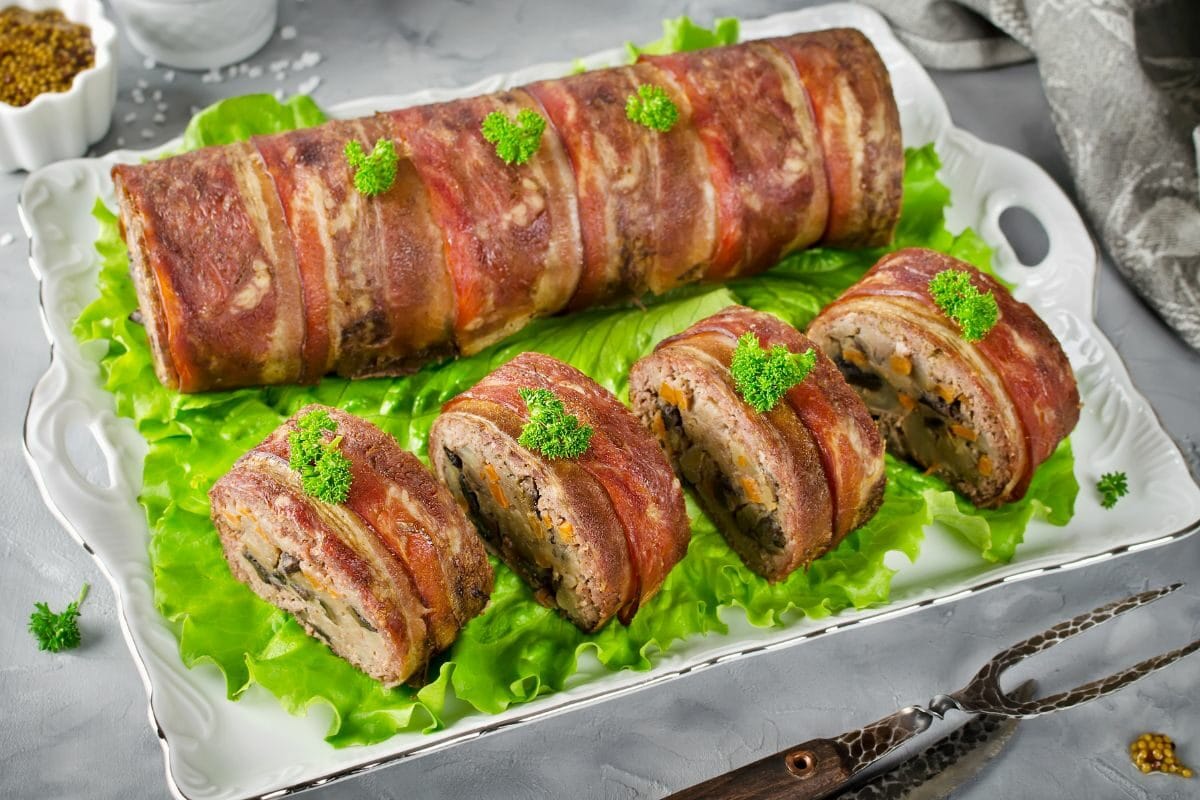
Preheat your oven to 350°F (175°C). Cook the ground beef and pork in a pan in the oven until it’s nice and crispy. Set it aside to cool, and then break it into small pieces.
Reduce the heat in the same pan, and cook the onions and garlic until they’re soft but not browned, around 5-7 minutes. Now drain all the cooked garlic and spices.
Combine the ground beef, ground pork, and cooked onion mixture in a big bowl.
To make it faster and well-mixed, you may also use a mixer with a paddle attachment like the Cusimax Stand Mixer. But make sure you only use the paddle at low speed.
Don’t forget to turn off the mixer after each step. This will help you avoid over-handling the meat. Now add the eggs one at a time, followed by salt and pepper, and then mix in the bacon, smoked gouda, and breadcrumbs.
Grab a small bit of the mixture and shape it into a cute little patty. Pop it on the stove and cook it up until it’s fully done. Now, take a bite! Is the seasoning on point or does it need a little extra oomph? Adjust the seasonings as needed.
Shape the meat mixture into a loaf on a greased or foil-lined baking pan. Brush the top with ketchup or barbecue sauce.
Bake the meatloaf for 30 minutes, then remove it from the oven and brush on a second layer of sauce. Continue baking for an additional 30 minutes, or until the internal temperature reaches 160°F (71°C).
Let the meatloaf sit loosely covered for 10-15 minutes before cutting into it. Enjoy your smoky and delicious bacon meatloaf! It pairs perfectly with mashed potatoes and your favorite veggies for a comforting and satisfying meal.
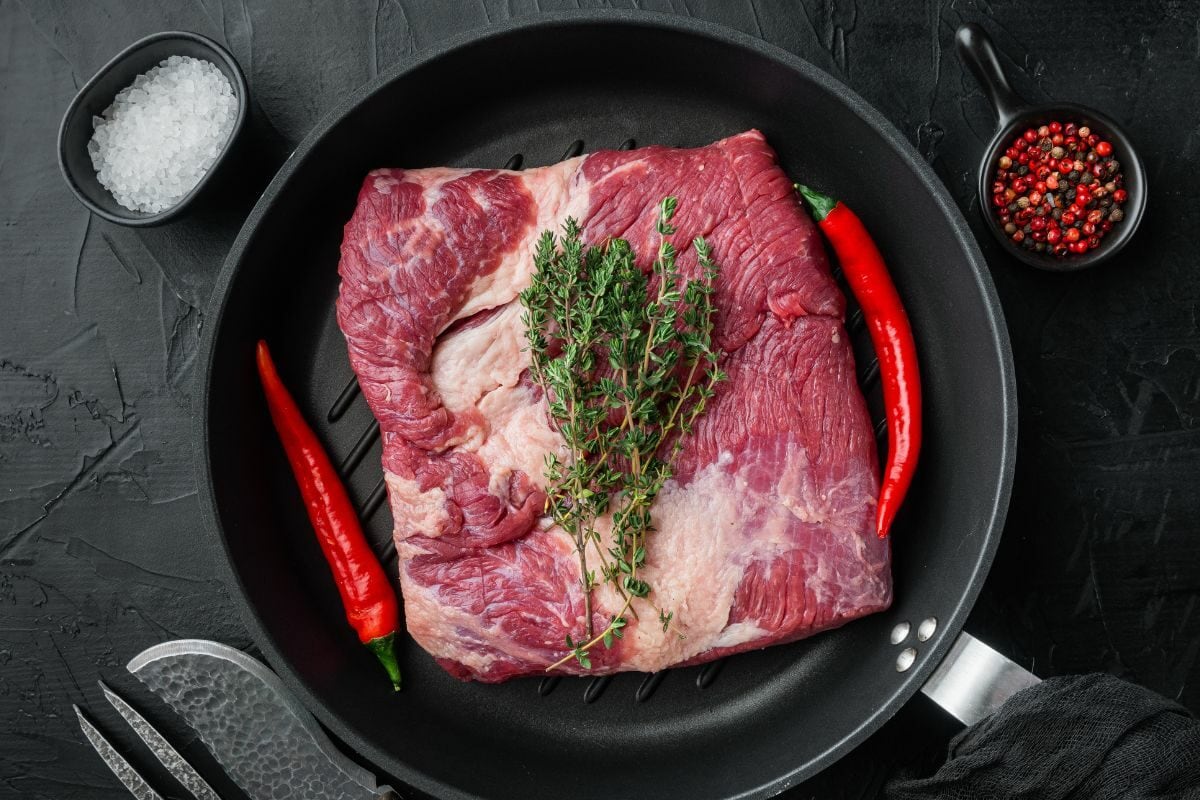
When it comes to my top choice, I always go with beef belly when I can find it. You might hear it go by names like beef plate or beef navel, but it’s all the same.
This cut is packed with marbling, those beautiful intramuscular fats that bring all the flavor to the party. Now, finding beef bellies as a separate cut can be a bit tricky, as they often end up ground into hamburger meat. But hey, keep your eyes peeled and you might get lucky!
Now, if beef belly isn’t readily available, don’t worry. Brisket can step up to the plate and deliver some serious bacon vibes. It may not be as fatty as the belly, but it still gets the job done.
When it comes to curing beef bacon, patience is the name of the game. And try to look for pink curing salt. Give it around seven days of curing for every inch of thickness, and trust me, it’s worth the wait. This may seem like a long process, but hey, good things take time, right?
Now, when you’re applying the cure, make sure it gets all up in every nook and cranny of that beef belly. We want those flavors to hit every inch of the meat, so don’t hold back. Pop that belly into a vacuum-sealed bag or a zip-lock bag, and let it hang out in the fridge, nice and cozy.
Here’s a little tip: during the curing period, you might notice some liquid in the bag. That’s a good sign! It means the magic is happening. Now, every morning, give that belly a gentle flip. This will let those juices and flavors mingle and spread evenly throughout the meat, not just pool up in one spot.
A wide range of wood smoke can be used for smoking bacon. For beef, pecan wood like the Weber Chips is a popular choice due to its aromatic flavor. Pecan wood imparts a sweet taste that complements beef well.
The amount of smoky flavor present in the meat depends on your personal preference and the smoking method used. Some like it subtle. Others want to feel like they’re standing in a smoke-filled barbecue joint.
It all depends on your taste buds and the smoking method you use. Now, speaking of methods, I recommend going for a low and slow approach. Keep that temperature around 200 to 225 degrees. That allows for a nice, long, slow-smoking session.
A pellet grill like the Traeger Grill Pro 575 is perfect for this. The temp is easily controllable, it’s compact, easy to clean and use.
While both share similarities, beef bacon, unlike pork bacon, has a less pronounced sweetness compared to commercially produced pork bacon.
Although it tastes as salty as regular bacon, beef bacon tastes a bit meatier. It’s like most things made out of beef. You’ll know the difference as soon as you take that first mouthwatering bite. Oh, and here’s a little tidbit: beef bacon has this reddish hue, while pork bacon struts its stuff with a pinkish color. Finally, beef bacon can sometimes remind you of that yummy, slightly chewy jerky. It’s different, but not in a bad way.
The final flavor profile of beef bacon varies depending on the seasonings used. With a simple cure, you can experience the distinct taste of beef bacon.
Ideally, your homemade bacon should be kept in the refrigerator for one week max, or in the freezer for up to four months.
But make sure you keep it properly sealed or wrapped. This will prevent unwanted odors or moisture from sneaking in.
When freezing your beef bacon, make sure to wrap it tightly in freezer-safe packaging. You may also place it in airtight containers before popping it into the freezer. This helps protect it from freezer burn and keeps that smoky flavor locked in until you’re ready to sizzle it up.
You can effortlessly incorporate beef bacon into your sandwiches. It adds an irresistible savory kick or you may also sprinkle it atop pizzas to unleash a burst of exquisite flavors. Beef bacon can also help you reimagine salads and make them more sumptuous.
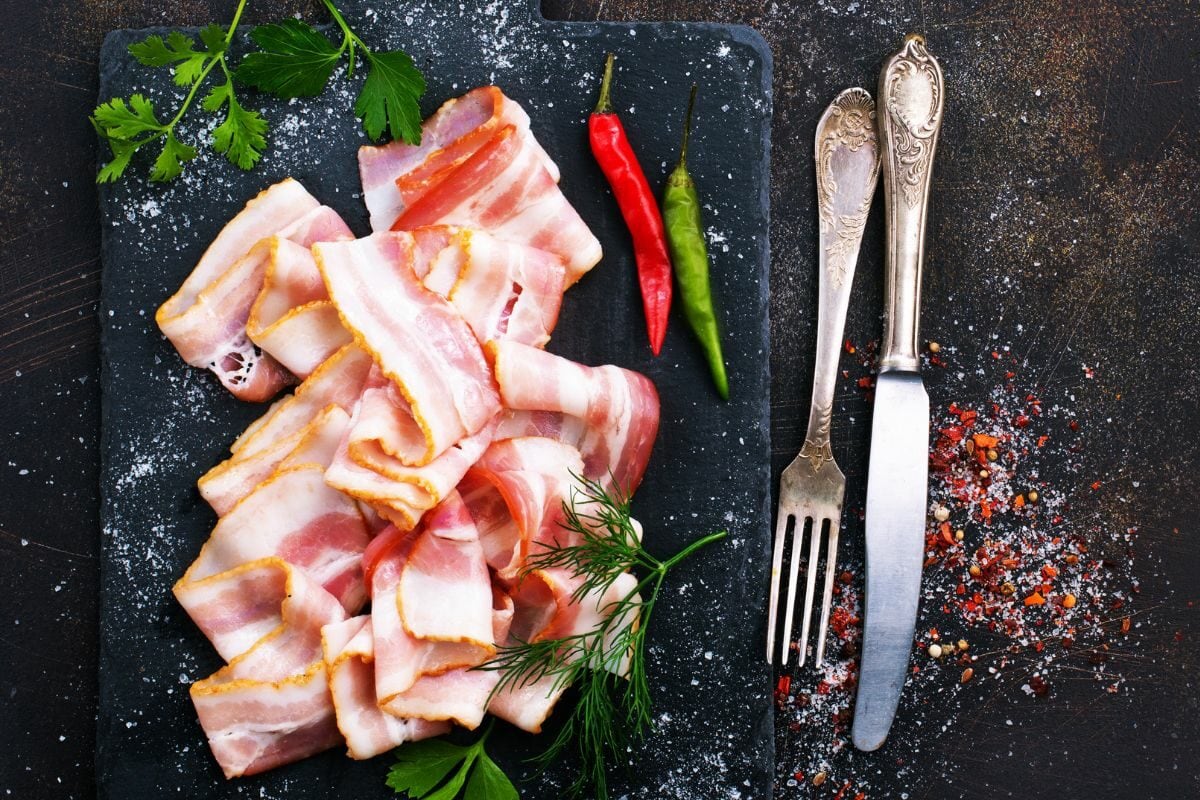
Beef bacon, without a doubt, is a culinary excellence. The process is not that different from ordinary pork bacon. But it’s got its own flavor which is beefier. Whether you’re making some breakfast sandwiches, sneaking it into your favorite recipes, or transforming salads into culinary masterpieces, beef bacon gives your dishes an unprecedented level of delight. And the best part? When you prepare it from scratch, you hold the reins of creativity. You take control of the seasonings, the curing process—every single detail.