A smoked deli-style pastrami is a slab of brisket submerged in a brine for days, rubbed down in a spice rub, smoked, steamed, and sliced wafer-thin.
That may sound a bit complex. But trust me, it’s not. I’ve turned my backyard smoker in and out for this masterpiece more times than I can count. Sure, you’ll need to dedicate some time to this, but it’s not like you’re glued to the process. The brine does its thing while you do yours, and the smoking part isn’t demanding either.
And before you start with the “I’m no grill guru” talk, take a breath. Just follow my recipe instructions, and you’ve got this. If you already have a BBQ smoking experience, well, that’s a bonus. This article is a mix of homemade pastrami recipes and an in-depth guide. No more yammering. It’s pastrami time!
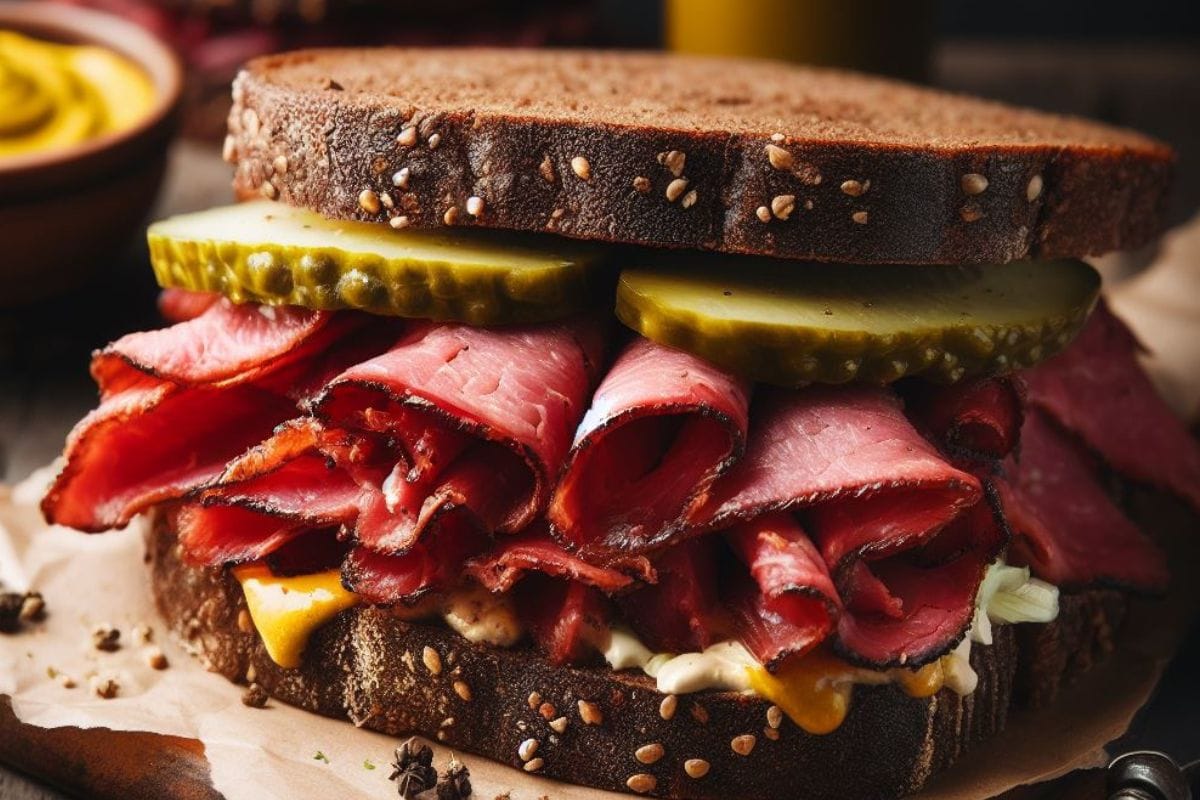
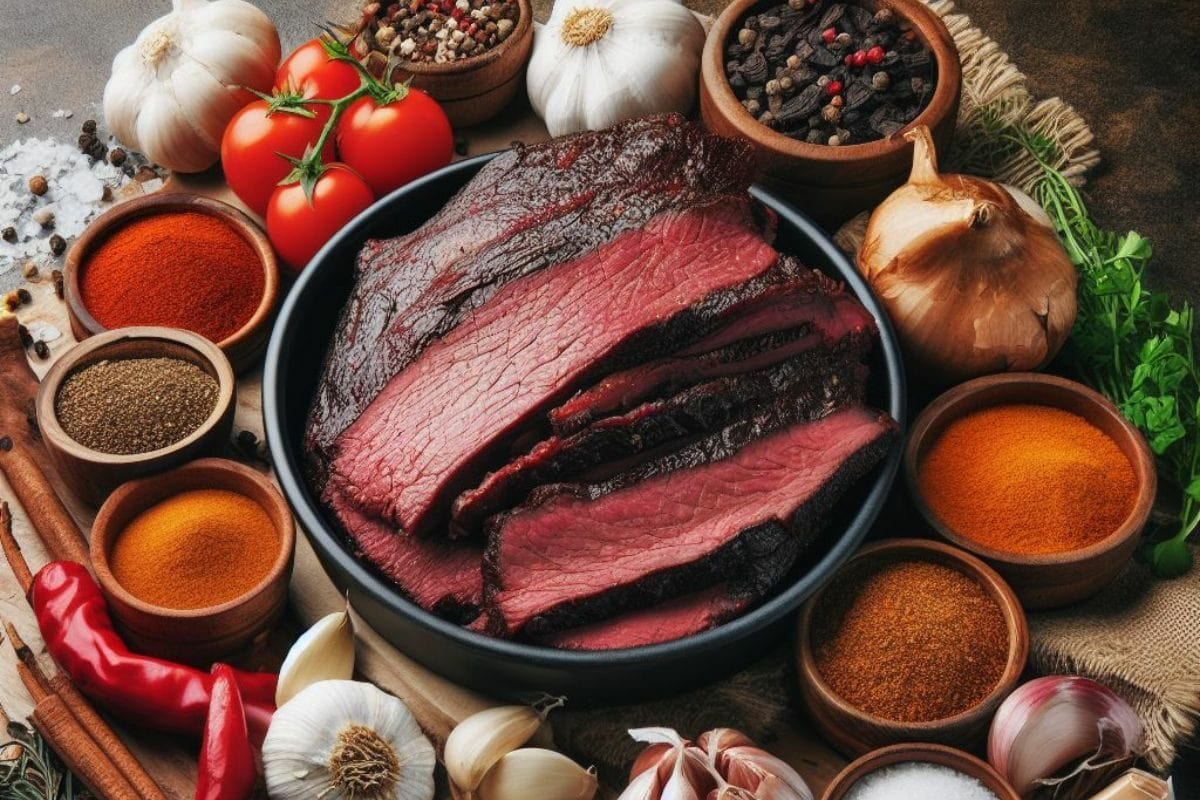
Start by choosing a high-quality brisket flat. The measurements and ingredients in this homemade pastrami recipe are tailored for a 4 to 5-pound brisket. Since pastrami is primarily utilized as a sandwich topping and not a complete meal, I always only need a modest amount.
However, if you’re preparing for a sizable event or want to stash some away in the freezer, you can use an entire brisket flat, which might weigh up to 10 pounds. Just remember to adapt the other ingredients provided accordingly; for instance, double them when working with a 10-pound brisket flat.
Once your brisket is set, trim the fat cap until you have just a quarter of the fat layer left. This remaining fat cap layer helps to keep the brisket meat moist because you’ll be doing a long smoking session.
It is best to use a really sharp carving knife like the Zwilling Professional Knife to do the trimmings. Get the tendon and fat cap trimmed. Trim any excessive fat, leaving only a thin layer
When that’s done, use a fork or meat tenderizer to poke holes all over the brisket. This allows the brine and flavors to penetrate deeper into the meat for flavoring and tenderizing purposes during the curing and seasoning time.
It’s time to make a wet brine. In the first step, get a pot and pour in the water, kosher salt, brown sugar, crushed garlic cloves, and the pickling spices.
Boil the entire mix, stirring it until the salt and sugar dissolve. Let it cool up to room temperature level.
Next, place the brisket in a large resealable vacuum plastic bag or container like a Tupperware and pour your cooled brine solution over it.
Seal the bag using the Ziploc or cover the container, ensuring the brisket is fully submerged. Refrigerate for six days, flipping the brisket once daily to distribute the brine evenly.
After you’re done with the curing process, it is essential that you completely free the meat of all the salt mixture by rinsing it in water.
Fill a large bowl with water and soak the meat for about half an hour. This process reduces the very high salt concentration in the meat.
Take the cured meat out of the water bath, and pat it dry with paper towels. Now, you need to season with a rub of your choice. As a rub for your homemade pastrami, you can choose a ready-made spice mixture or put together a dried rub yourself. The McCormick Culinary Pickling Spice is my favorite commercial pastrami seasoning for making homemade pastrami or corned beef.
If you want a 100% homemade pastrami and wish to make your spice rub yourself, that’s all fine and easy. What you need to do is raid your pantry or local store for some pastrami spice ingredients. These include black peppercorns, kosher salt, coriander seeds, mustard seeds, red pepper flakes, garlic powder, onion powder, and paprika.
Start by measuring 1/4 cup of black peppercorns and two tablespoons of coriander. Toast them in a dry skillet over medium heat until they’re dried (not burnt) and fragrant. Let them cool, and then grind the spices coarsely.
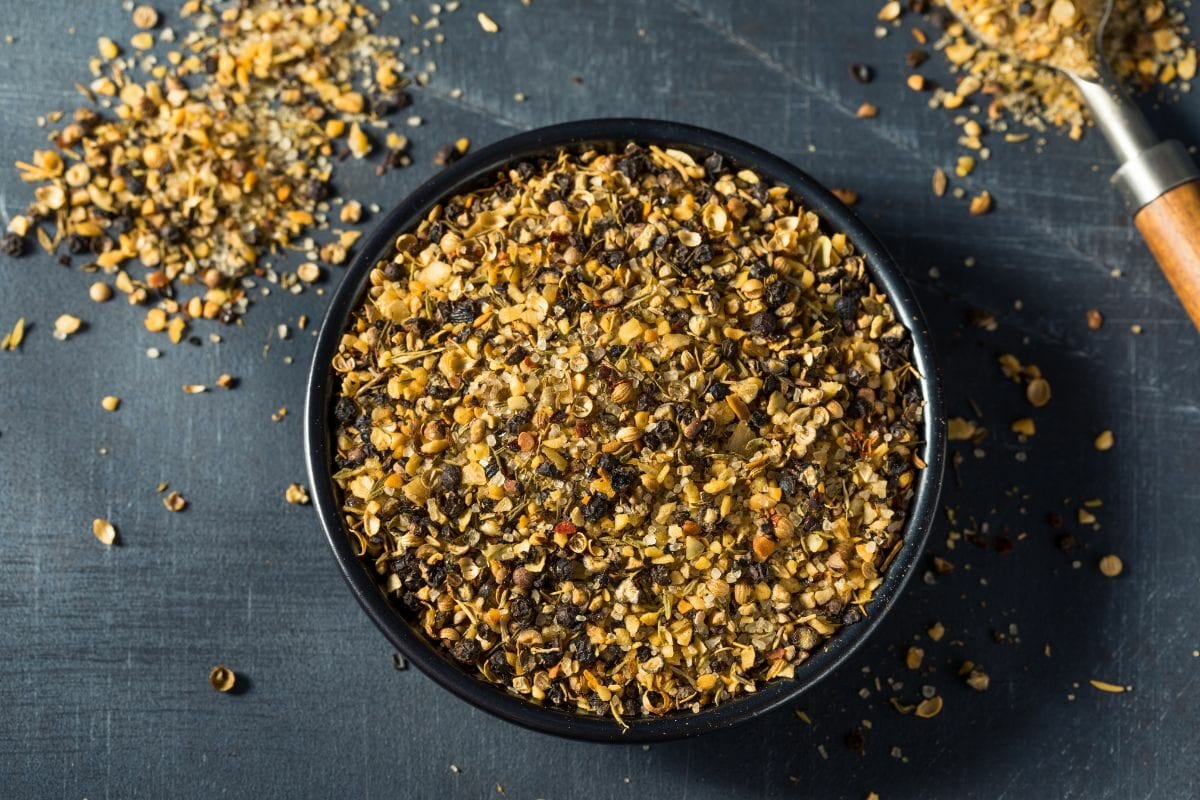
Now, mix the ground peppercorns and coriander with two tablespoons of brown sugar, one tablespoon of paprika, one tablespoon of garlic powder, one tablespoon of onion powder, one teaspoon of mustard seeds, one teaspoon of thyme, one teaspoon of kosher salt, and half teaspoon of red pepper flakes. For a peppery rub like Katz’s pastrami, you may throw in a teaspoon of ground black pepper.
Pro Tip: Adding more salt than I have indicated would be too much of a good thing. Your rub doesn’t need any more salt due to the curing that has already been done!
Rub the spice mixture all over the brisket, ensuring it’s evenly coated. Place the brisket in a resealable plastic bag and remove excess air. Finally, refrigerate overnight (yes, one more night, please!).
Set up your smoker for low and slow cooking or indirect heat if you’re working with a grill. You need to maintain a temperature of around 225°F (107°C). This is brisket, the most dreaded and unforgiving beef cut for BBQ masters. Cook it too fast without enough fat or proper brining, and the meat, packed with high collagen content, will refuse to break down. That’s a fine way to get a finished product so dry and firm as a shoe sole!
Once that’s sorted, place the rubbed brisket on the smoker’s grate, fat side up. Close the lid and let it smoke until the internal temperature reaches around 160°F (71°C), which may take about 4-5 hours.
This is also the moment brisket beef tends to “stall.” That is the internal temperature plateaus for several minutes or even hours. That’s why I like to switch things up here – using the Texas crutch method.
By steaming pastrami, I’m talking about continuing to cook the pastrami by wrapping it up in foil. This promotes the production of hot steam internally. That’s a perfect way to get out of a stall and then get the brisket to complete cooking and tenderize even further.
So, once the brisket reaches 160°F (71°C), remove it from the smoker and tightly wrap it in aluminum foil or butcher paper. Place the brisket back on the smoker and continue cooking until the internal temperature reaches around 195 degrees F. This could take an additional 2-3 hours.
To test for doneness, a classic method is to unwrap the pastrami and check for tenderness. A probe or fork should easily slide into the meat.
But the best method is the scientific one – that is, checking with a meat thermometer. Some people keep checking the internal temperature from time to time. The disadvantage here is that you have to constantly re-pierce and thus put too many holes in the pastrami.
My best method is sticking a meat probe like the ThermoPro TP25 digital thermometer permanently in the thickest part of the meat as it cooks. A digital meat thermometer like this lets you get the values directly on the display unit provided or on your cell phone, tablet, etc.
When the pastrami reaches an internal temperature of 195 to 205 degrees F, remove it from the smoker.
Allow the brisket to rest in the foil or paper for at least 1 hour. This helps the juices to redistribute within the meat.
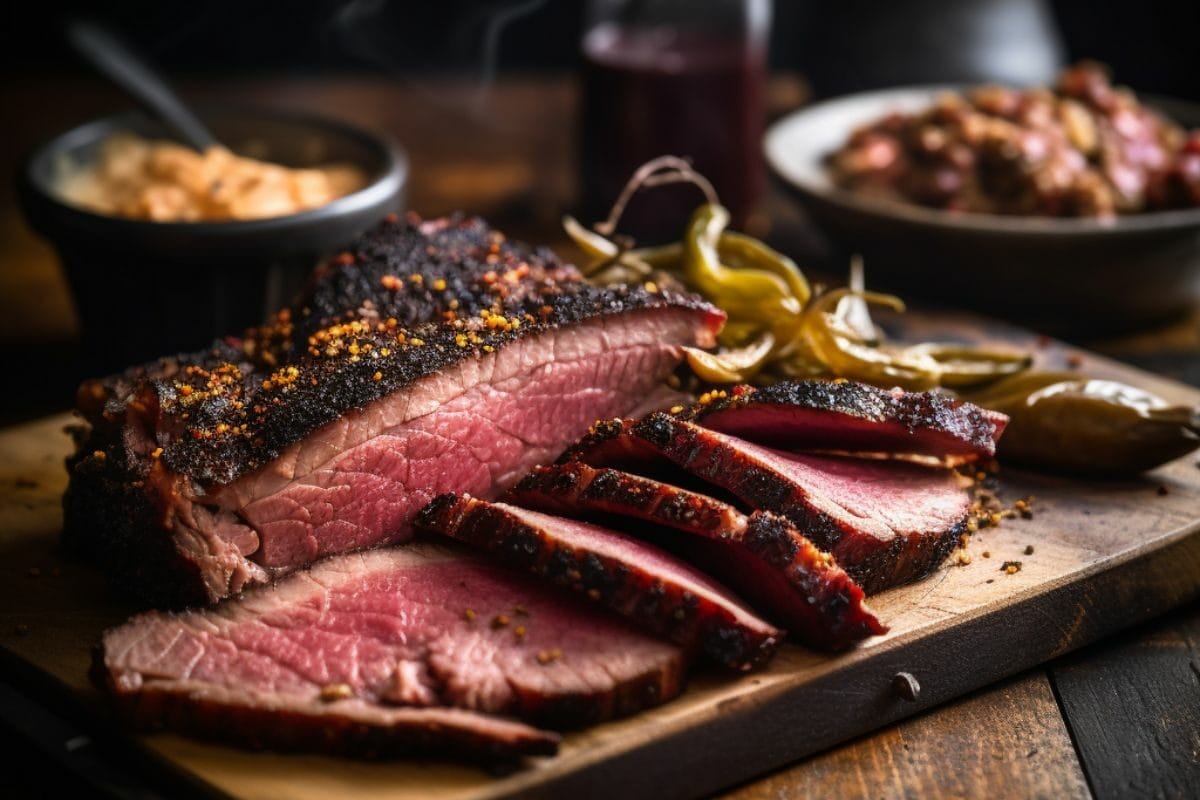
Unwrap the brisket and slice it against the grain into thin slices.
Serve the smoked pastrami slices as a topping or in sandwiches. You may even take it as a main dish with your favorite condiments and sides.
If you wish to, why not? You may save yourself the stress and simply get store-bought corned beef.
But hold up!
If you had to choose, I’d say brine a regular brisket at home and leave the commercial corned beef at the supermarket shelf.
Corned beef – which is already cured brisket – is usually saltier than uncured brisket. Additionally, it is processed meat that is typically high in fat and sodium and comes with other flavorings that can impact the final taste.
But for a once-in-a-blue-moon way to satisfy your pastrami craving, there’s nothing bad in using corned beef in a smoked pastrami recipe – especially when you’re trying to cut the 4 to 6 days brine waiting time.
If you’re all in for the corned beef pastrami option, I’ll break it down in the easiest way possible. You’d still need to return to the uncured brisket recipe provided earlier for full instruction. But here’s your game plan:
Pastrami is a famous American sandwich topping: finely sliced smoked brisket combined with hearty side dishes in a sandwich. You often hear the term “New York Style Pastrami” or “New York Style Pastrami Sandwich.” However, the film “When Harry Met Sally” triggered real hype about the delicious pastrami sandwich.
This combination of “brisket,” “smoked meat or BBQ,” and “sandwich” fits perfectly into the American kitchen and seems very harmonious to us. However, you’ll be surprised to hear that pastrami does not initially come from America. Yes, it’s not from here but from Romania.
The name comes from the Romanian “Pastra” or “Pastrama,” which roughly translates to “keep” or “preserve.” This term reflects its background, as pastrami is a “preserved piece of meat” due to the curing and smoking process.
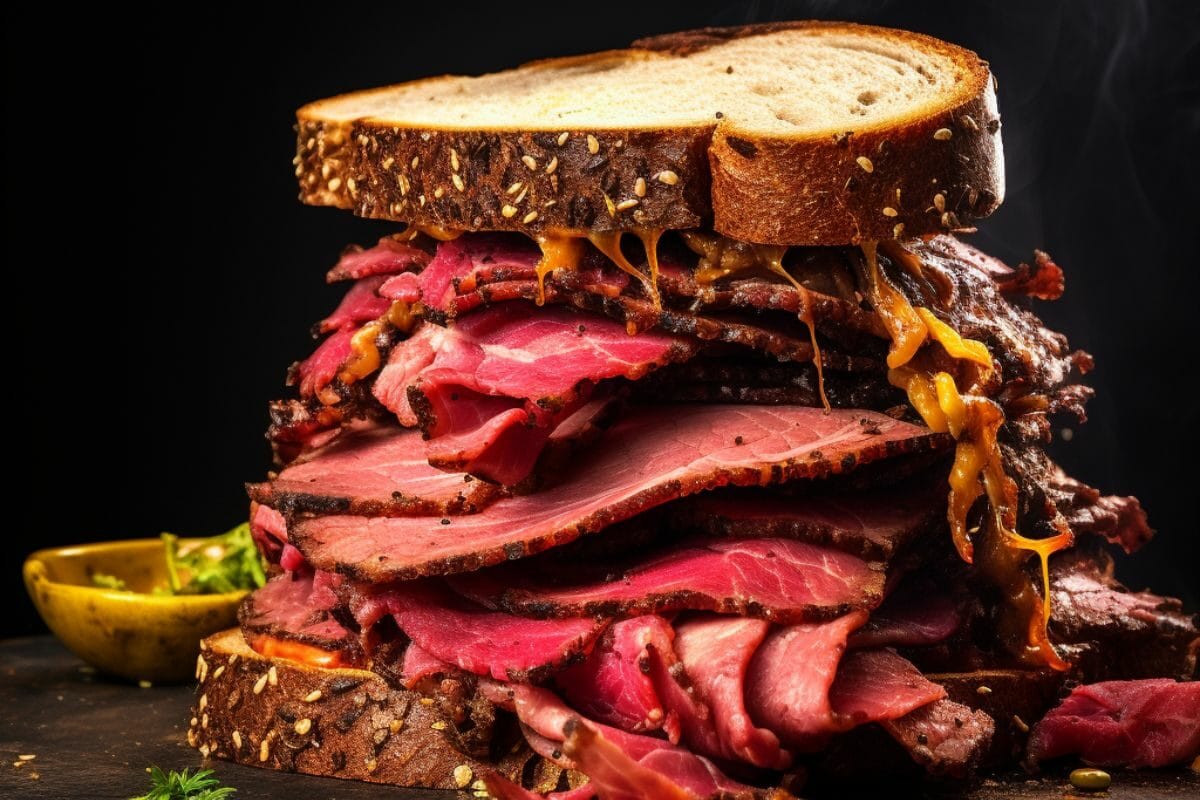
The Eastern European import hit became a real star among meat delicacies with the opening of Katz’s Deli in 1888, first in New York and ultimately worldwide. The popular snack achieved cult status, especially with the famous scene played by Meg Ryan in the classic film “When Harry Met Sally,” which was filmed on-site at the delicatessen. So, mentioning pastrami inevitably leads to a connection with Katz’s.
The world-famous eatery is located on the Lower East Side of Manhattan, where the center of the city’s Jewish community used to be. There, you can enjoy the unadulterated original done the same way for more than 130 years without any frills. With its long history, it stands as one of New York’s culinary institutions.
Pastrami is made from a half or whole brisket of beef or beef navel.
Beef brisket is the most used cut for pastrami. But there are two types of brisket cuts. Which one are we talking about here?
On the other hand, a beef navel, also known as navel end or navel plate, is a cut of meat from the plate – the lower part of the cow’s belly just down after brisket. It is a tough, fatty, and flavorful cut that contains layers of meat and fat. You can prepare a beef navel pastrami using the brisket method.
You can either order online or get them from your trusted butcher. I usually pick them up directly from the meat bank. But you can also have them sent home directly via the online shop.
As with all delicious dishes, the same thing applies here: the quality of the meat is essential. Good brisket has a bright, cherry-red color with a creamy white layer of fat. If you’re going for beef navel, look for a cut with a rich, deep red color. Avoid cuts that appear pale or discolored. The meat should be evenly colored without any dark spots or blemishes.
Curing salt, otherwise known as pink curing salt, Prague powder, or Instacure, is an essential ingredient in curing meat. It is a key ingredient in the pastrami-making process. However, this is not your everyday table salt – it serves a specific purpose in preserving and flavoring the meat.
It combines regular salt (sodium chloride) and sodium nitrite or sodium nitrate. These help preserve the meat by inhibiting the growth of harmful bacteria like Clostridium botulinum, which can cause botulism.
Caution: Use curing salt in the appropriate amounts as recommended in recipes. Excessive consumption of sodium nitrite can be harmful – cause trouble breathing or even death. So precise measurements are crucial.

How long it takes can differ, depending on the thickness or weight of the meat. But you’d typically need at least six days with a wet or dry brine. My longest brining period was seven. Some BBQ masters say you can do this for as long as 12 days. That’s fine too. The longer it gets, the better the taste and tenderness.
During the process, make sure to turn the bag every now and then in the fridge. However, if you’re curing it in Tupperware, you can turn the meat inside out in the can. This is important so the brine is evenly distributed on both sides, even if the meat is completely immersed in the brine. After curing, take out the meat and wash it thoroughly with water.
Hickory or mesquite is fine for pastrami. When smoking meat like pastrami, most hardwood hardly overshadows the flavor. You can also get an intense smoke flavor with fruity wood, like apple wood. These help bring out all the flavors in the pastrami.
Your pastrami must reach a minimum of 195 degrees F internal temperature or up to 205 degrees, regardless of whether you’re using a smoker, grill, or oven. At this temperature, the connective tissue and collagen of the meat must have melted and become particularly tender. However, don’t cook at too high a temperature, as this can dry out the meat before it reaches core temperature.
You’d need to cool the pastrami down after the cooking process. Otherwise, you won’t be able to cut them into thin slices without the meat losing a lot of juice.
So, first, let the pastrami rest at room temperature for an hour. Then slice it and add it to your main course. You can also store the pastrami in the refrigerator for up to five days. If you have a vacuum sealer bag, you can also use it to freeze the pastrami and store it longer. Without a vacuum sealer, however, I advise against freezing. Pastrami dries out quickly in the freezer and tastes much worse later on.
I recommend using a good deli meat slicer. My clear recommendation is the OSTBA Meat Slicer. This is the only way you can cut really fine slices that are millimeters thick. Roughly cut pastrami simply loses that classic vibe. It’s just like when you cut bacon way too thick and it isn’t wafer-thin.
You can vacuum seal and store the smoked, unsliced pastrami in one piece, in the refrigerator for up to 10 days. When it’s freshly sliced, store it in the fridge for up to five days. If you preserve it in the freezer, you can keep it for up to three months.
As already mentioned, pastrami actually means “preserve,” and this applies well here because the curing and the subsequent smoking process make your pastrami more durable than regular smoked meats.
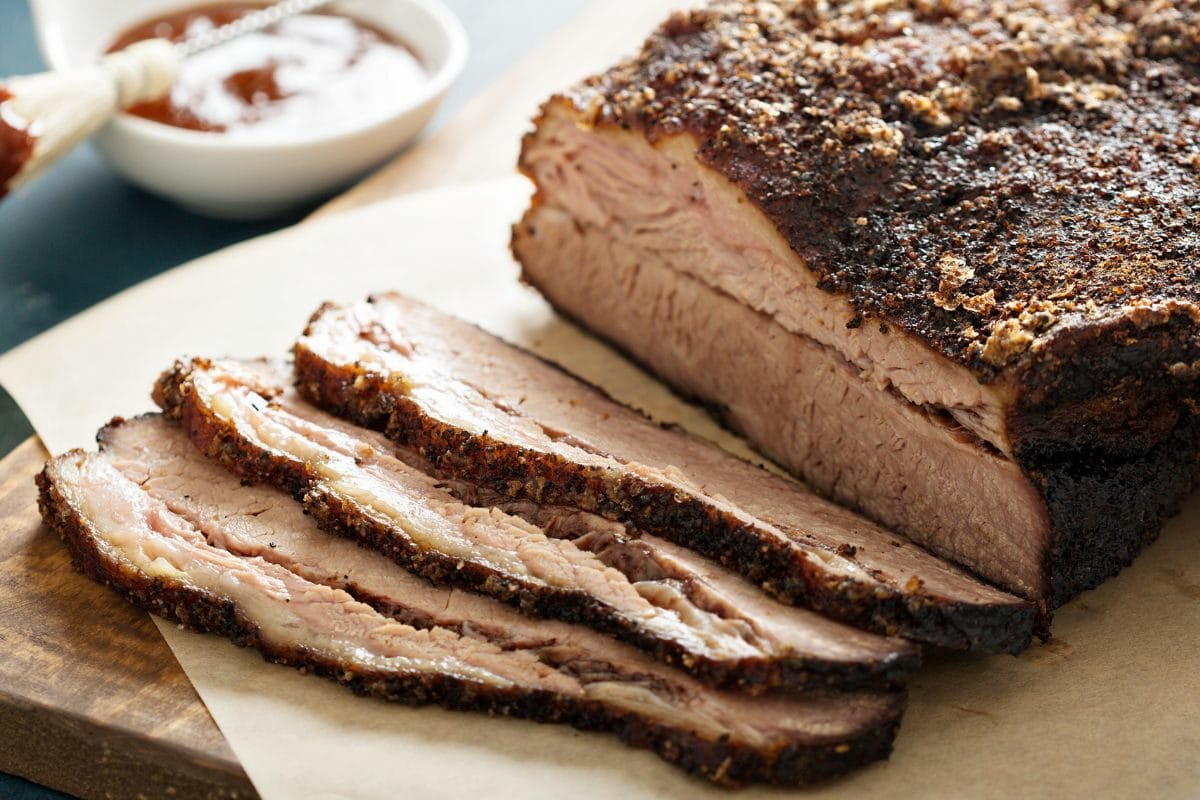
To keep your delicious smoked pastrami at its best, follow these tips:
When it’s time to savor your pastrami again, I recommend reheating it in a pan for optimal taste and texture:
Now you’re all set to enjoy your pastrami with that freshly smoked flavor once more.
You can serve pastrami sandwiches alongside smoked cabbage, smoked potato salad, or fried potatoes. Pastrami with rye bread is always a pleasure too. The wafer-thin beef is wonderfully hearty and juicy and almost melts in your mouth. I like to enjoy it warm for lunch with potato side dishes, coleslaw, and dips.
Pastrami is traditionally eaten cold since it needs to be thinly sliced before you add it to the sandwich. So you consume it as a cold cut or as a snack. Of course, fresh, hot pastrami from the smoker is quite tempting. You can always try taking it warm and cold and see which tastes better for you.
It’s important to note that pastrami and corned beef are distinct in several ways. Unlike pastrami which is cured, spiced, smoked, and sliced beef, corned beef is just cured brisket – deli meat.
Smoked pastrami is a wafer-thin beef that is wonderfully hearty, juicy, and almost melts in your mouth. The preparation for a homemade pastrami recipe consists of two phases. In the first stage, you brine the meat, and in the second phase, you smoke it. After a cooling phase, you can then slice and serve or add it as a topping or sandwich.
There you have it! Now you can give this a try and indulge in the satisfaction of your very own homemade smoked pastrami. While the process demands some time and attention, rest assured the outcome more than justifies the endeavor.