Cold smoking is an ultra-low cooking method that involves the use of wood chips and a smoke generator, or maybe even a smoke tube. But the common practice is to cure the meat overnight or for a few days before smoking it. After this, fire up your smoking machine — whatever that is – and keep the temperature low. Then let the smoke work its magic around the meat until you reach that lip-smacking cold-smoked perfection.
Those who follow me know I’ve got a deep passion for cold smoking. I’ve dedicated myself to mastering the art through extensive practice on the pit and at culinary school. And guess what? I’m here to spill the beans on how to cold-smoke food (cheese, veggies, and meats). Let’s stop talking and get this smoking party started already!
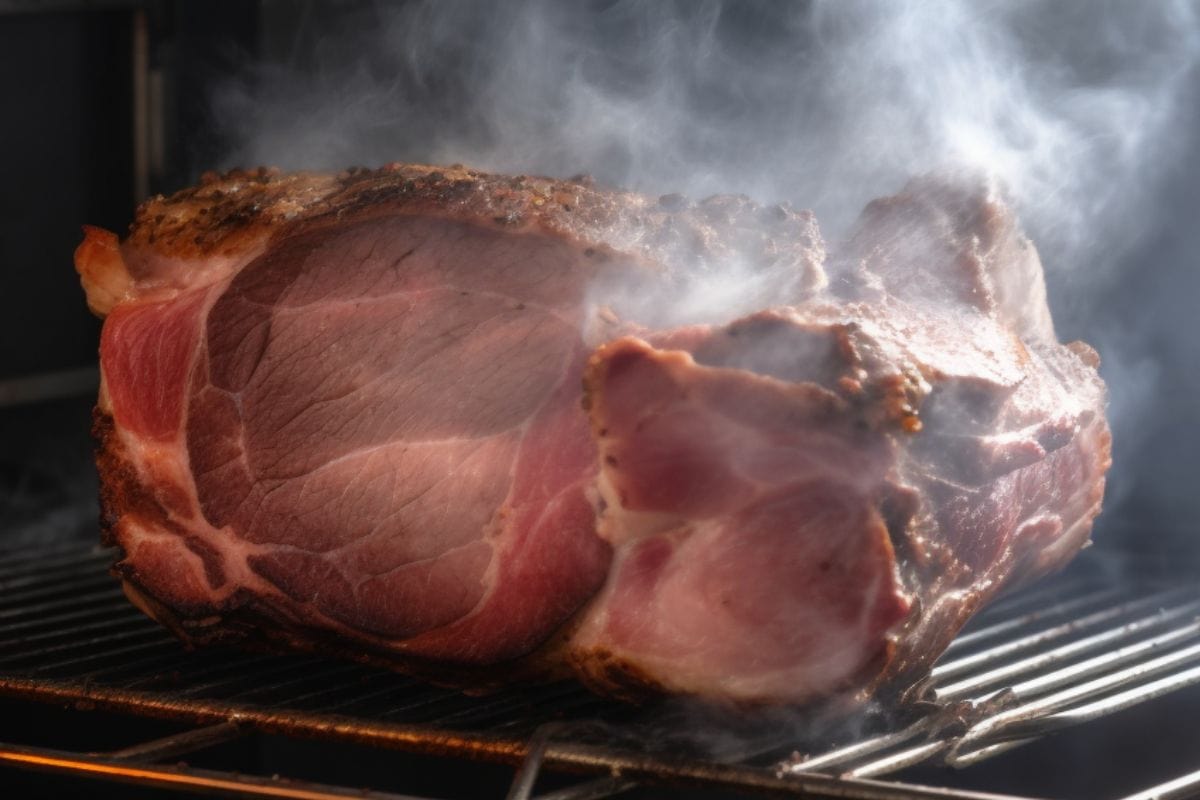
I know you’re eager to jump right into it! But to get your cold smoking game on point at home, here are what you’ll need:
Now that you know what you need, it’s time to dive deeper into the details of cold smoking. In this guide, I’ll cover everything you need to know to cold-smoke your favorite foods.
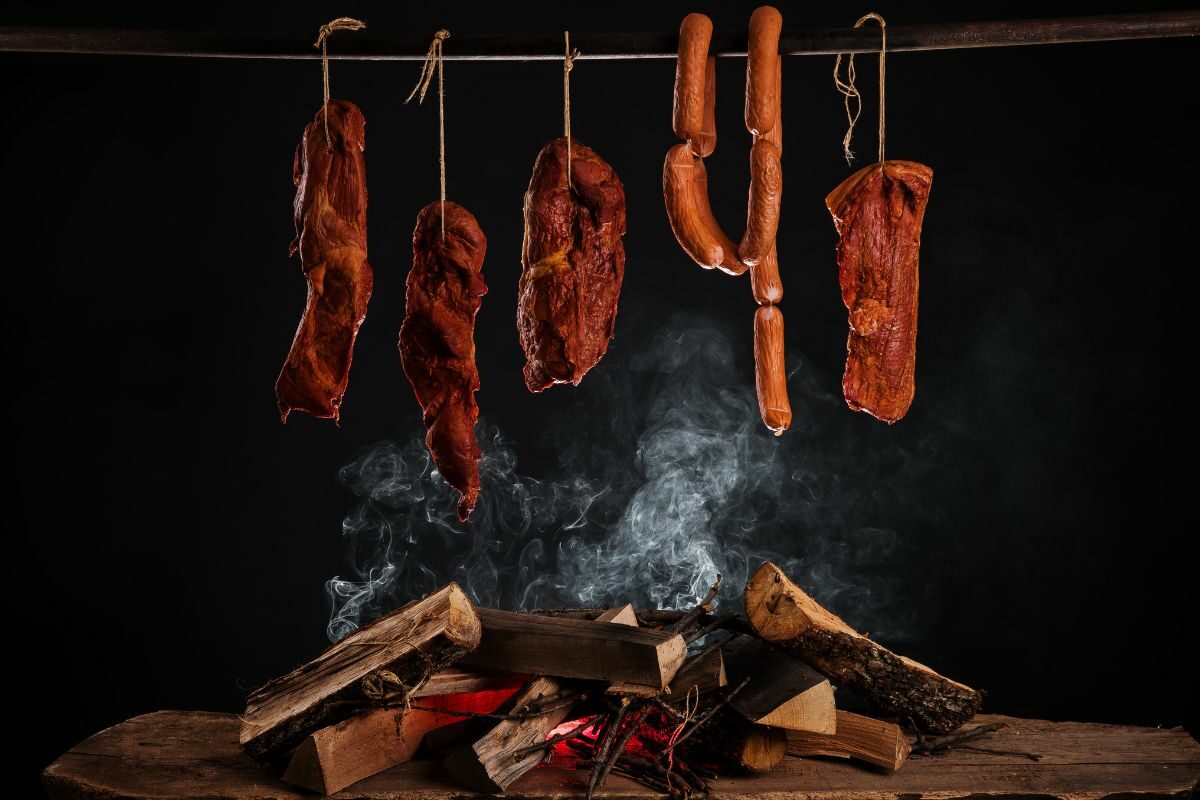
Before you even think about firing up that cold smoker, make sure your food is fully prepped.
If you’re dealing with fish or meat, it’s good to cure them first. That means keeping it in a brine solution either overnight or for a day. It’s fine if you want to extend the brining period but don’t brine it any longer than two days.
This helps to draw out moisture, add flavor, and keep bacteria at bay. But hey, if you’re cold-smoking cheese or veggies, you can totally skip this step.
I talked about the wood chips you could use for this process. Now, here’s a little secret: those wood chips need a good soak in water for at least 30 minutes before you can put them to work. Otherwise, if they are as dry as from the package, they’d be burning way too fast and hot than we want.
Alright, time to get that cool smoke going! I get it. Now you’re thinking, “How the heck do I light-wet wood chips?” Well, here’s the secret.
Grab yourself a torch or any small flame. Then go ahead and give those soaked wood chips a little heat. Once you’ve got them sizzling, they’ll smolder and release smoke.
But once it lights up, here’s the critical move: blow out the flame. You don’t want any additional heat messing up your cool smoking game.
Now you can either place those smoldering wood chips in your smoke generator or directly in the cold smoker. Let that cool smoke envelop your food like a gentle hug
It’s time to introduce the tasty meat into the cold smoke party!
Make sure your smoking machine/device is pumping out that cool smoke. The wood chips should smolder without getting too hot.
Put your cured meat on the racks or hooks inside the machine/device. Don’t place them too close to the smoke source. Give them some space for proper airflow and some smoky love.
Seal the door or lid of the machine/device nice and tight. We don’t want that delicious smoke escaping!
Set a timer or make a mental note. Cold smoking takes time, so be patient.
Keeping those wood chunks or chips burning cool is all about temperature control. Don’t suffocate them. Nor do you want them to go all bonkers and get too hot. So ensure there’s just enough air circulating to keep them smoldering and producing cool smoke without adding any unwanted heat. It’s all about finding that sweet spot.
And hey, if you notice your wood chips starting to fizzle out, don’t sweat it. You can always add more soaked wood chips to keep the smoke party going.
Just make sure you keep the temperature range below 85 degrees. Or else your food will go from smoky deliciousness to a disappointingly overcooked or charred mess.
When it comes to telling if your cold-smoked foods are good to go, trust your instincts and use your senses. You’ll know it’s done when it reaches your desired level of smokiness and has a beautifully firm yet tender texture.
Check out the color and texture — it should be on point. Take a whiff and let that smoky aroma fill your nose. If it smells like a flavor bomb, you’re on the right track.
Go ahead and taste a little sample to see if the smokiness level is spot-on. Since we are not all about checking internal temperature here, forget about thermometers. It’s useless here! Rely on your eyes, nose, and taste buds.
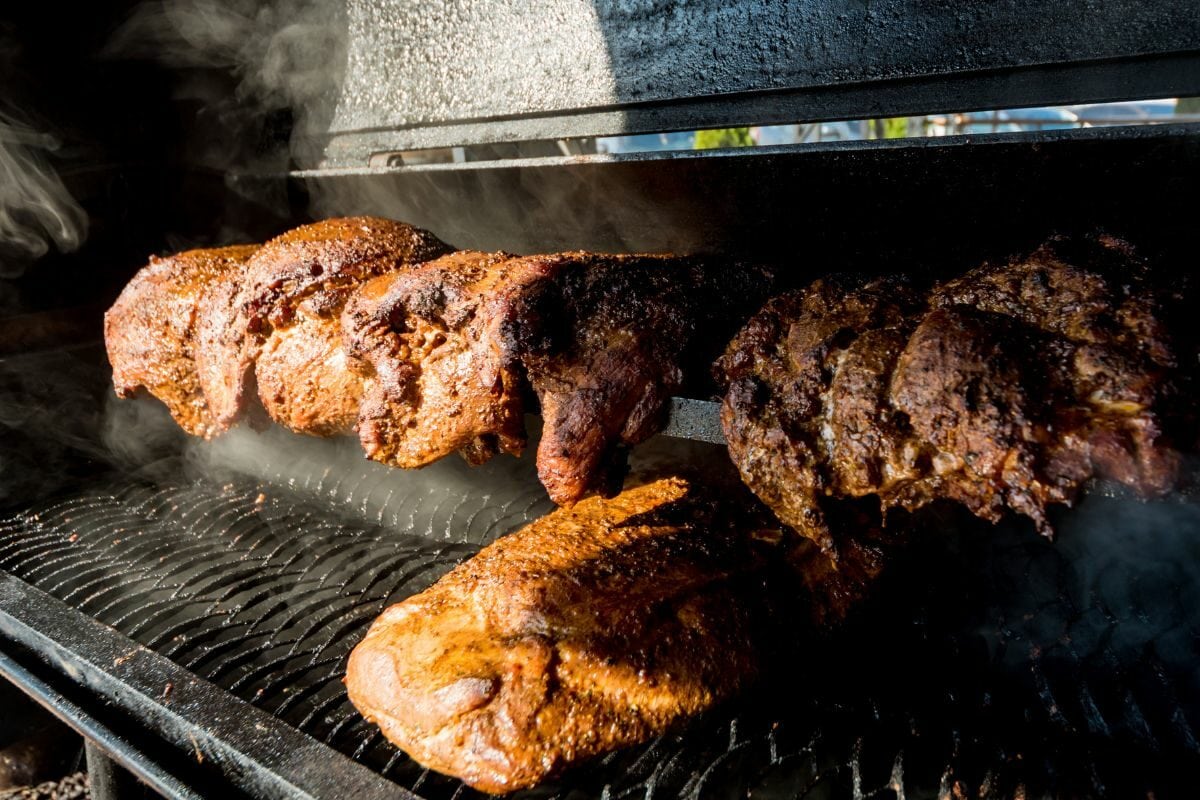
Cold smoking is a cool technique to give food that delicate smoky flavor without actually cooking it. Yes, you read me right. We are not cooking when cold smoking! We’re talking temps below 85 degrees Fahrenheit (29 degrees Celsius). That’s way cooler, unlike hot smoking, which is well above the 140°F danger zone.
The goal here is all about infusing your food with sweet-smoke flavor. So, it’s not so much about cooking or preserving it.
Here’s how it works…
You generate the smoke in one place and then sneak it into the food through a pipe or vent.
This way, the smoke cools down before it hits your recipes. So, no worries about overcooking already cooked foods.
Now, for safety’s sake, you have to cure, brine, or cook your food beforehand.
In addition, cold smoking requires keeping the temperature low. The cold smoke has to keep flowing for hours, maybe even days, depending on how intense you want that smoky flavor.
Cold smoking is a hit among food enthusiasts and fancy-pants chefs alike. Overall, it’s a wild and tasty way to give your dishes and ingredients that unique smokiness.
Ah, the art of meat curing before cold smoking! I mentioned you can’t skimp on this if you’re cold-smoking meats. Now, let me break it down:
And there you have it! Your beautifully cured meat is ready to meet that cool smoke.

Now that you’ve got the basics down, it’s time to unleash your inner mad scientist! Remember? Cold smoking is all about the flavor, not the cooking. So, don’t be afraid to get all fancy and experimental.
Sprinkle in some herbs, spices, or even fancy salts to level up your curing or smoking game. Some fancy salt to use include Himalayan Pink Salt or wood-flavored No products found.. These can take your dishes to a whole new level!
To create flavor explosions and become the master of cold-smoked masterpieces, you can even play around with different combos of rosemary, thyme, paprika, or maybe even some exotic spices like cumin or turmeric.
When it comes to cold-smoking fish, patience is the name of the game. While a few factors can determine the exact time, I’ll give you a ballpark estimate.
On average, you’re looking at several hours of smoking time for fish. It can range anywhere from 4 to 12 hours, depending on the size and type of fish. Thinner fillets or small fish like trout might take around 4 to 6 hours, while larger fish like salmon could take about 8 to 12 hours.
Now, remember that these are rough estimates, and you’ll want to keep a close eye (and nose) on your fish as it smokes.
Now that I’ve shown you the basic procedures for cold smoking, next, I’ll share my techniques with you so you can find a cooking method you may use.
If you’re serious about cold smoking and ready to take it to the next level, it’s time to get yourself a real cold smoker. These are purpose-built for low-temperature smoking and will transport you straight to flavor heaven.
Now, you’ve got options here. You can choose a standard one like the Masterbuilt I showed you earlier or a good portable cold smoker. Just make sure whichever you choose has killer insulation and proper ventilation to give you that mind-blowing smokiness.
Oh, there’s more. If you’re feeling adventurous, you can even build your own cold smoker! Yeah, that’s right, you can channel your inner MacGyver and create a smoking contraption that’ll make your friends go, “Whoa, where’d you get that?!” There are tons of tutorials and plans out there to help you craft your very own customized smoking marvel. Here’s one:
Here’s another heads up, you can even make your own smoke chamber from an old fridge. Here’s how:
Now, if you’re not ready to commit to a full-blown cold smoker just yet, grab a handheld smoker like this. Have you seen that before? We call it a smoking gun!
These nifty smoke weapons let you effortlessly infuse that distinctive smoky flavor into your dishes. Just load them up with some wood chips, give them a spark, and watch the magic happen. You can use it to give a smoky kick to anything you can imagine – whether it’s cold-smoking meat, veggies, cheese, or cocktails – you name it!
If you want to add that smoky awesomeness to your grilling game but don’t want to go all out with a full-blown cold smoker, get a smoking tube. Talking about smoking tubes, you can get right away there’s none other than the LIZZQ Pellet Smoker Tube. This 12-inch smoker is made to hold your favorite wood chips or pellets, and it’s super easy to light or use. Just plop it on your grill or slide it inside your smoker, light it up, and let the smoldering magic happen.
When it comes to cold smoking, I’ve discovered that some foods just hit the flavor jackpot better. So I’ll share my top picks with you:
Cold smoking is an excellent way to add that distinctive smoky flavor to your food, but it’s essential to be aware of a few things:
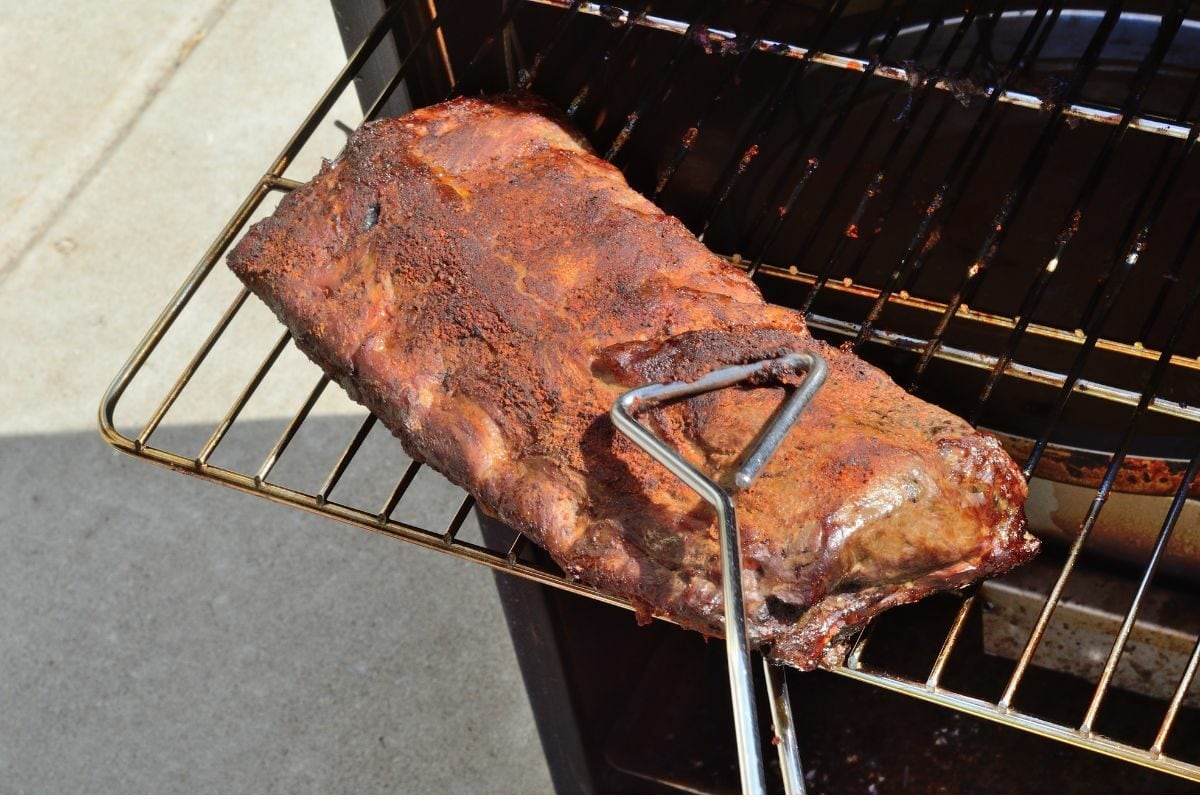
Absolutely, as long as you play it safe! Make sure you follow some basic food safety rules recommended by the USDA, like washing your hands, keeping things clean, avoiding cross-contamination, and making sure to have the meat marinated or brined properly. And don’t forget to chill it if you need to reserve some. But hey, here’s a heads up: all smoked and processed meats come with a higher risk of health issues like stroke, heart disease, and diabetes. So, don’t go crazy and have a (cold-)smoked meat party every day. Moderation is key!
Well, this is totally subjective as it all depends on what you’re looking for! Cold smoking gives you that smoky flavor without cooking the food, while hot smoking cooks and smokes it simultaneously. Whether it’s cold or hot smoking, it’s all about what floats your culinary boat and the kind of dish you’re after.
That’s it! You’re now armed with all the juicy secrets to dominate the cold smoking game. From snagging the right gear and wood chips, nailing that crucial curing step, and how to keep the temperature low, you’re ready to unleash those irresistible smoky flavors right in your own backyard. So go forth, smoke your heart out, and savor the smoky goodness like a true boss.
Remember, practice makes perfect. Don’t be discouraged if your first cold-smoking attempts don’t turn out as planned. With time and experience, you’ll develop your techniques and master the art of cold smoking at home.
So, what are you waiting for? Get that cold smoker fired up, gather your favorite ingredients, and let the smoky magic unfold in your kitchen. Happy cold smoking!