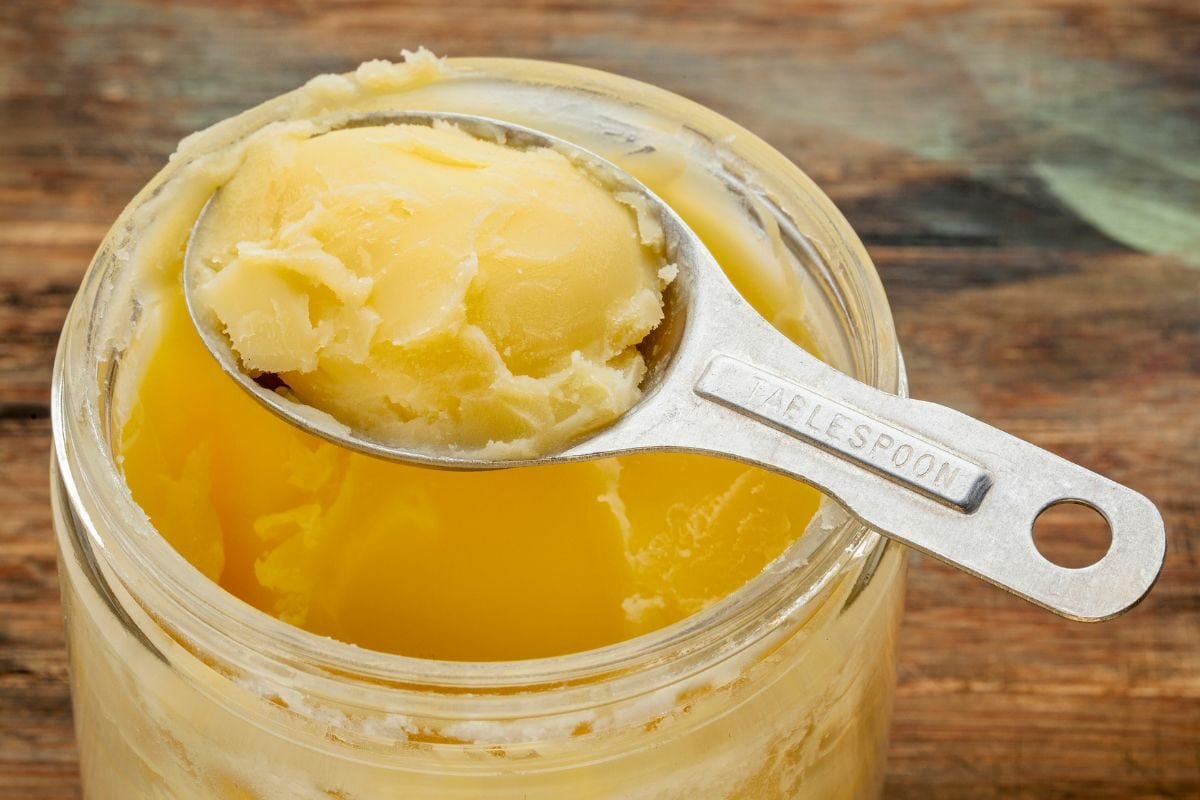
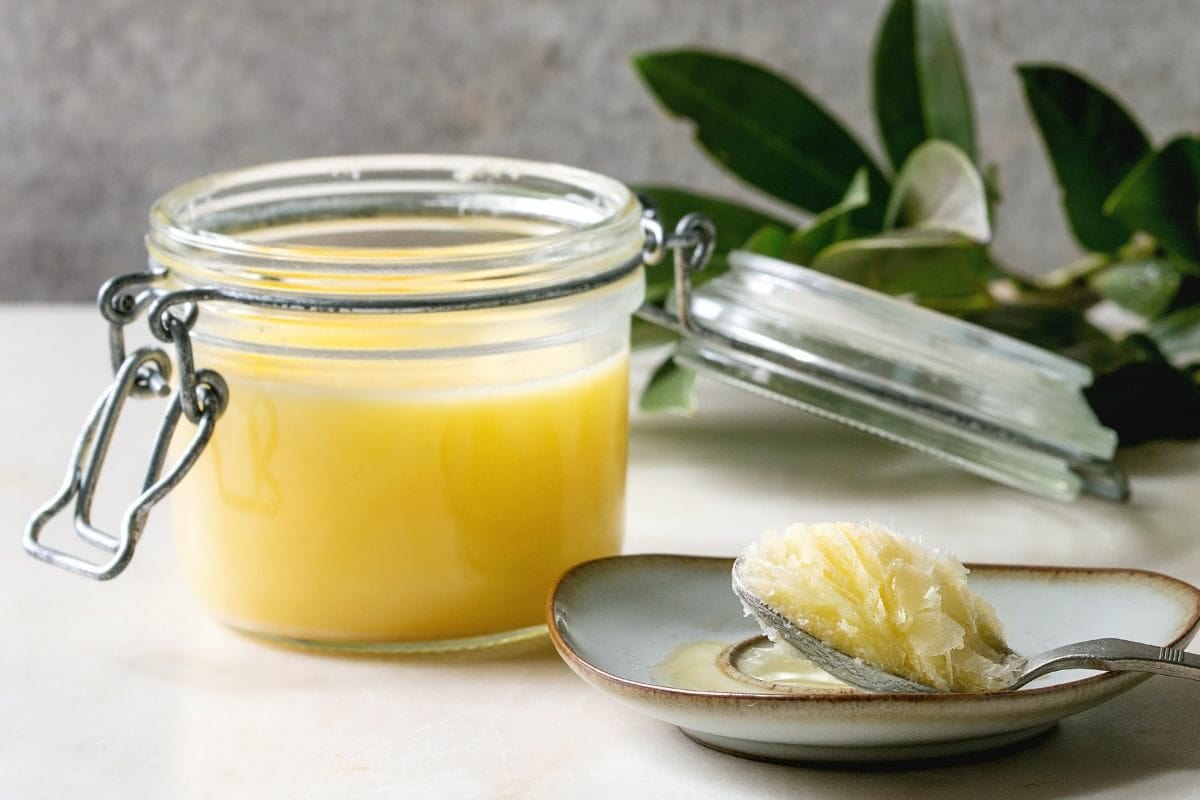
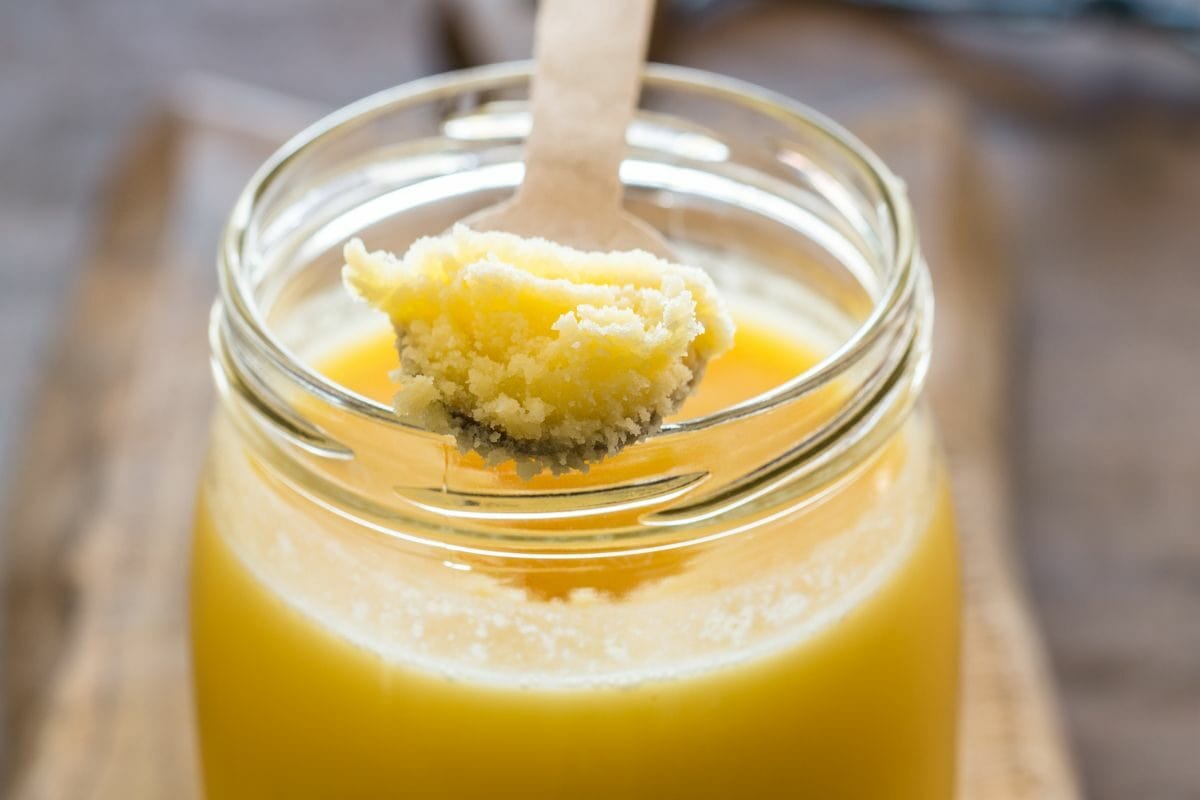
Beef tallow is basically beef fat that’s been slow-cooked until it melts into a liquid. Then, you strain out the solid bits, cool them down to solidify, and voila! You’ve got some pure, solid white tallow for your culinary or home craft recipes.
Beef tallow reminds me of my granny and our soap and candle-making adventures. Those techniques have stayed with me, and now I’m here to pass them on to you. But beef tallow isn’t just for crafting; it’s also a versatile cooking fat. With its high smoke point, the rendered beef fat is your go-to for frying, searing, and roasting.
So, in this article, I’ll show you how to make beef tallow, from acquiring the right meat fat to the rendering procedure. I’ll also tell you some of my favorite ways to use homemade beef tallow in the kitchen.

If you’re ready to learn how to make beef tallow, check out my beef tallow recipe:
You’ve got three options to get your hands on some beef fat trimmings.
Option number one is to swing by your local butcher and have a friendly chat with them. Just walk up to the counter, flash them a smile, and kindly ask if they can get you some suet or brisket fat trimmings. They’re usually pretty cool about it and know exactly what you’re talking about.
Now, if you don’t feel like engaging in a meat-fat conversation, you can hop over to a meat market. Just stroll down the aisles and keep your eyes peeled for brisket fat trimmings. They usually have it available for purchase.
You can also make do with your leftover fat. If you’re also up for a brisket smoking recipe, you could get a full packer of brisket with the full-fat cap on it. Cut off the fat cap for your tallow recipe and store the remaining brisket in the fridge for later use.
Oh, and one more thing: when selecting your meat fat, ensure it’s nice and clean. We don’t want extra bits of meat, bones, or muscle tissue hanging around. We want pure, unadulterated fat. Onward to step two!
Now that you have the beef fat, it’s time to give it a little bit of TLC before it becomes beef tallow. Here’s what you need to do:
First, look at the fat and trim away any unwanted bits. I mean any pieces of meat or blood vessels.
Next, you can cut the fat trimmings into small pieces or grind them using a meat grinder. The smaller the pieces, the faster the rendering will be.
It’s time to heat things up and work some rendering magic on that cow fat. So, how do you render beef tallow? There are a couple of methods I like to use:
Grab yourself a sturdy, heavy-bottomed pot or a Dutch oven. Don’t have one? You’ll need one if you’d like to give this recipe a try again. I recommend you get this Lodge 6 Quart Dutch Oven or something similar at your local ceramic or kitchen store.
Place the fat in the Dutch oven or pot, and set it on a stove at medium-low heat. Let it melt slowly and release that beautiful liquid gold we call beef tallow.
Give it a stir every now and then to ensure everything cooks evenly. Let it simmer gently for a few hours until all the fat has rendered and the solids turn liquid brown.
Preheat your oven to around 250°F (that’s about 120°C for my metric friends out there).
As the oven warms up, place the fat in an oven-safe pot, a baking dish, or a Dutch oven. Then pop it in the oven.
Let it render for a few hours, giving it a stir now and then. You’ll start to see the fat melt and separate from the solid bits.

Okay, now that your fat has rendered and transformed into that liquid tallow, it’s time to refine the good stuff from the solid bits. Here’s how you do it:
Grab yourself a fine-mesh strainer or some cheesecloth and place it over a heat-proof container — something like the Uniware B4000-2. Carefully pour the rendered fat through the strainer to catch any remaining bits and pieces.
Allow the liquid tallow to cool down and solidify. You can leave it at room temperature or pop it in the fridge to speed up the process.
Congratulations, my beef tallow-making champ! You’ve successfully created your very own beef tallow. Now, let’s make sure we store the rendered fat properly:
Once the beef tallow has solidified, transfer it to an airtight container. You can use a jar, a container with a tight-fitting lid, or even wrap it up tightly in plastic wrap. The choice is yours! But the Oxo Good Grips Pop Container is just perfect for this.
Now, you can store your fat at room temperature. But if you want it to last even longer, you can keep it in the refrigerator or freezer. Properly rendered tallow can last 12-18 months in the fridge or two years in the freezer.
So there you have it! You’ve conquered the art of homemade beef tallow from scratch. Now you can enjoy its many uses in cooking, frying, or even as an ingredient for homemade soap or candles. You can use the rendered fat to replace cooking oil, such as vegetable oil, in frying your chicken wings or even french fries.
The exact time can vary depending on a few factors, but let me break it down for you.
First, the rendering procedure itself can take a few hours. If you choose the stovetop method, where you simmer the fat slowly over low heat, it typically takes around 2 to 4 hours for the fat to render fully and the solids to turn crispy and brown.
If you opt for the oven method, where you let the fat slowly melt in the oven, it usually takes a bit longer. Plan around 4 to 6 hours for the fat to render and separate them from the solid bits. Remember to stir now and then to help things along gently.
Now, remember that these are just general estimates, and the actual time can vary depending on how much fat you’re rendering, the heat intensity, and other factors. It’s always a good idea to monitor the rendering process and adjust the heat if needed to prevent burning or scorching.
Remember that once the fat has rendered and you’ve strained out the solids, you’ll need to allow the rendered beef fat to cool and solidify. This can take anywhere from a couple of hours at room temperature to a few hours in the refrigerator.

Tallow is traditionally derived from a specific type of fat found in beef called suet. Don’t confuse this with lard, which is from rendered pork fat.
Suet is raw hard fat primarily sourced from the visceral fat surrounding the kidneys and other organs in the abdominal cavity of cattle. It is a firm, solid fat that has a higher melting point compared to other types of fat found in the animal.
This particular fat is prized for its high-quality and rich fat content, making it ideal for rendering into beef tallow. It’s important to note that suet is distinct from the fat found marbled within the muscle tissue of beef cuts. While the marbled fat contributes to the flavor and juiciness of the meat, it is not typically used for tallow production.
Yes, you can make beef tallow from various types of meat fat, not just suet. It’s just that beef suet is what was used traditionally and the main one used today.
But while suet is commonly used for tallow production due to its high-fat content and firm texture, you can also use other types of fat.
For example, trimmings of fat from beef cuts, such as the back or around the brisket, can be rendered to produce tallow. These fats may have slightly different textures and melting points compared to suet. But they can still be rendered into a usable tallow product.
It’s worth noting that the quality and characteristics of the tallow may vary depending on the specific type of beef fat used. Some fats may have a higher melting point, resulting in a firmer tallow, while others may have a softer consistency.
Nonetheless, as long as the fat is clean and free from meat or muscle tissue, you can give it a go and experiment with different types of fat to create your homemade tallow. Beef tallow is a highly nutritious cooking ingredient as it’s high in conjugated Linoleic acid (CLA). Conjugated Linoleic acid supports healthy metabolism and helps support the immune system.
No, adding water is not necessary when making beef tallow. The rendering process involves heating the fat slowly to separate the fat from the solid bits without needing water. Water can actually interfere with the rendering and may lead to undesirable results. So, keep it simple and skip the water when making tallow.
Absolutely! Tallow has been used for centuries in the making of candles, cosmetics, and medicines. Soap, it’s been used for thousands of years. Its high melting point and firm texture make it an excellent choice for these applications. When used in candle-making, tallow provides a steady and long-lasting burn with a warm, natural glow. In soap-making, tallow contributes to a rich, creamy lather and adds moisturizing properties.

Well, there you have it, my fellow tallow enthusiasts! We’ve reached the end of our beef tallow-making journey. I hope this step-by-step guide has shed some light on the process and inspired you to try it. From obtaining the animal fat to rendering it into that golden liquid, the magic of homemade tallow awaits you.
Whether you’re using it for cooking, frying, candle-making, or soap-making, beef tallow brings unique qualities and adds a touch of deliciousness and versatility to your creations. So give it a try and let the wonders of beef tallow enhance your culinary and crafting adventures!