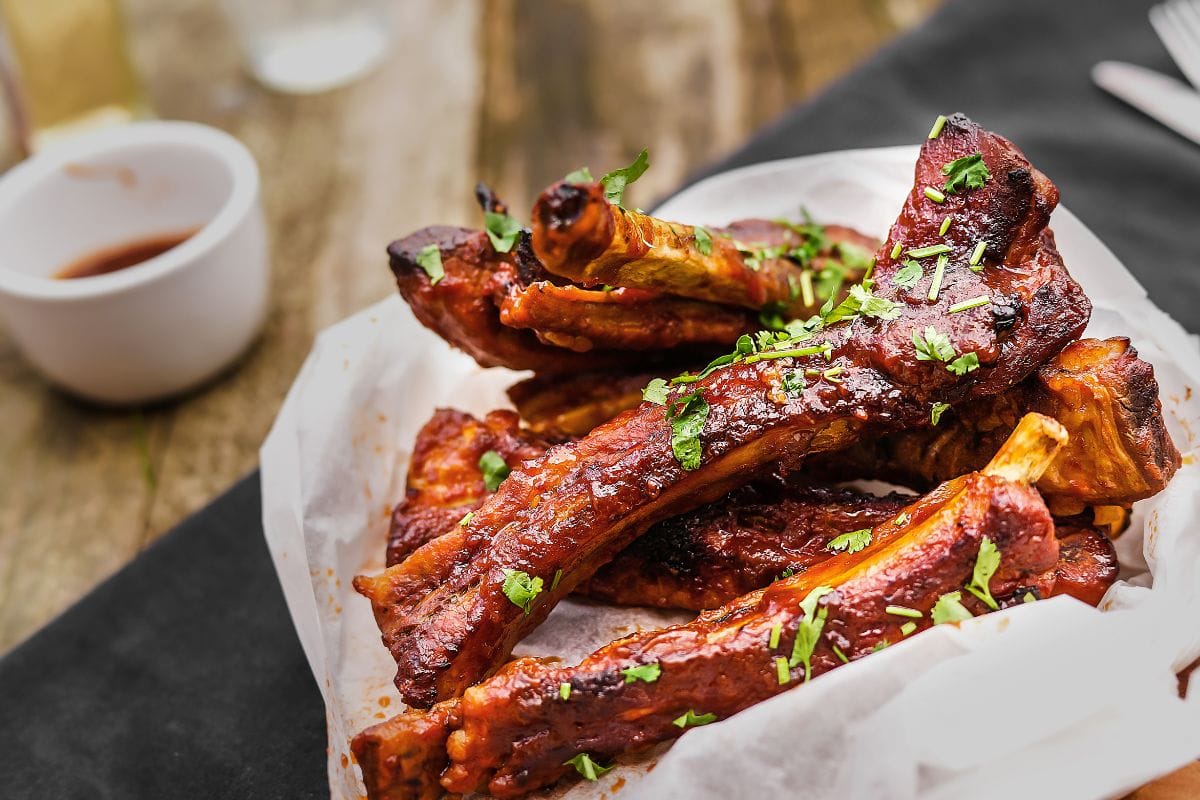
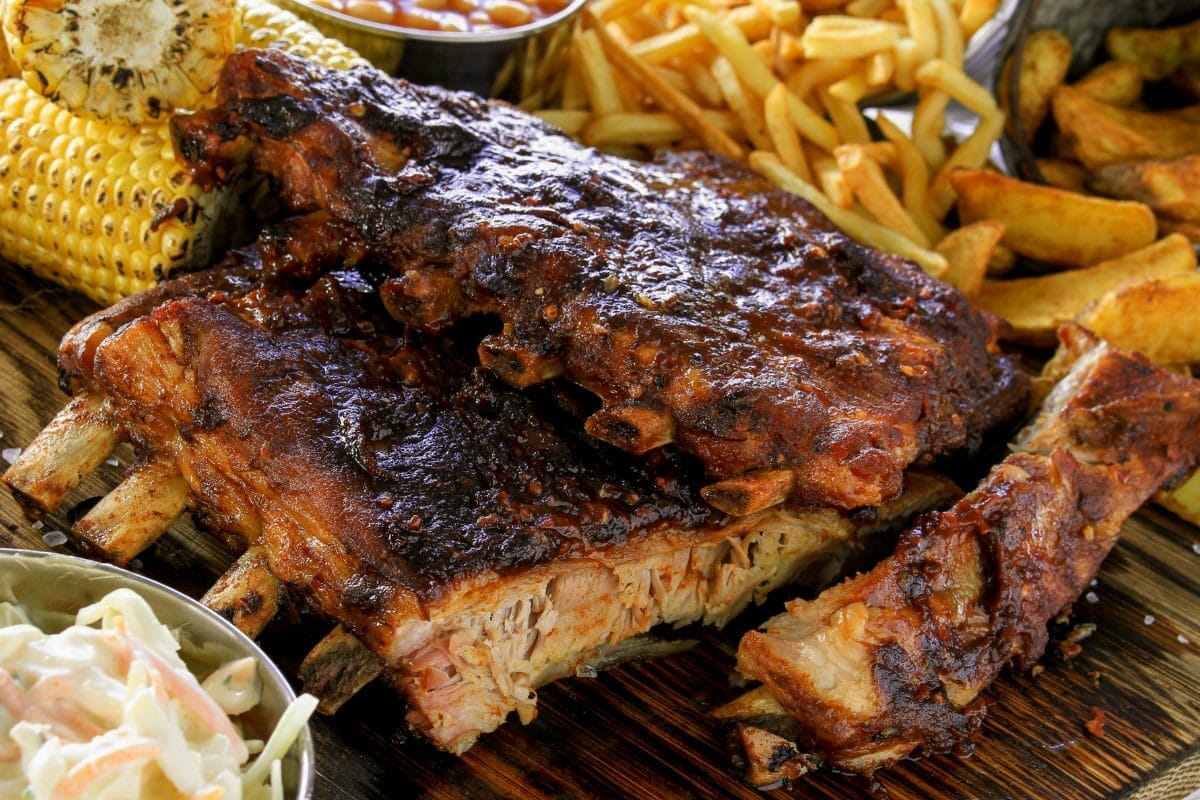
I see you’ve got some beef or pork ribs left from your cookout and wondering how to bring them back to life. No worries! The best way to reheat ribs is by using an air fryer. Start by preheating it. Then cut the ribs to fit in. Now, drizzle the ribs with cooking oil and cook for 5 minutes. That’s it!
As a BBQ master who can’t go a single week without some spare or baby back ribs, I’m all over this reheating trick. Truth be told, we all gotta reheat leftover ribs sometimes, right? I mean, who goes through all the trouble of prepping for a rib cookout and then demolishes it all in a 30-minute dinner frenzy? Nah, man. Make a bunch of ribs, enjoy a few, stash the rest in the fridge, and warm them up when the cravings kick in. That’s how I roll! So, let’s dive into the rib-reheating procedures.

Preheat your air fryer to around 350 degrees Fahrenheit (175 degrees Celsius). Preheating ensures that the fryer is nice and hot when you put in the leftover ribs, which helps them cook evenly and retain their juiciness.
If your leftover ribs are large, you may need to cut them into smaller sizes that fit comfortably in the air fryer basket. So, take a knife and cut those ribs into sizes that fit nicely in your fryer basket without cramming them. We don’t want them to be all squished up, right? This also helps promote even heating.
Give the ribs a slight drizzle of oil. This step prevents them from drying out during the reheating process. Just a few drops of oil should keep them moist and flavorful. Now, sprinkle a little dry rub on the ribs for taste.
Carefully place the ribs in the fryer basket, ensuring not to overcrowd it. Proper airflow is essential for even cooking. Ensure the temperature is set to 350 degrees Fahrenheit. Now, we wait for the magic to happen!
Let the ribs cook in the preheated air fryer for about five minutes. After five minutes, open the fryer and check if the ribs are hot all the way through. You want to ensure there are no cold spots. Don’t play guesswork here. Use a meat thermometer. A digital instant-read meat thermometer like the ThermoPro Thermometer is fine.
Your ribs are safe to eat once they reach the 145-degree mark, as the USDA recommends for raw meat. You don’t need it cooked further than this since this is not raw anyways and has been pre-cooked. Remember, the goal is to reheat leftover ribs without overcooking.
It’s time to take out those reheated ribs from the fryer. But you have to let them cool off for a few minutes. Allowing the ribs to cool slightly before serving helps the juices redistribute, making them even more tender and flavorful.
Once the ribs have cooled down, it’s time to dig in! Serve them as they are. Or, if desired, slather them with your favorite BBQ sauce for an extra kick of flavor.
Still, want some guidance? Check out this YouTube video for visual instructions:
To begin, take a large pot or container and fill it with water midway to the height of the sous vide pod.
If you’re new to this method and plan to do more reheating in the future, I recommend investing in a complete sous vide kit These kits usually include the machine, reusable vacuum bags, a seal pump, and other handy accessories.
Preheat the sous vide to a temperature of around 165 degrees Fahrenheit and place in a water bath.
Now give it a few minutes to heat up and reach the appropriate level.
Cut the cooked ribs into smaller sizes and place them into ziplock or vacuum-sealable bags. The SousBear® Sous Vide Bags are perfect for the sous vide method if you don’t have them in your kit.
If using ziplock bags, you can use the water displacement method to remove excess air from the bags. Slowly lower the bags into the water-filled pot or container, allowing the pressure to push the air out of the bags. Seal the bags tightly just above the waterline.
If using vacuum-sealable bags, follow the manufacturer’s instructions to vacuum-seal the bags, removing as much air as possible.
Gently place each vacuum-sealed bag of ribs into the preheated water bath. Make sure the bags are fully submerged. If needed, you can use a clip or weight to keep them in place.
Allow the ribs to cook in the sous vide machine for approximately 1 to 2 hours. The exact cooking time will depend on the thickness of the ribs. Sous vide cooking is forgiving, so you don’t have to worry too much about overcooking them.
After the cooking time is complete, carefully remove the bags of ribs from the water bath. You can either serve them as they are or give them a quick finish on the grill or under a broiler to add some char and caramelization to the surface. This step is optional but can enhance the flavor and texture of the reheated ribs.
Here’s a recommended video that you can watch for visual guidance:
Start by preheating your toaster oven to 350 degrees Fahrenheit (175 degrees Celsius). Preheating ensures that the oven is hot and ready to reheat the BBQ ribs the right way.
If your ribs are large or you prefer smaller portions, you may need to cut them into smaller sizes that will fit comfortably on the baking sheet or in the oven-safe dish. If you want, you may want to reapply some dry rub again.
If your ribs appear dry or you want to prevent them from drying out during reheating, you can lightly brush or drizzle some barbecue sauce or a marinade of your choice over the ribs. This will add moisture and give some extra flavor. However, this step is optional, and you can skip it if you prefer your ribs without extra BBQ sauce.
Place the ribs on a baking sheet or in an oven-safe dish. If desired, you can line the baking sheet or dish with parchment paper for easier cleanup afterward. Arrange the ribs in a single layer, ensuring they are not too crowded to allow for even heating.
If you like to keep your ribs moist during reheating, you can loosely cover the baking sheet or dish with aluminum foil. This will help create a steamy environment and prevent the ribs from drying. However, if you prefer a slightly crispy exterior, you can skip this step for the oven reheating step.
Warning: Don’t wrap the ribs directly in foil and ensure the foil doesn’t come in contact with the heating element due to the risk of fire.
Place the baking sheet or dish with the ribs in the oven. Let the ribs reheat for approximately 10-15 minutes, depending on their thickness and your desired level of warmth.
After the initial reheating time, carefully remove the foil (if used) and check the ribs for their internal temperature following Step 6 of the first recipe. If you need to, continue reheating ribs for a few more minutes until they are heated.
Once the ribs are heated through and cooked to your liking, remove them from the toaster oven. Let them rest for a couple of minutes to allow the juices to redistribute. Serve them as they are or with your favorite barbecue sauce for added flavor.

The best way to reheat ribs while ensuring they remain juicy is by adding some extra moisture! This can be with apple juice, BBQ sauce, or marinade. Then tightly wrap the ribs in foil or butcher paper with the moisture. Note, however, that this method is not suitable for the toaster oven. You may try reheating ribs on the grill at a low temperature or under indirect heat to prevent drying out.
The time for reheating ribs varies, but a general guideline is around half an hour in a preheated standard oven at 350°F. Adjust as needed to ensure they’re heated through without overcooking.
Some of the best ways to reheat leftover ribs are using a covered baking dish, a silicone baking mat on a baking sheet, or an oven-safe lid or cover to retain moisture.
It’s up to you! If you want tender, moist ribs, cover them with foil or a lid. If you prefer a slightly crispy texture, leave them uncovered for a caramelized exterior. Both ways can be delicious, so go with your preference!
Reheating ribs doesn’t have to be a daunting task. With the right techniques, you can transform your leftover ribs into a meal that tastes as good as fresh off the grill. Whether you choose to use an air fryer, toaster oven, or sous vide machine, each method has its advantages and can yield delicious ribs.
By following the step-by-step instructions and tips for reheating ribs, you’ll be able to enjoy tender, juicy ribs without worrying about them drying out. So don’t let those leftovers go to waste – give them a second life and savor every bite.