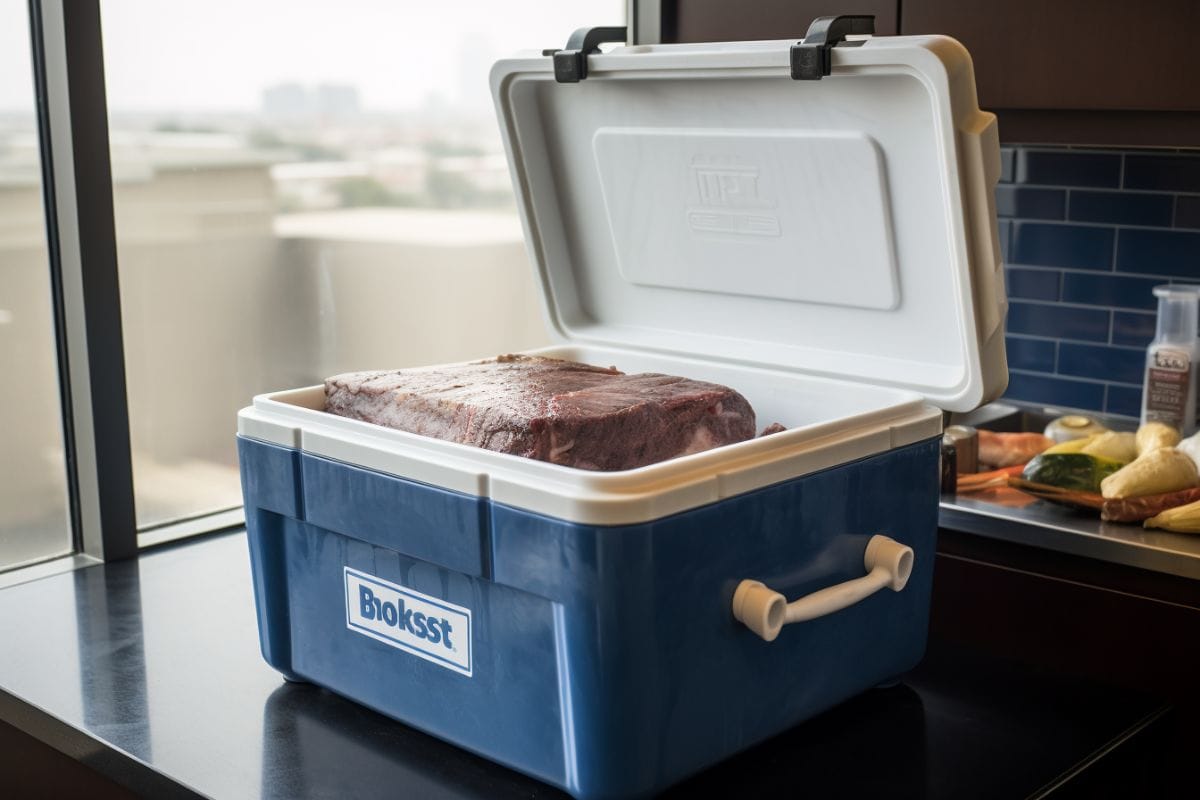
Resting brisket in a cooler is the best way to maintain the meat’s internal temperature at a safe level while ensuring that your brisket is perfectly moist when your guests arrive.
I host quite a few cookouts and am always frustrated when either my smoked meats or guests are late. Fortunately, a pitmaster friend of mine taught me the secrets of keeping brisket in a cooler (AKA a faux Cambro). Now, I use this method every time I smoke brisket – it helps crank out meat that’s supremely tender and unbelievably moist.
In this post, I will outline the perks of this method and give you step-by-step instructions on how to create your very own setup. Let’s begin!

Here are the steps to follow:
Monitor the temperature. Take the brisket out when your guests are ready to eat or when the internal temperature gets closer to 140°F. I find a 2-hour rest is ideal for my setup, and it gives the brisket the perfect amount of resting time.
Here is a list of the things that you will need to pull this off:
As you can imagine, the cooler is a pretty important part of this method.
You’ll need a well-insulated cooler. Use one that is capable of keeping ice frozen for several days at a time. Keep in mind that if the cooler isn’t properly insulated, the meat’s temperature will drop more quickly.
Use a cheap cooler, and not only will the cooled brisket not taste as good – you also risk making your guests sick if the meat temp drops below 140°F! Below 140°F is in what’s known as “the danger zone” with meats, and when bacteria can grow.
Your cooler will also need a lid that can be shut properly, allowing it to create a tight seal. If your cooler isn’t up to snuff, I would suggest borrowing one from a neighbor or a friend.
Just make sure that the interior is large enough to hold your whole, unsliced brisket. Remember, there are going to be towels in there too.
Coolers with drains are the best. You will need to drain the hot water out of it, and it is much safer for you if you don’t have to lift the cooler to tip it out and empty it.
Wheels aren’t a must, but they can certainly help you cart your brisket from one place to another without having to expend much energy.

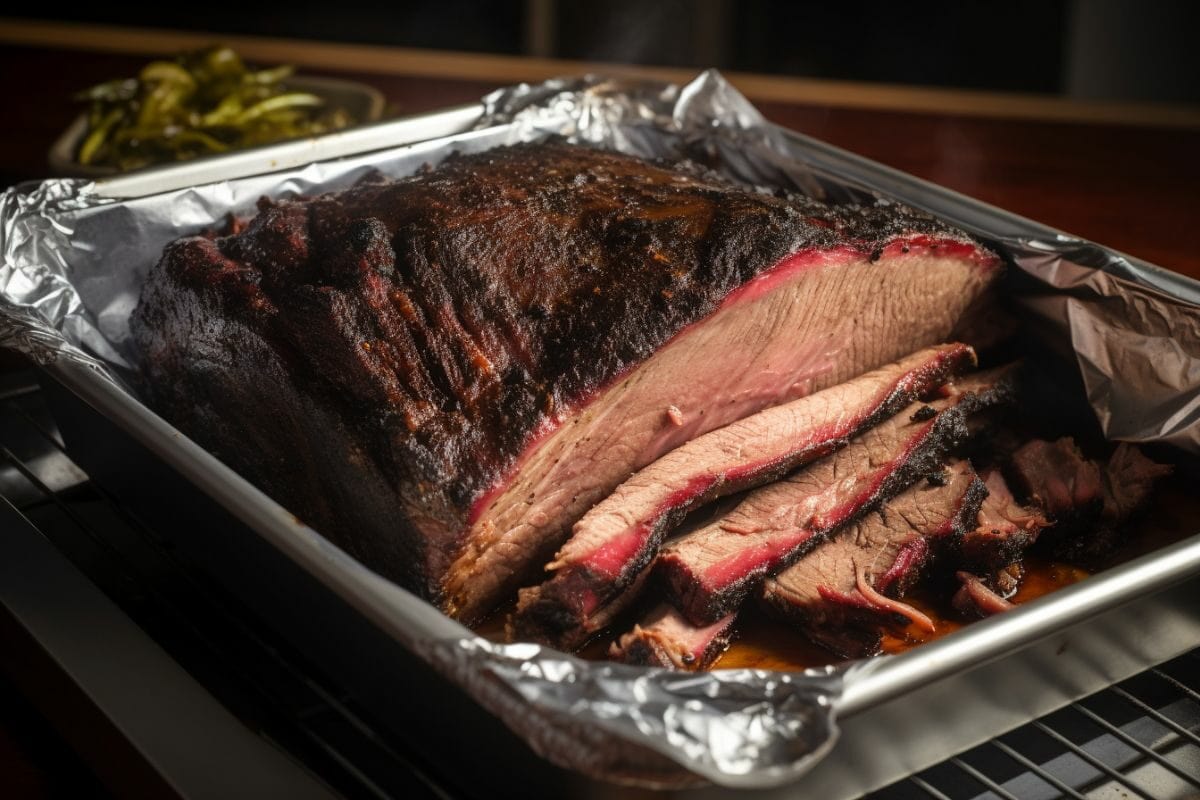
As I said, you can use either aluminum foil, plastic wrap, or butcher paper to wrap your brisket.
Personally, I prefer aluminum foil. It traps the heat better, and you’ll get an incredible bark.
Related Reading
I know what you’re thinking – why would you need advice on what towels to use?
Here’s the thing – it’s probably a good idea not to use the towels in your linen closet. If you’ve got a significant other, you’re likely to get an earful. I would suggest buying towels for this purpose specifically. Look for very thick and fluffy ones.
If you frequently smoke briskets or pork butts for cookouts, this will be a good investment. Otherwise, set aside some old bath towels for this specific use. (Just make sure they’re clean.)
Regardless of the kind of towels you are using, I wash mine with a non-scented detergent. This way, the smell from the detergent won’t permeate into the meat. And, definitely don’t use any fabric softener.
If your towels are new, first wash them in detergent to make sure they are clean.
This item isn’t strictly necessary but I like to use one. Get a pan that is large enough for your brisket to fit in.
Then, you can place the brisket in the pan and not the bottom of the cooler. If any juices or liquids leak out, they will collect in the pan. Pour any drippings over the brisket after slicing.
When it’s clean-up time, it’s just a matter of rinsing out the pan and discarding it. As for the cooler, you will simply need to wipe it down.
Last, but certainly not least, you need a meat probe. As I mentioned, it is important for the meat’s internal temperature to never drop below 140°F.
A thermometer helps you to keep track of the brisket’s internal temp. Your best bet is a wireless thermometer that has an app. This way, you can track the temperature via your app instead of needing to open and close the cooler every now and then, which allows heat to escape.
Even if you are new to BBQ and beef brisket, you know the deal: you have to rest the brisket after it has been cooked.
This gives the meat time to reabsorb its juices and liquids, thus resulting in a juicier and more tender brisket.
Letting the smoked brisket rest in an insulated cooler is the ideal solution. The brisket will stay nice and warm while the juices work their way deep into the meat.
If you have ever smoked any large hunk of meat, then you know that it can be tricky to estimate the end of the cooking process. The size of the cut, smoker temperature, wind, temperature fluctuations, and other issues can delay your cook by quite a bit.
Now, if you are smoking brisket for a particular meal or are inviting people over, these delays can be especially inconvenient. This is why most pitmasters like to start their cook about an hour earlier than most recipes tell them – the extra time ensures your beef brisket will be ready.
Related Reading
When you start your cook earlier, though, there is a risk of another issue: dry brisket. If your guests don’t show up on time and your brisket is left to rest for too long, then the meat can dry out. You’re also left with cold brisket.
This is where resting brisket in a cooler comes into play. Resting allows the juices to work their way back into the meat, giving you a meltingly tender, moist brisket.
With the cooler method, you heat up the cooler and then place the wrapped brisket in there. Close the lid so that the heat trapped inside the cooler and the temp from carry-over cooking maintains the internal meat temperature of your brisket.
When your guests finally arrive, it will taste better than brisket that has just been taken off the smoker. This trick also works with other large pieces of meat like pork butt and ribs.
Related Reading
This method of resting brisket in a cooler is known as a faux Cambro.
Pitmasters got the idea from a Cambro – an insulated container that caterers use to keep food at the designated 140 degrees F. Not only does the food taste better, but it is also a great way to ward off foodborne illnesses. Some of these containers even come equipped with their own heater.
The Cambro tends to be rather pricey, so people started making their own homemade versions with the help of beer coolers.

I want to discuss exactly what goes on when you place a brisket in a cooler once it is done smoking.
When you take your brisket off the smoker, it should register somewhere between 190 and 203°F. (I always aim for 203°F, or when a probe can be inserted with little to no resistance.) Once carryover cooking has taken place, though, the internal temperature of the brisket will begin to plummet.
Letting the brisket rest in an insulated cooler helps to maintain some of this heat, but I like to give it even more help.
That’s why I wrap the brisket before placing it in the cooler. It can be wrapped in either aluminum foil or butcher paper, depending on your preference. (I like to use aluminum foil). This keeps the heat locked in.
As an additional measure, I also place a clean towel below and above the brisket. This helps adds a layer of insulation to help maintain the temperature of the resting brisket.
Remember, it is important to keep the internal temperature of the meat above 140°F before it is served. If the temperature drops below this, there is an increased risk of food poisoning.
The sweet spot for resting time for brisket in a cooler is 2 hours. You can go longer, but I find the texture starts to suffer after 4 hours.
There are other factors at play, as well.
For instance, it depends on the temperature of the brisket when it comes off the smoker. The hotter it is, the longer you can maintain a higher temp.
The other thing to think about is the insulation of the cooler. If it is a high-quality cooler, you can let the brisket rest for a longer time.
Cheaper coolers won’t maintain temperature as well. That’s why wrapping in towels is critical – it adds another layer of insulating material.
This is also where a thermometer comes in handy. It ensures that you don’t have to rely on guesswork. Instead, you know exactly your brisket’s exact temperature. If you’re resting your brisket for a party or cookout, you don’t want to take any chances.
If my brisket temperature starts to dip below 160°F, I like to stick it in my oven at its lowest temperature setting.
Related Reading
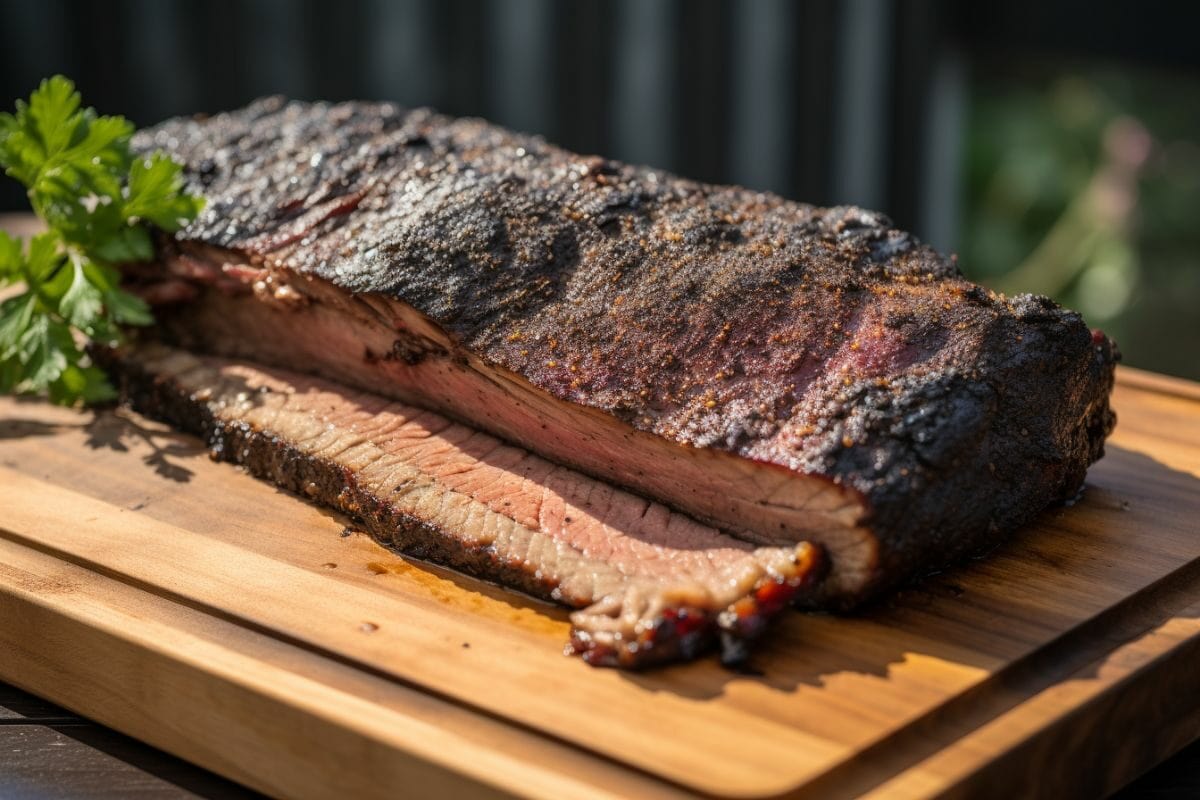
As I mentioned, your bark does tend to soften a bit when it comes to this method. But I’m a big fan of bark, and I just couldn’t let this issue rest – no pun intended.
With a little bit of experimenting of my own, I found a way around this problem.
Preheat your grill to high. And, just before you cut and serve the brisket, let it sit on the grill for several minutes. Keep turning the brisket over so that the entire surface can crisp back up.

If you have ever wondered about resting brisket in a cooler – you now know what it is all about! As you can see, this it’s the ideal way to store your brisket until it is ready to be sliced and served.
Now that these secrets have been passed down to you, you can use them to wow your friends, family, and guests!