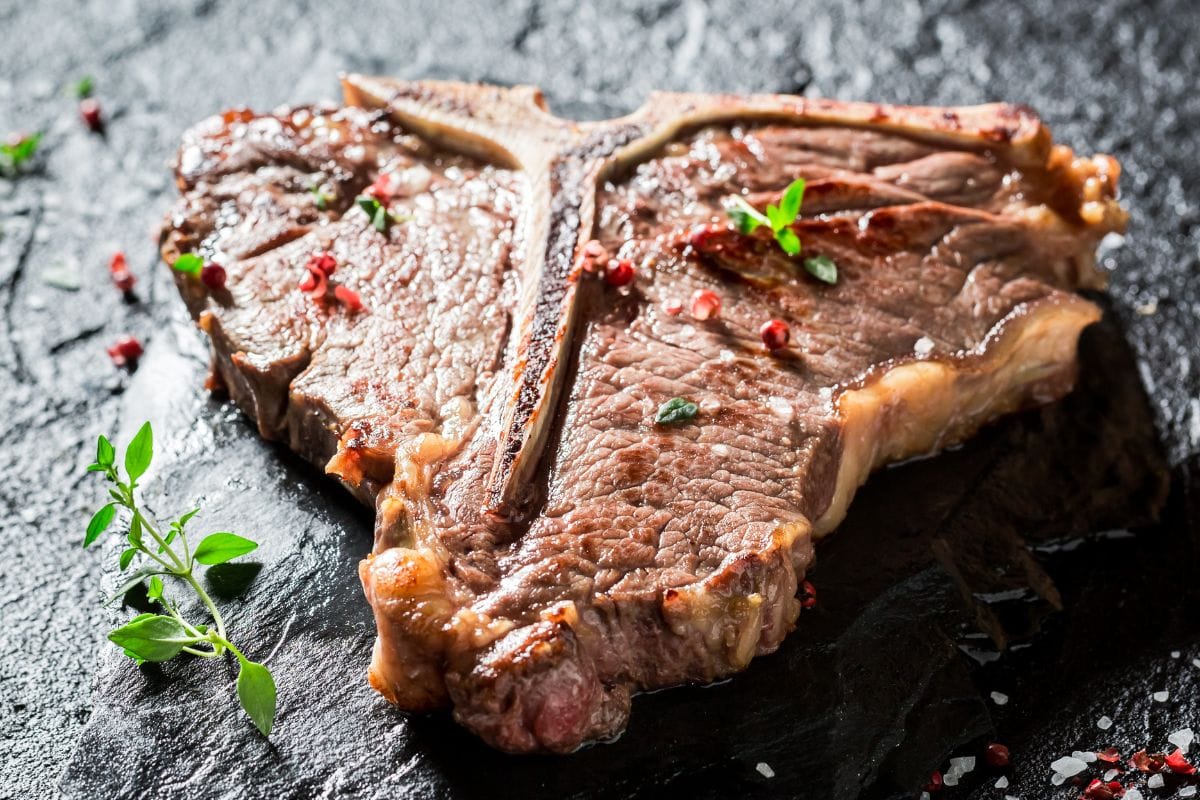
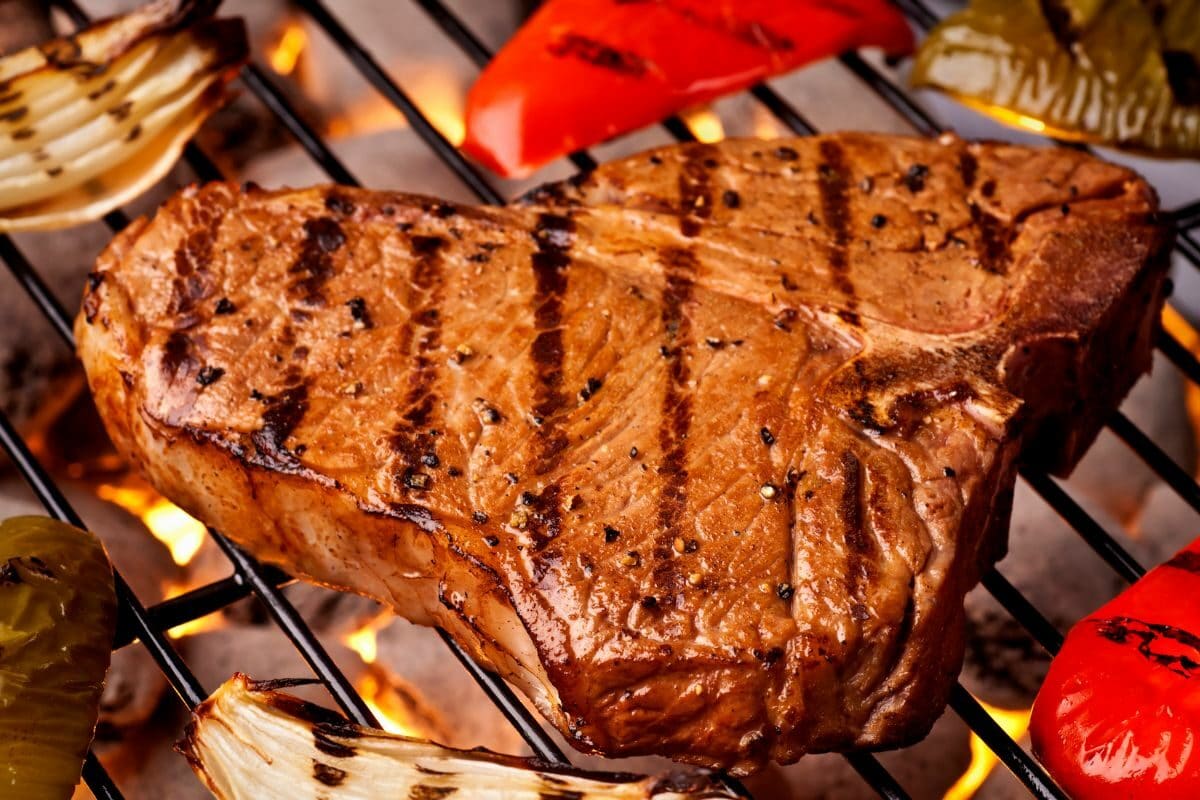
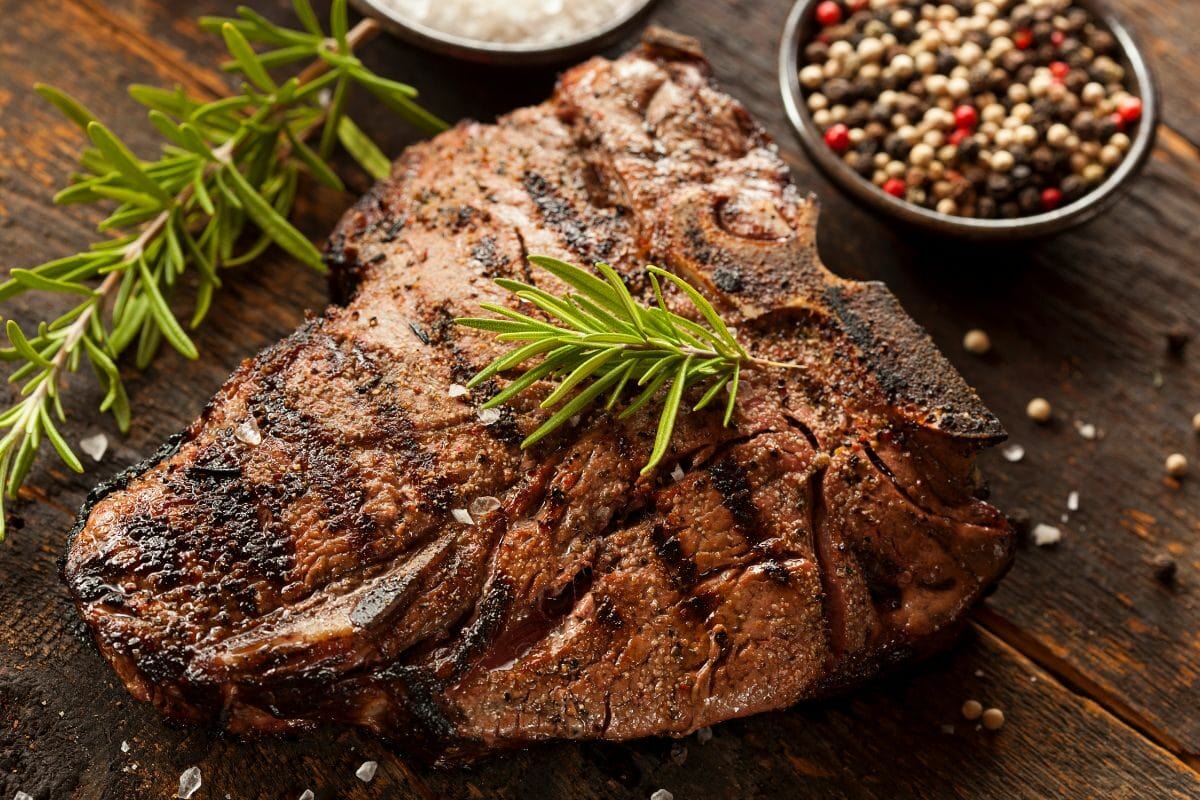
Reverse searing a t-bone steak involves slow-cooking the steak in an oven or a grill and then completing the cooking process by searing it in a skillet or grill. The results of this cooking technique are simply incredible. The slow cooking makes the meat tender, while the sear gives it a tasty crunch.
I learned how to reverse-sear t-bone steak in culinary school years ago, and I’ve been using the reverse-sear method to wow my family ever since. In today’s article, I’ll show you the ways I reverse sear a t-bone steak. So, without further ado, let’s get started.

First, season the thick-cut steak with kosher salt and black pepper, coating all sides of the steak. You can place the steak on a tray lined with a baking sheet and place it in the fridge overnight, so the meat tastes even more delicious. However, if you don’t have that much time, simply skip this step and proceed to step 2.
If using an oven, place the steak on a wire rack covered with a baking sheet. Then, preheat the oven to 275°F. Next, place the steak in your oven and cook until it reaches your desired internal temperature. In my experience, it will take roughly 20 minutes to cook until rare and up to 40 minutes for a medium-well steak. That said, note that the overall cooking times can vary depending on several factors like the steak thickness, cooker’s temp, etc. So, ensure you check the meat’s temperature frequently.
Next, add 1 tablespoon of olive oil to a cast iron skillet and heat on the stovetop over high heat. Make sure you put the skillet on the stove when your steak is almost done cooking. Now, allow the oil to start smoking before removing the steak from the oven and placing it in the skillet. This is the perfect time to add the butter to the cast iron skillet for extra flavor. Sear the steak for one minute per side, and remove it when it is well browned. Hold the steak sideways for 30 seconds with tongs to sear the edges. Once the sides are reverse seared, place the steak on paper towels and rest for 5 minutes before serving.

You can also use a grill instead of an oven to cook the t-bone steak.
If you own a charcoal grill, start by igniting the charcoal and allowing it to burn for 2 minutes. Then spread the heated coal to stoke the flame. If you have a gas grill, instead, turn half of the burners on high. Then set the cooking grate in place, cover the grill, and let it heat up for 5 minutes. Next, oil the grill grate.
For both grills, place the steak on the cool side of the grill and cook uncovered. Cook the steak until the internal temperature on your thermometer reads 120°F for rare, 130°F for medium-rare, 135°F for medium, or 145°F for medium-well. Remember to check the steak often.
Once the steak is cooked to your desired temperature, transfer it to a platter and tent with aluminum foil for a few minutes. If you’re using a charcoal grill, reignite the coals until they burn well. If you’re cooking steak with a gas grill, make sure all of the burners are set to high heat, and let the grill preheat for 10 minutes with the lid closed.
Now, return the steak to the hottest part of the preheated grill and cook each side for 1 minute, or until crisp and reverse seared all over. Let the meat rest for a bit, then serve and enjoy.
Pan-frying is one of the most common ways to prepare steak. This method involves searing the steak first and then finishing it in the oven. When you pan-fry a steak, the exterior cooks much quicker than the center. This results in the center staying pink while the surrounding meat is more well-done.
Reverse searing is exactly the opposite. First, the steak is cooked at a low temperature in the oven to gradually raise the temperature. Then, the steak is removed from the oven just before it reaches the desired doneness and seared in a hot skillet.
Reverse searing ensures the steak cooks evenly. The low cooking temperature of the oven or grill ensures that the T-bone is cooked evenly throughout the cooking process.
This cooking temperature keeps the steak juicy and pink in the center while decreasing the gray tint around the edges.
Reverse searing produces a beautiful crust. The first cooking stage of reverse searing makes the steaks dry on the outside. This means the sear gives the steak a crispier crust.
Cooking steaks low and slow breaks down the meat’s tough tissues and muscles. This process makes the meat even more tender and juicy. The additional searing stage will add a tasty crust to the meat’s tender insides.

In all my years of experience, I’ve found that the T-bone, porterhouse, tomahawk, New York Strip, filet mignon, and ribeye are the best steak cuts for reverse searing. These thick-cut steaks have ample meat and marbling to benefit from cooking at a low heat.
Thinner cuts, such as the tri-tip and flank steak, can also be used for reverse searing. However, you will need to reduce the cooking time on the smoker to 30 minutes to avoid overcooking the beef.
I always recommend you reverse sear steak. A T-bone steak can quickly dry out when grilling if you don’t watch it carefully. In comparison, reverse-searing is a more reliable method for achieving an evenly cooked steak without drying the meat.
As you can see, reverse searing a t-bone steak doesn’t have to be difficult. Simply follow my steps on how to perfectly reverse-sear a steak.
Remember, reverse searing isn’t only reserved for t-bone steak. You can also try this technique for cooking other great steak cuts. So, take out any steak of your choice and start searing! That said, I still recommend trying out the T-bone if you haven’t yet; it’s amazing.