The rising cost of beef jerky, along with the unhealthy ingredients in it prompted me to create my own beef jerky recipe. It took some trial and error but I have finally found the Holy Grail.
In this post, I will show you how to make the best beef jerky – I will also provide instructions on how to prepare it in a dehydrator and oven. Let’s get started!
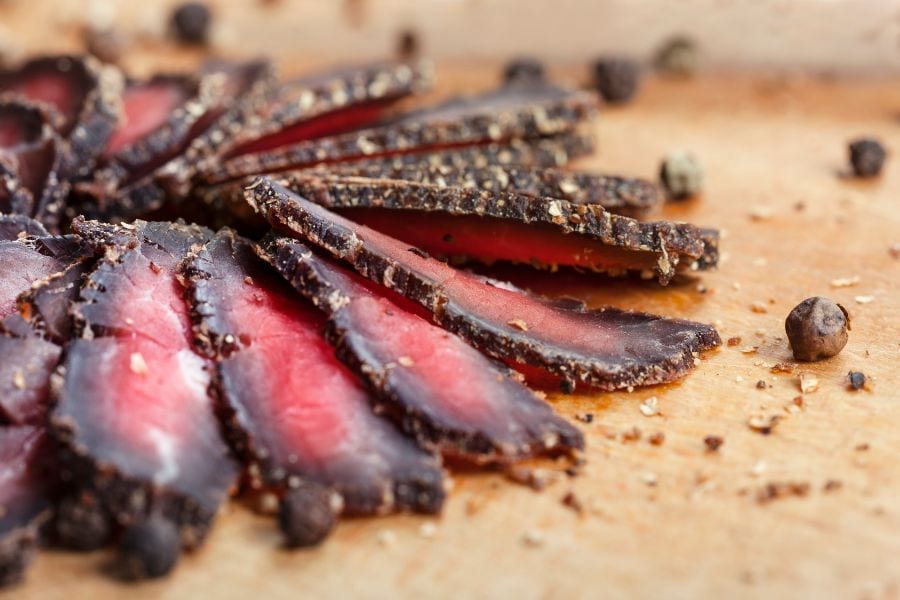
One of the reasons that it can be so intimidating to even think about making your own beef jerky is because most people assume that they need a dehydrator. Now, while a dehydrator can certainly make this process easier for you, you don’t need one!
This is why in this post I am going to show you how to make homemade beef jerky in both a dehydrator as well as an oven.
I’m going to be honest, a dehydrator does give you a more traditional beef jerky result. You will find that the jerky is a bit drier and chewier.
This is because the airflow is better in a dehydrator. It is also easier to maintain a lower temperature in the machine.
This doesn’t mean that your homemade beef jerky isn’t going to any good if you prepare it in the oven.
Oven baked beef jerky is actually really delicious! As long as you keep the slices thin and the temperature low, you should be able to get a pretty good result!
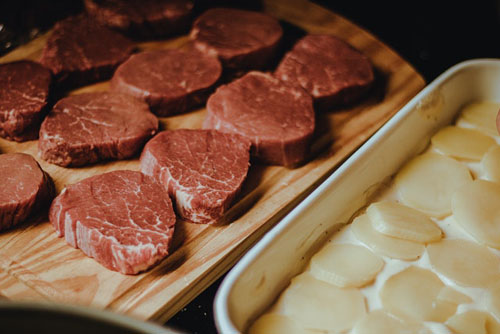
Making beef jerky is quite different to cooking beef. For one thing, you want a cut that is as lean as possible here.
See, fat adds moisture to the meat and this is definitely not something that you want when you are dehydrating beef. What’s more, if there is fat on the beef, it can cause the jerky to spoil sooner and to reduce the shelf life of the final product.
So, what cuts can you use for your homemade beef jerky?
The best cut of beef would be flank steak. This is because it is one of the leanest cuts of meat. It also has a nice beefy flavor that translates well to the jerky.
The only issue is that flank steak can be pretty pricey and so I know that most people will be hesitant to use it for beef jerky.
I would say that the second best option would be eye of round, top round steak, or bottom round roast. I have heard of some people using London broil but haven’t given it a try myself.
When choosing the cut of meat, choose a section without any pieces of fat on it. If there are any sections, ask the butcher to trim it for you or you will need to do this when you get home.
It is also a good idea to look for a cut that has almost no marbling in it. This will help to further reduce the risk of having fat in your jerky.
Now, you may have heard of people using ground meat or ground chuck to make homemade jerky. Some prefer it because the meat is naturally lean and this gives you peace of mind when making jerky.
I would warn against using ground chuck for beef jerky recipes, though. This is because once you have seasoned the meat, you have to work hard to flatten it and make it as smooth as possible. Then, you have to slice the meat while making sure that it doesn’t fall apart.
As you can see, there is a lot of effort involved here and I would argue that it isn’t worth the hassle.
It is very important to slice the meat just right. If you cut the beef into too-thick slices, then it is going to be tricky to get that traditional beef jerky texture. Not to mention, you will also need to let the meat cook for longer.
Before you slice the meat, make sure to trim any fat from the cut of beef. Use a sharp knife so that you can slice off the fat without taking any of the lean meat with it.
If there is marbling in the meat, you can gently cut it away. However, this is a time consuming process and you may end up cutting away too much lean meat as well. Due to this, you should leave the marbling in.
It is a good idea to freeze the beef a bit before you begin to slice it. This makes the cut of beef firmer and makes it easier to cut the beef into thin, even slices.
Place the meat in the freezer for about an hour or so, depending on the size of the cut. Don’t keep it in for too long, though, or it will be frozen solid and then you will need to thaw out the meat again.
You just need to keep the meat in the freezer long enough so that it will firm up but not be frozen.
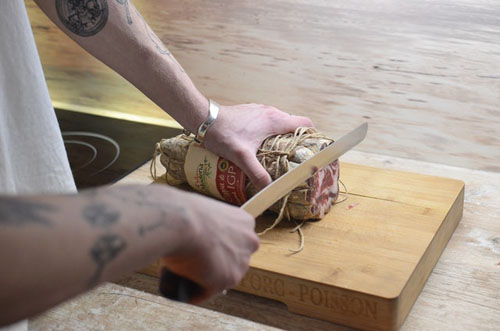
Then, use a sharp knife to cut 1/4 of an inch slices. Take your time and do this carefully so that each slice is similar to the next.
If this feels a bit too intimidating for you, I would suggest asking your butcher to tackle this job for you. They can use machines to ensure thin and even strips. They will probably get the task done faster too.
Unlike when making beef dishes, you have two options here. You can either cut with the grain or against the grain. It all depends on your desired texture.
If you would like tender jerky, then cut against the grain. In case you prefer a chewier jerky, then cut with the grain.
The first thing that I want to make clear is that every dehydrator is different. Due to this, you should always read the instructions that come with your make and model before proceeding.
Once the beef strips have been marinated, preheat the dehydrator to 145 degrees F.
Depending on the make and model, you may not need to do this. If so, simply set the temperature to 145 F and then place the beef in the dehydrator.
Pat the beef jerky dry but try not to remove any seasoning on the meat. If you do accidently remove some of it, you can sprinkle on a bit more for added flavor. Chili flakes taste especially good and can counteract a very sweet jerky recipe nicely
Then, carefully organize the beef strips on the dehydrator trays. Make sure to leave a little bit of room between each strip.
This allows the air to circulate around each strip, dehydrating it fully. If you are preparing a lot of beef, then make sure to prepare them in batches.
Place the trays in the dehydrator and leave for about 4 to 5 hours.
The beef jerky is ready when it is dry but still quite pliable.
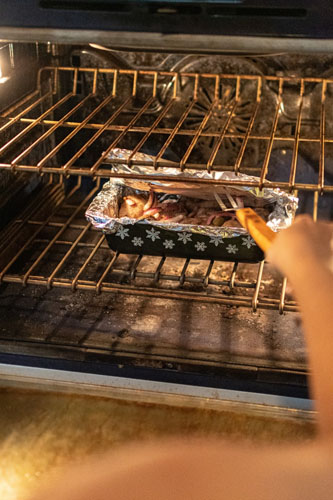
Start by preheating the oven to 175 degrees F.
Then, cover baking sheets with aluminum foil. Place wire racks on the trays.
Remove the beef jerky from the marinade and arrange the strips on the wire racks. Make sure to keep a little bit of space in between each strip. This will help with improved air circulation.
Keep the top rack of the oven free and only place the sheets in the middle and bottom racks.
Place the baking sheets in the oven and cook for 4 to 5 hours.
2 hours into the cooking process, flip the beef strips over. Continue cooking until the strips are pliable but dry.
As the oven doesn’t have as much dry air flowing through it as a dehydrator, it is important to always arrange the beef properly.
To begin with, never place the beef directly onto baking trays. Instead, place them on elevated and perforated platforms like the wire racks. This allows the air to circulate all around the beef.
Now, there is another technique that you can use. You should be aware that this can be rather fussy and time consuming. However, the texture of the resulting beef jerky is a bit more similar to what you will get in the dehydrator.
Thread a toothpick or skewer through the top of each strip. Then, hang the stick from the oven rack. This will allow the meat to hang lengthwise, allowing for greater air circulation.
Depending on the size of your oven, you may need to do this from either the first rack or the middle rack.
It is a good idea to line the bottom of the oven with baking sheets covered in aluminum foil. There are bound to be drippings from the meat and the trays will make clean up a lot easier for you.
Yes, this method can be quite time consuming but can be a good technique to use if you want to get a more authentic beef jerky texture.
Otherwise, placing the meat on wire racks will work just as well.
Freeze the beef for about an hour.
Trim the fat from the meat and thinly slice the meat.
Combine the soy sauce, Worcestershire sauce, garlic powder, onion powder, and the rest of the marinade ingredients in a bowl. If you are using brown sugar, make sure that all the crystals are dissolved before proceeding.
Pour the marinade into a Ziploc bag. Add the beef strips and seal. Shake the bag so that all the slices are evenly coated.
Then, place in the refrigerator for between 1 hour and 24 hours.
Follow the instructions for making beef jerky in the dehydrator or oven.
I know that some people like to tenderize their beef before they slice it. This is so that you get a tender texture out of your beef jerky.
While this is certainly something that you can try, I wouldn’t say that it is a must do thing. It is a lot of effort for very little reward. It is far better to focus on cutting your beef into very thin slices and to cut against the grain.
Of course, you are free to give this is a try to see if i does make a lot of difference to your homemade beef jerky.
The great thing about making homemade beef jerky is that you get to flavor it any way that you want.
If you like your beef jerky savory with a hint of sweetness and smokiness, then you can use my recipe.
You are also free to get creative and come up with your very own marinade recipe.
If you are going with a savory option, I would suggest keeping the soy sauce, Worcestershire sauce, garlic powder, and onion powder. This makes for an unbeatable base and works beautifully with a lot of other flavorings as well.
Like spicy beef jerky? Then, add some chili powder, and red pepper flakes into the mix.
In case you are a fan of contrasting flavors, I would suggest pairing spicy flavors with a little bit of sweetness. It is a truly magical combination!
If you are being careful about your diet and are watching your sodium intake, I would advise using low sodium soy sauce instead of the regular version. If you do this, add in about a teaspoon of kosher salt – don’t skip the salt completely or your homemade beef jerky will be lacking in flavor.
When it comes to making your own marinade, it is important to balance the flavors out. You don’t want one overpowering the rest. This is why you should always start by adding half a teaspoon of a particular herb, spice, or flavoring.
Then, do a taste test and see how things stand. If certain flavors are stronger than he others, then add in a bit more of the flavorings that seem mild. Do this carefully and in smaller quantities.
It is also a good idea to make notes as you go so that you know exactly how much of each ingredient to add at the end.
If you aren’t sure which flavors you like, I propose running a taste test the first time that you make homemade beef jerky.
Make up various marinades and divide the beef slices into the batches. Then, marinate each batch in a different marinade for the same amount of time.
At the end of this experiment, you should be able to tell which flavors you like the best!
When it comes to marinating homemade beef jerky, longer is always better. This is because the longer that you leave the beef to marinate, the stronger the flavor will be.
Letting the meat sit in a marinade for longer can also help to make it a bit more tender.
Of course, if you don’t want your homemade beef jerky to have a strong marinade flavor, then you can leave it in for less time.
While I did say that you can leave the beef in the marinade for at least an hour, it is best to keep it there for about 3 or 4 hours.
To make sure that you have enough time to marinate the meat, simply start preparing the beef jerky at an earlier time. Trust me, it will be worth it.
It can be tricky to know when beef jerky is cooked to perfection.
You should be aware that it is possible for you to overcook jerky. If you do this, then the jerky will feel dry and crumbly. The flavor will not be all that great either.
Due to this, it is important to keep a close watch on the jerky throughout the cooking or the dehydration process.
After the 3 hour mark, it is a good idea to keep checking the jerky. Take a strip and bend it. Jerky that has been cooked to perfection will begin to crack but will not break. It still needs to be a bit pliable.
To ensure that you don’t mess up the jerky, carry out this step with a single strip.
If this is your first time making homemade beef jerky, then you may be concerned about how safe the final product is. This is especially true if you are using a dehydrator for the first time.
Don’t worry, the dehydration process is completely safe. At the same time that the machine is stripping the meat of its moisture, it is also cooking the beef.
Now, this does depend on the temperature that you set your dehydrator, though. If the machine can be set to 145 degrees F or higher, then you are fine.
If the dehydrator doesn’t allow you to do this, then it is a good idea to cook the meat ahead of time first.
Set your oven to 300 degrees F and lay the beef strips on a baking sheet. Place the sheet in the oven and cook the meat until the internal temperature of the strips reaches 145 F.
Once the meat registers at this temperature, take the strips out and then place in the dehydrator. This should guarantee food safety.
Another tip to ensure that your homemade beef jerky is completely safe is to always marinate in the refrigerator. This is especially important if you are keeping the meat in the marinade for longer than an hour.
Once the beef jerky has had time to cool down, place it in an airtight container or a Ziploc bag immediately.
You can keep the jerky in these containers for as long as you have it. Just make sure to reseal the bag or container shortly after retrieving the jerky.
It is important to understand that your homemade version isn’t going to last you nearly as long as store bought jerky.
Store bought beef jerky has a lot of additives and preservatives which make it even more shelf stable. Since your beef jerky doesn’t have all of these, it will spoil a bit faster.
If you keep it in the refrigerator, the beef jerky may be good for up to a month. If you don’t it should last you a week, perhaps a little longer.
Now, there are simple who believe that you can keep homemade beef jerky for longer than a few months.
This technically can be achieved by vacuum sealing the beef jerky the moment that it is ready. You will also need to store the beef in the freezer until it is ready to be eaten.
Personally, I wouldn’t trust such tactics as there is no guarantee that your beef jerky can be stored that long. And, I would not want to take the risk of eating potentially contaminated jerky.
Not to mention, freshly made jerky always offers up a better texture as well as flavor. So, do yourself a favor and simply make smaller batches.
After making jerky a few times you will realize just how easy it is to do and be able to get through the process a lot more efficiently.
To be on the safe side, always examine your beef jerky carefully and do a sniff test to make sure that it is still safe to consume. If the strips look or smell off, it is best to throw them away instead of taking the risk of eating jerky that has gone bad.
You may be thinking to yourself why you should make the effort of preparing beef jerky at home when you can simply head to the store and buy some yourself.
Well, there are a few reasons.
First and foremost, the beef jerky that you make at home is a lot healthier than anything that you can find in the store.
This is because your homemade beef jerky is free from nitrates and various other added preservatives, colorings, and flavorings. Everything that you put into your jerky recipe is completely natural.
You will find that the homemade beef jerky is an especially good idea if you are trying to get your sodium levels under control. Using a low sodium soy sauce can help to drastically reduce the salt in the recipe.
The other benefit is that you can end up saving quite a bit of money in the long run. Have you seen the jerky pries these days? They aren’t cheap and they are only getting higher.
When making your own batch, though, you can make the jerky with the cheapest cut that you can find. And, for the most part, you have most of the other ingredients in your kitchen already.
This means that not much investment goes into making the jerky.
Last, but certainly not least, homemade beef jerky gives you the opportunity to get as creative as flavors as you like. You can come up with unique combinations or ones that are perfectly suited to your taste buds.
Also, if you like a bit more texture on your jerky, you can also sprinkle red pepper flakes on it before dehydrating the meat in a dehydrator or the oven.
Related Reading
This is all that you need to know about making homemade beef jerky. Now that you are armed with all this knowledge, there is no stopping you. You will be able to whip up delicious and perfectly chewy jerky each and every time.
Go ahead and give this recipe a try today! Once you see how easy it is, you will certainly never go back to the store bought versions again.