Smoking whole turkey with my family has always been a Thanksgiving week and holiday season ritual. But the juicy, delicious, and smoky turkey never comes easy! I always start by getting my hands on a big tom turkey, sprinkle it with kosher salt, and then let it chill out in the fridge for up to three days just before the big feast.
The dry brine sucks out excess moisture and leaves the turkey’s natural flavors concentrated. This leaves the turkey begging to soak up whatever you apply during the cooking process. The result is succulent, tender meat infused with the perfect balance of seasonings and sauce.
In this guide, I’ll walk you through every step of this dry-brining process. I’ll also answer all your burning questions to ensure your smoked turkey becomes the star of your Thanksgiving table. We’ll start with the dry-brining procedure and then move to the smoking process.
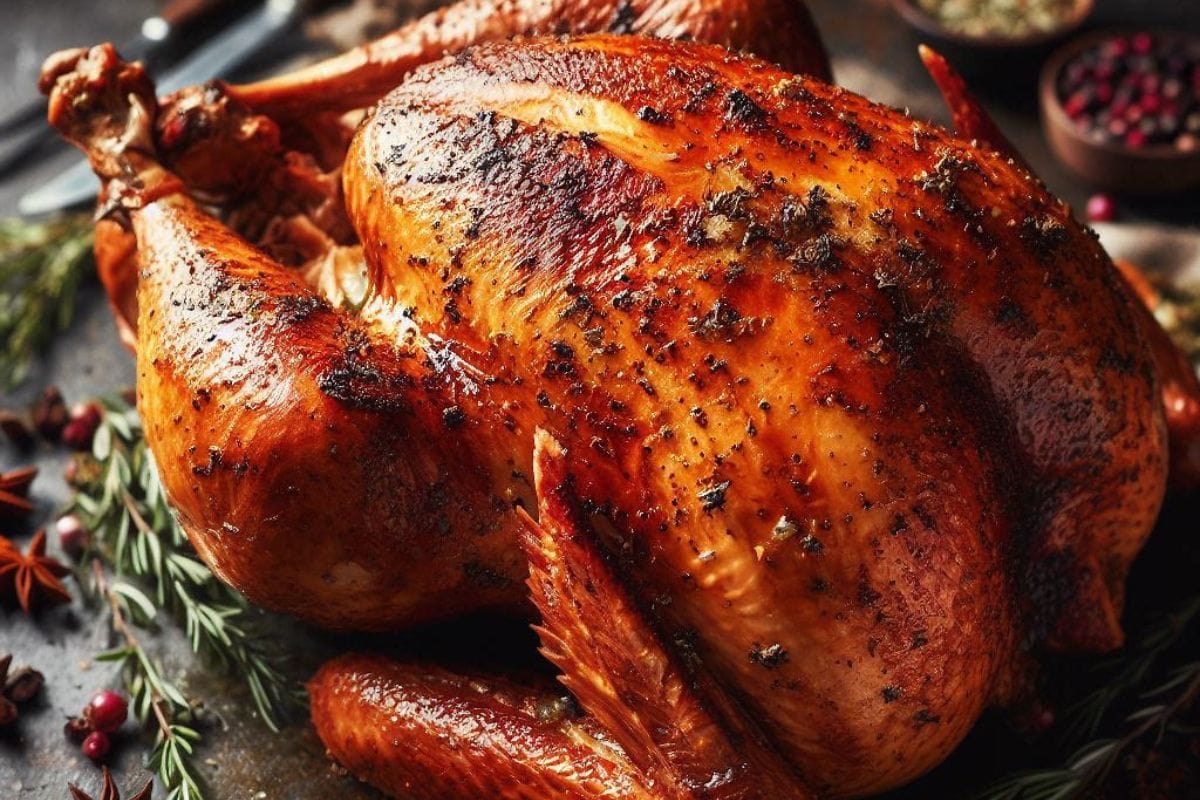
No need for a messy wet brine – the dry-brining method is efficient and delivers incredible results for your Thanksgiving turkey. Before we get started, here’s what you’ll need to dry-brine a turkey:
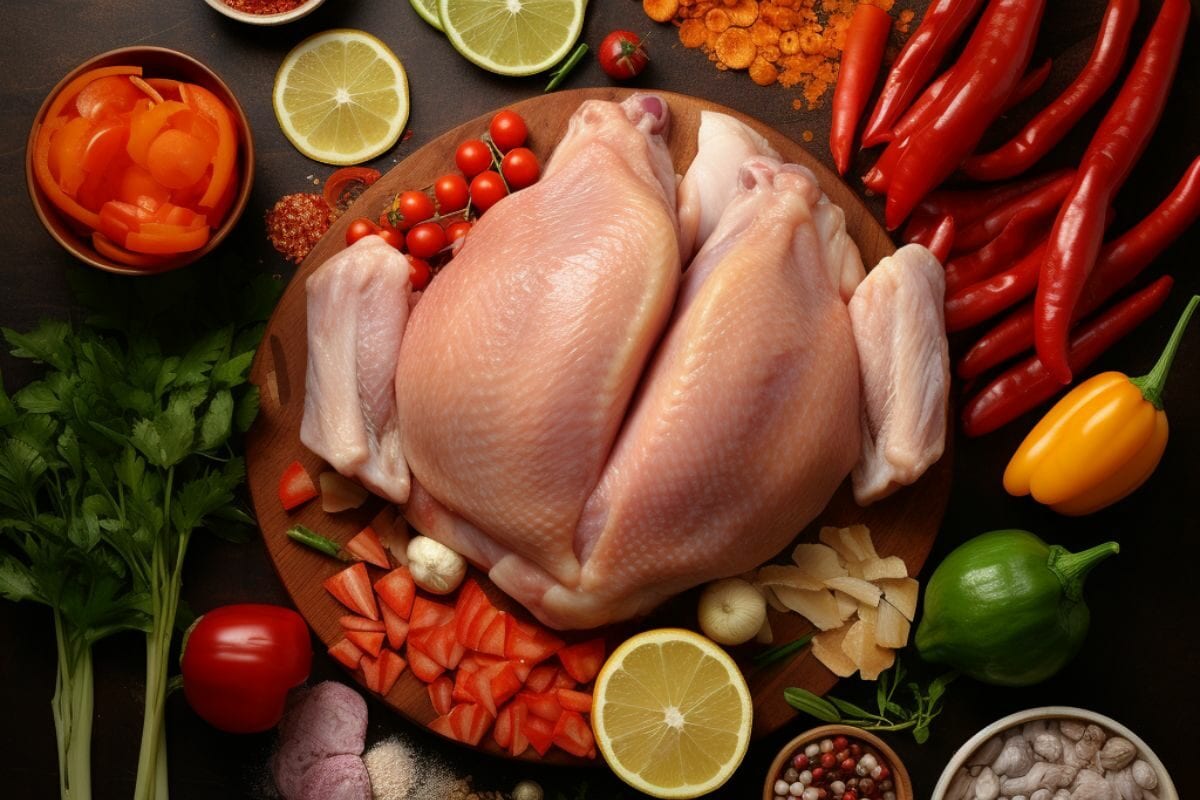
First, give the turkey a good once-over for any leftover feathers or giblets. Remove them, if you find any.
Next, rinse the turkey thoroughly under cold running water. Pat the turkey dry inside and out with a paper towel.
Place the turkey on a roast pan or a large food-safe airtight container with enough space to accommodate the bird comfortably.
Generously sprinkle salt all over the turkey, ensuring it gets into every nook and cranny of the breast and thighs.
Aim for approximately one tablespoon of salt per four pounds of turkey. For an average-sized male turkey, also called a tom, which weighs 16 to 24 pounds, that’s around four to six tablespoons of salt.
If you wish, you can add herbs and spices such as dried thyme, rosemary, or garlic powder to the salt. Some freshly ground black pepper can also give it an extra kick of spice.
Gently rub the salt mix into the turkey skin and cavity, ensuring even coverage. Be mindful of over-salting.
Once the turkey is coated with the dry brine mixture, place it in a big bowl or container. Now cover it with plastic wrap. Ensure the wrap doesn’t touch the turkey’s skin to allow air circulation.
Place the brined bird in the refrigerator for 24 to 48 hours if you’re dealing with average-sized under 16-pound birds like hens. You’ll need up to three days for larger birds like the toms.
The longer the resting time, the more intense the flavors will be. Let the turkey dry-brine. As it penetrates the meat, the salt draws out excess moisture and infuses it with the seasoning.
For optimal results, flip the turkey halfway through the brining period to ensure an even distribution of the flavors.
After the brining period, take the turkey out of the refrigerator and remove the wrap.
Rinse off any excess salt from the turkey under cold running water. Pat the turkey once again with a paper towel to remove excess moisture.
For even crisper skin, you can allow the turkey to air-dry in the refrigerator, uncovered, for 12 to 24 hours after rinsing. This step helps to create that coveted golden, crispy skin when you roast or smoke it.
Okay now. Your turkey has sat in the fridge with the dry brine for days. So, what next? How do you make the perfect smoked turkey from here? Follow the recipe below:
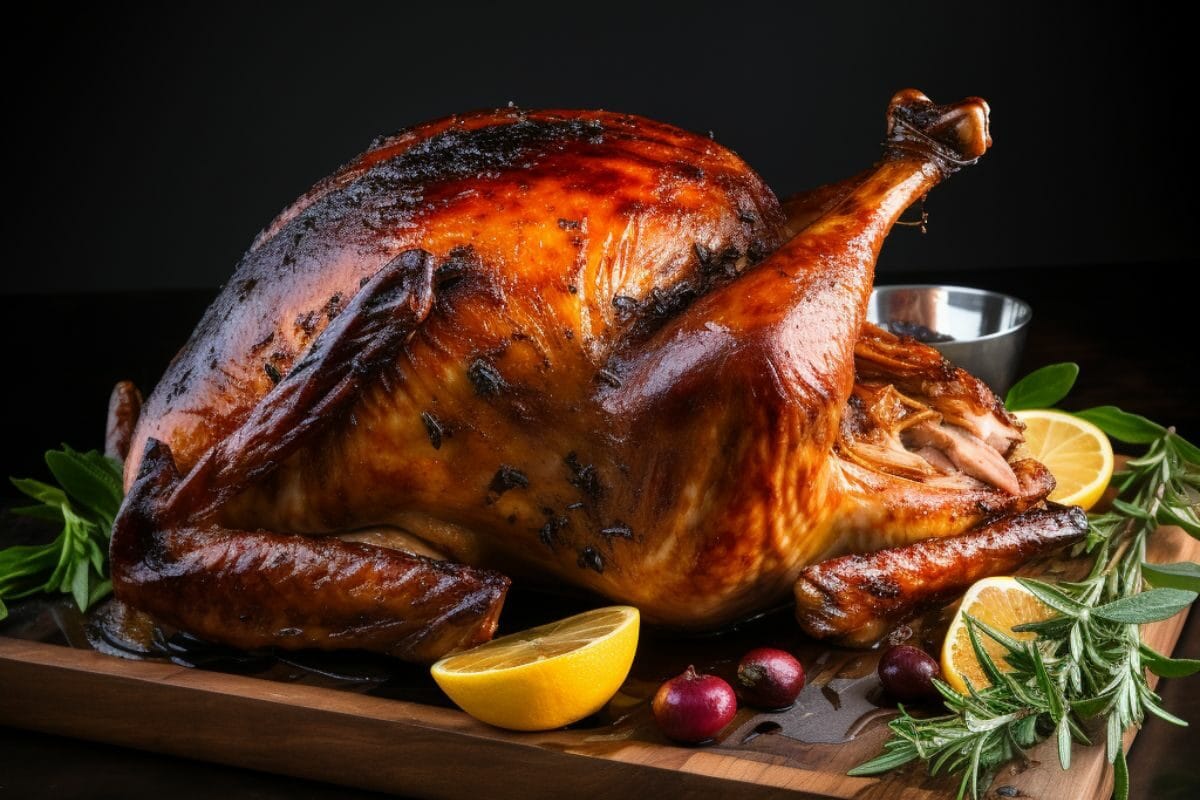
Every backyard and BBQ house master is either rocking a charcoal smoker or gas grill these days.
If you’re like me and you’re fond of your charcoal smoker, start by lighting some charcoal lumps in the chimney starter until it’s ashed over. Spread the lit charcoal evenly in the smoker’s firebox.
For gas smokers, you’ll need to preheat the unit to 225°F (107°C) according to how the manufacturer instructs you.
Add soaked wood chips to the smoker box or directly onto the charcoal for that smoky flavor. Applewood chips are perfect for smoking turkey because of the smoky and fruity taste. But feel free to use any wood chips that tickle your fancy. Pecan and hickory wood chips are fine for smoking birds.
Place a disposable aluminum drip pan filled with water under the cooking grates of the smoker. This serves three purposes:
Remove the dry-brined bird from the refrigerator. If you’ve not done that before, rinse it under cold water to remove excess salt. Now pat the turkey dry with a paper towel, inside and out.
Combine all the seasoning and spice ingredients in a small bowl to create a dry spice rub mixture. I’m talking about all the black pepper, garlic powder, smoked paprika, dried thyme, onion powder, dried rosemary, and dried sage.
Rub the spice rub mixture all over the turkey. Make sure to get under the skin and in the cavity as well. This will enhance the flavors during smoking.
Allow the brined turkey to sit at room temperature for about 30 minutes to ensure even cooking.
Place the turkey directly on the cooking grates, breast-side up. If using a charcoal smoker, adjust the vents to maintain a steady temperature of 225°F (107°C).
Add a few sprigs of fresh rosemary, sage, and thyme inside the turkey cavity to infuse it with aromatic flavors while it smokes.
At 225°F, you’re smoking the turkey for about 5 to 6 hours. But I’d say, forget about your timer. Instead, get a digital meat thermometer and ensure the internal temp reaches 165°F (74°C) as the USDA recommends.
Where to insert the meat thermometer is in the thickest part of the bird – the thigh or breast meat. Make sure the thermometer doesn’t touch the bone.
Every hour, baste the turkey with melted butter using a basting brush. This will keep the turkey moist and add a rich, buttery flavor.
After 3 to 4 hours of smoking, you may need to add more soaked wood chips to maintain the smoky flavor. Keep an eye on the smoker’s temperature to ensure it stays steady.
Once the turkey reaches 165°F internal temperature, carefully remove it from the smoker and transfer it to a carving board.
Wrap the turkey with aluminum foil and let it rest for about 30 minutes. Resting allows the juices to redistribute, ensuring a juicy and tender bird.
Carve the turkey and serve it alongside your favorite sides and sauces.
Congratulations! You’ve just created a show-stopping smoked turkey that’s moist and flavorful. Combining the dry brine and the slow smoking process results in a smoked turkey that’s nothing short of perfection.
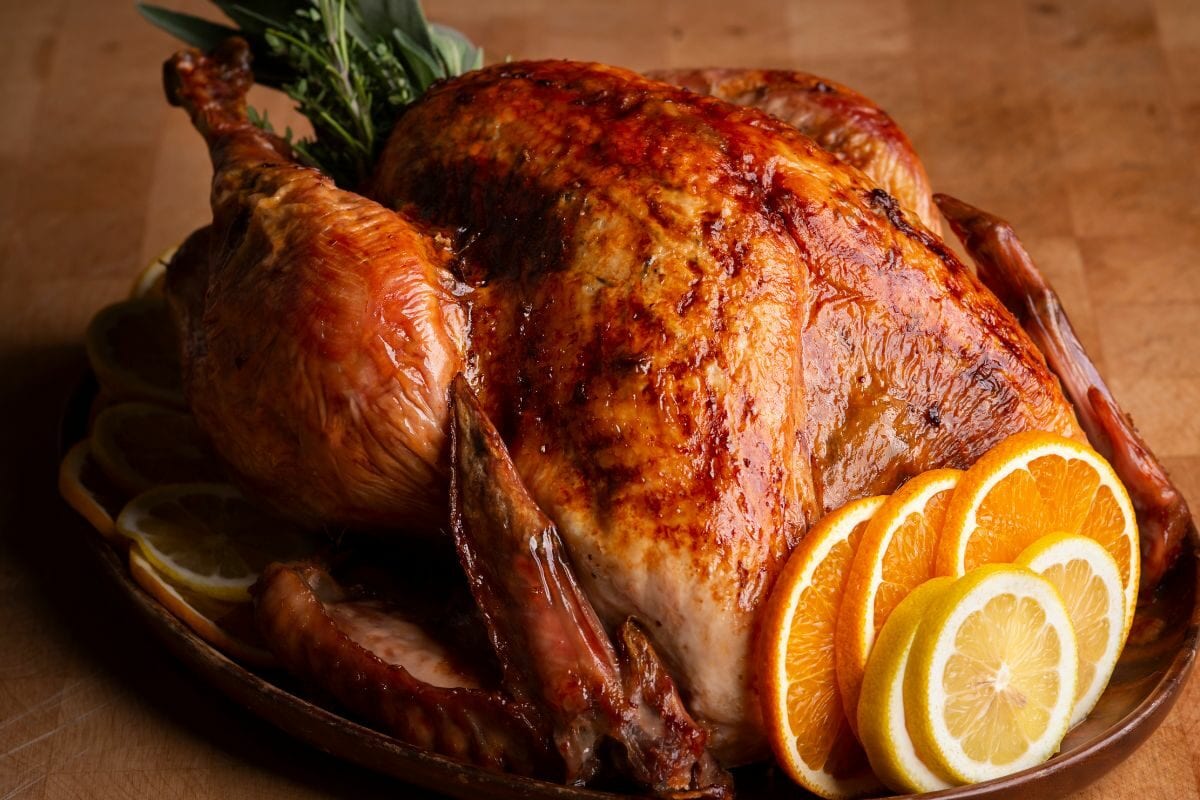
Okay, maybe what you have is an oven. You’re not looking to go over the odds for smoked turkey because you don’t have a smoker. It’s all okay! Here’s the procedure:
Tips: Remember that a dry-brine turkey cooks slightly faster than a non-brined one. Also, the turkey cooks faster in an oven than in a smoker. But keep a close eye on the internal temperature using a meat thermometer. The same 165-degree rule applies here.
To dry-brine or wet-brine? I bet you’ve asked yourself this question if you know why brining is vital for your bird.
Well, it’s all about amping up the flavors in our beloved bird, especially during Thanksgiving time! And here is what I think.
First up, the dry brine – I’ve said pretty much all you need to know about this. This can be a mix of salt, herbs, and spices, or just salt. No liquids here! When done, give the salted bird a chill session in the fridge.
The salt works its way into the meat, pulling out moisture. The salt in the meat then turns to natural brine. The meat is able to soak in more liquid, seasonings, spices, smoke, and even the sauce you throw at it because it’s dry and thirsty at that point. The result? A turkey that’s juicier and intensely flavored.
This is a classic tradition for turkey lovers all around. You dunk that bird in a solution of water, salt, sugar, and aromatic spices. The difference here is the mix is made with a base of water and salt, and we’re dipping the bird in throughout the brining.
We let the turkey meat hang out in this bath for hours, sometimes even an all-nighter. But unlike dry-brining, we’re not crossing the 24-hour mark here. So this is a faster method, especially when this is Thanksgiving Eve already.
Now, which one reigns supreme? I’d say it’s the wet brine because this works best for lean and large meats like turkey or pork loin. Dry brining is best for fatty meats, though.
But it’s still a tough call and depends on your tastes and desires. If you’re all about easy peasy and avoiding the fuss of big containers and liquids, Dry brine is the way to roll. Plus, it tends to give you that satisfying, crispy skin – hello, turkey crackle!
But hey, if you’re all for big flavor and the juiciest turkey feast of your life, Wet brining is your ticket to flavor-town. That extra moisture makes the meat so tender it’ll practically melt in your mouth like butter!
Still, both methods bring their A-game. I’ll say, if you can, give both a try and see which one rules your turkey kingdom. But if you’re changing your mind about using the dry brine method and switching to the wet version, here’s how it’s done.
Make sure your turkey is fully thawed if it is frozen. A cold water bath works best for this. We don’t want any icy surprises! Rinse the turkey under cold water and pat it dry with some paper towels. Prep is key!
Toss in the cold water, sugar, peppercorns, kosher salt, fresh thyme, bay leaves, rosemary, and those garlicky halves in a big stock pot or container.
You’d need two cups of coarse or kosher salt for every two gallons of water you use. Stir things all up until the salt dissolves.
Gently plop that turkey into the brine, ensuring it’s fully submerged. If the brine doesn’t cover the turkey, add more cold water. And if you’re into brining bags, use one to save space.
But make sure it’s an extra large one and thick enough. This Venrothy brining bag is perfect for turkeys. It can hold up to 35 pounds of bird and is extra-thick.
Seal the bag, pop it in the fridge, and let the turkey soak up all that salty goodness for 8-24 hours.
Time’s up! Take the turkey out of the brine and say goodbye to it (the brine, that is). Rinse the turkey under cold water to remove excess salt, and pat it dry.
Let the turkey take a breather on a roasting rack inside a roasting pan or oven-safe dish. Give it about an hour at room temp before cooking – it’ll thank you later!
Get that oven preheated to around 325°F/160°C. Now, you’ve got options – roast, smoke, or fry that turkey!
If you’ve chosen to smoke or roast the turkey, check out the procedure, as shown earlier.
Cook it up according to your turkey’s weight and your cooking method of choice.
Brining is the secret to juicy and flavorful meats – and I’m not just talking turkey here! Once you nail it, there’s no going back to tough, bland, un-brined smoked turkey again. Now here’s why I’m all about that brine life:
Brining works some serious magic on those meat fibers. When we apply salt to the turkey, it loosens up those tough muscle fibers, making the meat more tender and easy to devour.
When you get your turkey brined, as it cooks, it holds onto all the moisture it can get. Thanks to the wet or dry brine, the meat retains water during cooking, ensuring you get a turkey that’s as juicy as a summer peach.
Okay, so here’s the science-y part. What the salt does is make the meat muscles semi-permeable, causing the diffusion of salt, water, and other stuff that you add.
That’s why you get a higher concentration of flavor in brined meats. This is what we call osmosis. Sorry for taking you back to biology class. By the way, the salt solution can also be introduced with an injector.
No big deal! One cool alternative I use to amp up poultry meat aside from the wet or dry brine is to spice it up with a dry rub. You may use your favorite spices or stuff it with citrus and herbs for a zesty kick.
Want some juiciness? You can also slather on some butter and baste it while it cooks. Broth lovers, I’ve got you covered too. You can cook it with some chicken or turkey broth for extra yum. You can inject flavors like broth, melted butter, whiskey, or other sauces into the meat.
Dry-brining a whole turkey ensures perfectly seasoned, tender, and moist meat. Plus, the dry brine technique is way easier than wet brining. This straightforward technique helps elevate your Thanksgiving celebrations and deliver a show-stopping centerpiece for the holiday feast.
Just sprinkle salt over the turkey and let it chill in the fridge for 24 to 72 hours, depending on the bird’s size. That’s how to dry-brine a turkey. Have a happy dry brining and, of course, a delicious smoked turkey worthy of Thanksgiving or a holiday dinner.