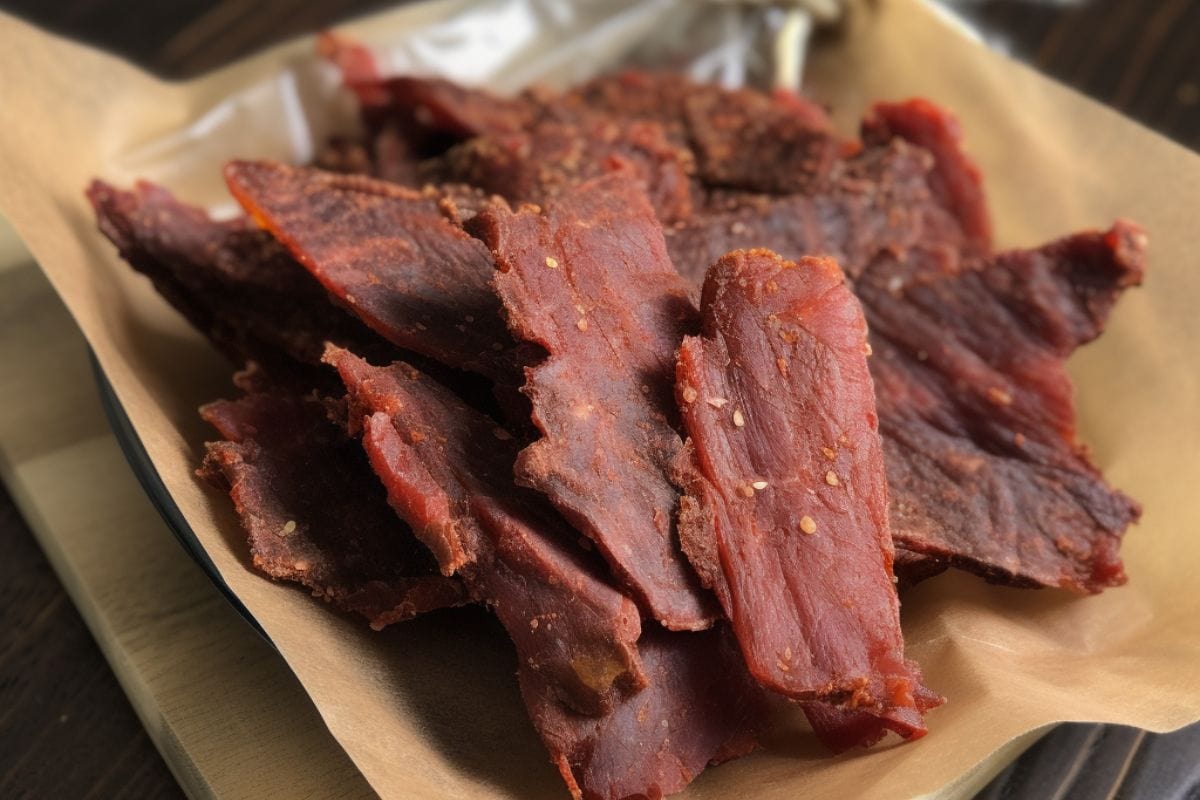
Turkey jerky is another way to enjoy tender and flavorful turkey cuts. This piece of turkey provides an excellent, high-protein snack for your family and guests. Moreover, turkey jerky is a delicious alternative to pork or beef jerky.
I first learned how to make turkey jerky in cooking school. Over the years, I’ve refined the recipe I learned and prepared a better-tasting recipe, which I’ll share today.
Even though it takes some effort to make your own homemade turkey jerky, the results are well worth the effort. Continue reading to discover one of the best jerky recipes on the internet.


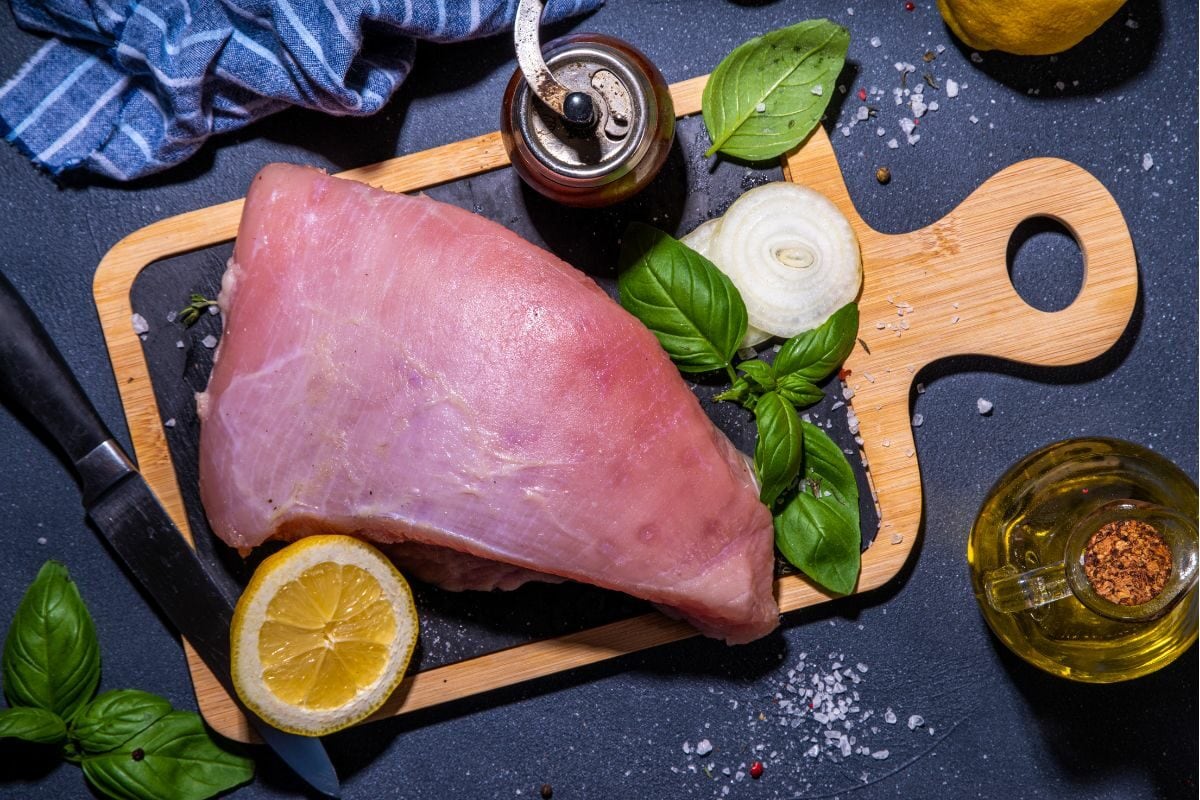
First, remove all visible fat from the meat. Fat doesn’t really dry and spoils quickly, so it’s important to trim it off properly. Simply wash the turkey, remove the skin, and cut off the white fat.
It’s time to make the brine. Pour two liters of water into a pot and bring it to a boil. Next, add the salt, curing salt, sugar, garlic, onion, and peppercorns to the pot and mix. Take the water off the boil and allow it to cool. Then transfer the water into a sealable container and add the turkey breasts inside. Finally, put it in the fridge for 12 hours.
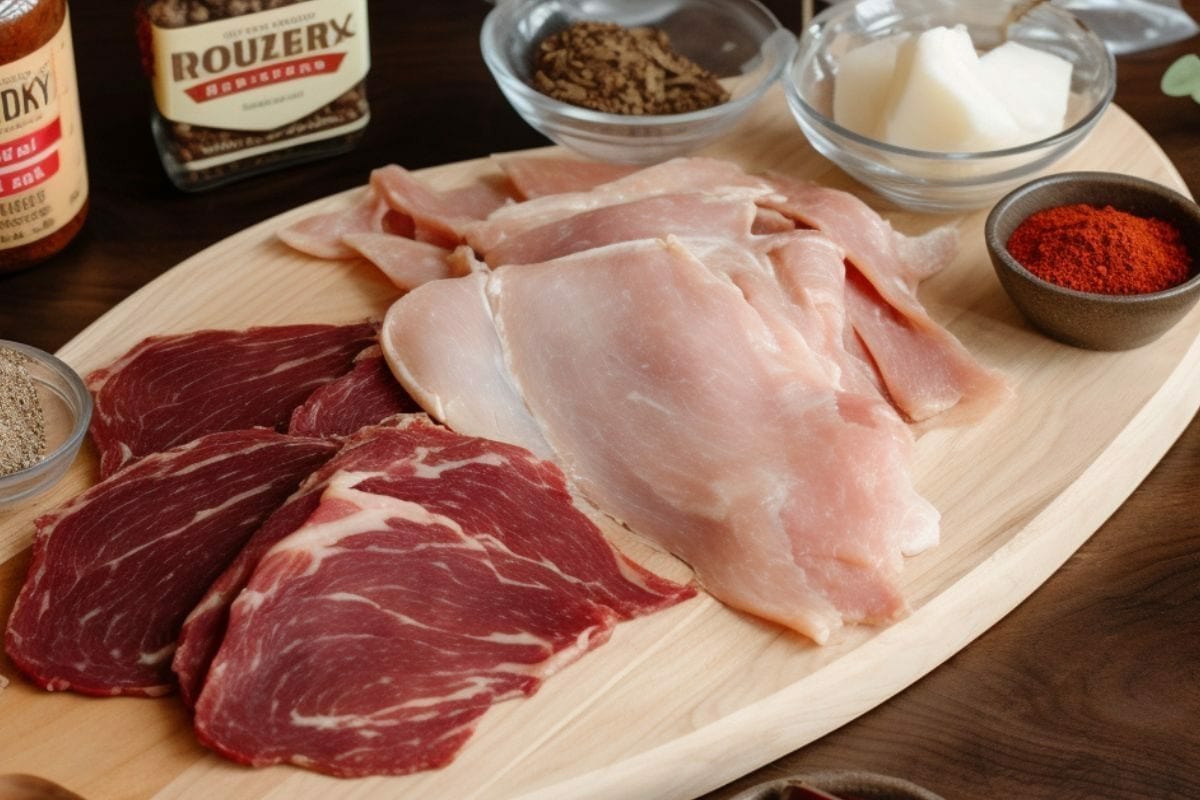
Next, take the breast out of the brine and strain the excess moisture. Afterward, freeze the turkey breasts for 1 hour. Freezing makes the turkey breasts firm, making them easier to cut into strips. Now, use a sharp knife and cut the turkey into long strips that are 1/4 inch wide. To ensure that all the jerky strips dry out at the same rate, cut the turkey slices to the same width. Make sure you cut the breast parallel to the grain for a much cleaner cut.
Now, it’s time to combine all the marinade ingredients into a zip-lock bag. Add 1/2 cup soy sauce, 1½ tablespoons of Worcestershire sauce, 1 tablespoon of brown sugar, 1/2 teaspoon of black pepper, and 1/4 teaspoon of garlic and onion powder, and gently shake the bag to mix.
Add the turkey slices to the bag of marinade, mix the turkey in the marinade with your hands, and then place it in the fridge overnight. The marinade imparts more flavor to the turkey and makes it more tender. Make sure you remove the air from the bag before placing it in the refrigerator.
Next, take out the turkey from the marinade and pat it dry to remove excess marinade. If you have a dehydrator, place the turkey on the rack and set it to 140 degrees. Dehydrators are designed to dry meat evenly and produce flawless jerky consistently. Dehydrate the turkey for about 10 hours, or until it reaches 160 degrees.
If you’re looking for a dehydrator, I recommend buying the KITIDEA Food Dehydrator or COSORI Food Dehydrator. They are both excellent options for drying your jerky.
You can also use an oven for this recipe if you don’t have a dehydrator. Place the turkey strips on a wire rack, making sure they don’t touch. If you don’t want the jerky juices to flood your oven, place a pan to catch the juices. Set the oven from 175°F to 200°F and place the jerky in the oven. Ensure the temperature in the oven is consistent by using an oven thermometer.
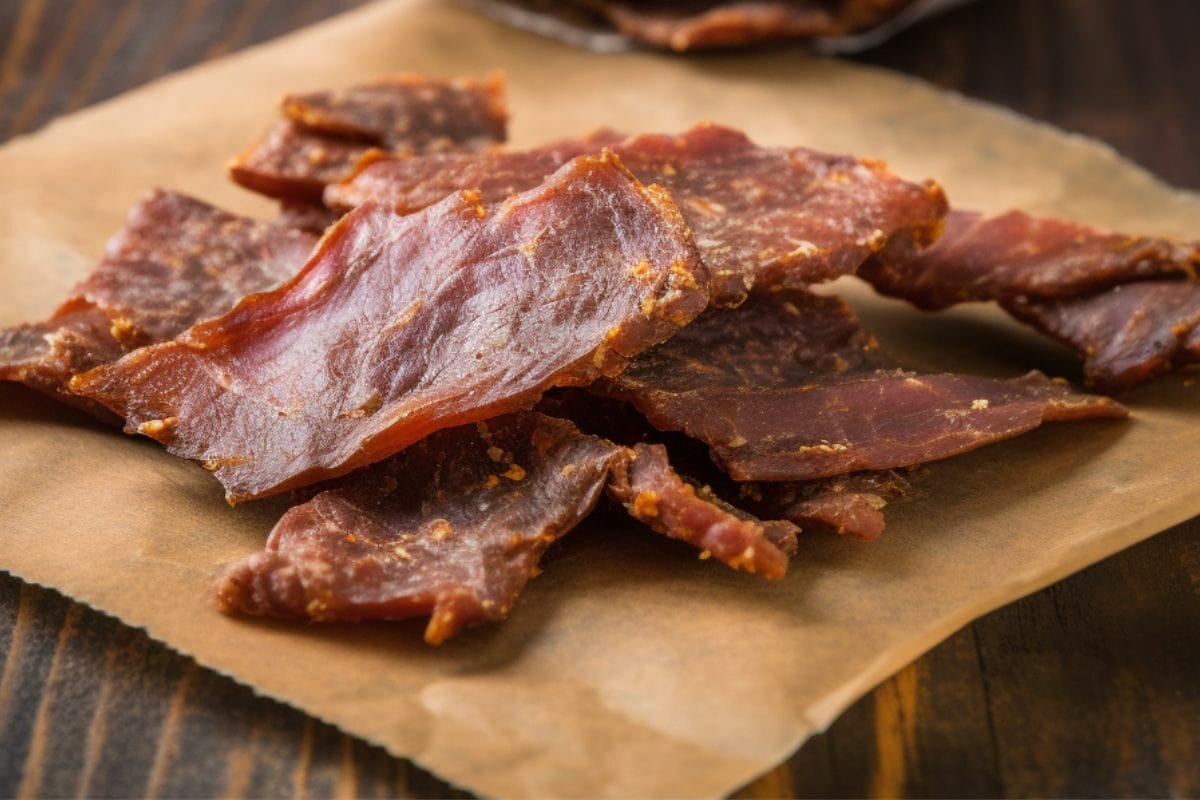
Cook in the oven for the first three hours, then check the jerky every hour. Jerky is done when you can bend it without breaking it. This step could take 3 to 4 more hours, depending on your oven and the jerky’s thickness.
Lastly, take out the jerky, pat it dry, and keep it in a sealed, moisture-proof container. The jerky should be good for up to a week.
My recommended turkey cut for turkey jerky is the breast. The main reason I use turkey breast for making turkey jerky is because it is lean and low in fat. The leaner the meat, the longer the jerky’s shelf life because fat spoils quicker than meat. Luckily, you don’t need to buy a whole turkey before harvesting the turkey breast. This cut is readily available in stores and butcher shops.

From experience, this jerky keeps for two weeks in an airtight container. I don’t advise keeping jerky at room temperature for too long. Even though this jerky is smoked and dried. You don’t want to take a chance on becoming sick after spending so much effort creating this amazing treat.
Moreover, the jerky should last for up to two months in the fridge.
The best way to store your delicious homemade turkey jerky is by wrapping the meat in plastic film, placing it in an airtight container, and storing it in the fridge or freezer. Wrapping the meat ensures the juices and flavors stay intact and prevents cross-contamination in the refrigerator or freezer.
The best way to reheat your frozen leftover jerky will depend on your preferences. However, it is essential to let the jerky thaw completely before reheating. That said, here are a few options:
It’s important to be able to identify any signs of spoilage in your jerky before eating it. Here are three effective indicators:

Pay attention to these indicators when checking if your jerky is spoiled. If you’re unsure if the meat is good or bad, it’s always better to err on the safe side and throw the jerky away.
We’ve reached the end of today’s article. Feel free to try out this turkey jerky recipe if you want a substitute for beef jerky. Don’t be afraid to experiment with the ingredients to your taste. Ultimately, the goal is to prepare the best-tasting jerky for your taste buds.